From here you can book your game console, controller repair with us
Game Console & Controller Repairs
Any PS5 Console, PS5 Controller
Any PS4 Console, PS4 Controller
Any Xbox Series Console, Xbox Series Controller
Any Xbox One Console, Xbox One Controller
Any Nintendo Switch Console, Joy Con Controller
We’re going to talk about a common issue with PS4 controllers—when the joystick moves by itself! Let’s find out how we can fix this pesky problem.
Understanding Your PS4 Controller
First, we’ll learn what a PS4 controller is made of and why it’s important to handle it with care.
Parts of the Controller
Let’s peek inside the PS4 controller and see all the cool parts that make it work!
What is Joystick Drift?
Sometimes, our joystick starts to have a mind of its own. We’ll explain why that happens.
Safely Preparing for Your Repair Mission
Before we dive into fixing our PS4 controller, it’s crucial to get everything ready so that we can work safely and effectively. Let’s go over the steps to ensure we don’t cause any harm to our controller or ourselves.
First things first, let’s gather all the tools we’ll need to repair our PS4 controller. You’ll require a small screwdriver to open up the controller, a clean cloth for wiping, and any replacement parts if necessary. Make sure you have everything within reach before starting the repair process so you don’t have to scramble to find them midway through.
Setting Up Your Workspace
Creating a suitable workspace is essential for a successful repair mission. Find a clean, well-lit area to work in where you have enough space to lay out all your tools and parts. Make sure the surface is flat and stable to prevent any accidents. By setting up your workspace properly, you’ll make the repair process much smoother and safer.
Opening Up the Console
Let’s carefully open up the PS4 controller without breaking anything.
Start your Buy, Sell, Repair Game Console. To find your closest store
Leave your mobile phone number and we will call you back
Unscrewing the Case
We’ll use a screwdriver to remove the little screws that keep the controller together.
Popping the Case Open
Now for the fun part—let’s gently open the case and peek inside!
Inside the controller, let’s find where the joystick is and see how it’s connected.
Understanding the Joystick’s Home
The joystick lives in a special spot. We’ll show you where it is!
Step
Instruction
Step 1
Turn off your PS4 console and unplug the controller.
Step 2
Locate a small opening near the L2 button on the controller.
Step 3
Insert a small precision screwdriver into the opening and gently press down on the joystick.
Step 4
Rotate the joystick clockwise a few times to remove any debris or dust stuck inside.
Step 5
Reconnect the controller to the console and test the joystick to see if the drift issue has been resolved.
Locating the Joystick Mechanism
Inside the controller, let’s find where the joystick is and see how it’s connected.
The joystick lives in a special spot. We’ll show you where it is!
When you hold your PS4 controller, the joystick is what you use to move your character in a game or navigate through menus. It’s like a little stick that you push around with your thumb.
Inside the controller, the joystick is connected to a small mechanism that helps it work smoothly. This mechanism is important because it’s what allows the joystick to move in different directions.
Located beneath the joystick, this mechanism helps translate the movements of your thumb into actions on the screen. It’s like a magic wand that makes your game characters run, jump, or sneak around.
By understanding where this mechanism is inside your controller, you’ll be better equipped to fix any issues that may arise, like joystick drift.
Step 3: Cleaning the Joystick Area
Sometimes, all our joystick needs is a good cleaning. Let’s grab a cloth and wipe away any dust or dirt.
Using the Right Materials for Cleaning
When it comes to cleaning the joystick area of your PS4 controller, it’s essential to use the right materials to ensure you don’t damage the delicate components inside. Avoid using harsh chemicals or abrasive cleaners that could harm the internal mechanisms of the controller.
Instead, opt for a soft, lint-free cloth slightly dampened with water or isopropyl alcohol. Gently wipe the joystick and the surrounding area to remove any dirt, debris, or grime that may be causing the drift issue.
By carefully cleaning the joystick area of your PS4 controller, you can help restore smooth and precise movement to your joystick, getting you back to your gaming adventures in no time!
Step 4: Adjusting or Replacing the Joystick Module
If your joystick is still drifting after cleaning, don’t worry! There’s a simple way to try and fix it. Sometimes, all it needs is a gentle adjustment. Here’s what you can do:
2. Gently move the joystick in the opposite direction of the drift. For example, if the joystick is drifting upwards, gently push it downwards.
3. Repeat this adjustment a few times to see if the drift improves. Be careful not to apply too much force as you don’t want to damage the joystick further.
Putting in a Brand-New Joystick
If adjusting the joystick didn’t solve the problem, it might be time to replace the old joystick with a new one. Here’s how you can do it:
1. Purchase a replacement joystick module compatible with your PS4 controller model.
2. Carefully remove the old joystick module from the controller by unscrewing it or gently disconnecting it from the circuit board.
3. Align the new joystick module with the connector on the circuit board and gently press it into place. Make sure it is securely attached.
4. Test the new joystick by moving it around and checking for any drift. It should now respond accurately to your commands without any unwanted movements.
By following these steps, you can effectively adjust or replace the joystick module in your PS4 controller to fix the annoying drift issue.
Reassembling the Controller
Now that we’ve fixed our joystick drift issue, it’s time to put everything back together and get our controller ready for some gaming action.
Putting the Case Back On
It’s like solving a puzzle in reverse! Carefully line up the case’s edges and snap it back into place. Make sure it fits snugly to avoid any gaps.
Screwing the Case Shut
Grab your trusty screwdriver and carefully tighten the screws back into their respective holes. Be sure not to over-tighten them, as this could cause damage to the controller’s casing.
Now that our controller is reassembled, it’s time to move on to the next step and test if our joystick drift issue has been resolved.
Testing Your Repaired PS4 Controller
Now that we’ve fixed our joystick, it’s time to test it out. Let’s plug the controller back into the PS4 and see if it behaves.
The ultimate test is to play a game! Let’s choose a game that we love and see if the joystick drift issue is completely gone. If the character moves smoothly and in the right direction, we’ve successfully repaired our PS4 controller!
Conclusion: Victory Over the Drift
We did it! We took on the challenge of fixing the annoying joystick drift in our PS4 controller, and we came out victorious. Let’s take a moment to pat ourselves on the back for a job well done.
Throughout this journey, we delved into the inner workings of our beloved PS4 controller, learned about the joystick mechanism, and bravely ventured into the realm of controller repair. With patience and determination, we successfully addressed the issue causing the joystick drift and restored our controller to its former glory.
By following the steps outlined in this guide, we demonstrated skill, care, and a can-do attitude. We showed that with a little know-how and the right tools, we can overcome common challenges and keep our gaming gear in top shape.
So, as we wrap up our repair mission, let’s celebrate our achievement and remember that we have the power to conquer technical issues and emerge stronger than before. The next time a problem arises, we’ll be ready to face it head-on and emerge victorious once again!
FAQs: Questions You Might Still Have
There might be a few things you’re wondering about your PS4 controller and how to keep it working great. We’ll answer those questions here.

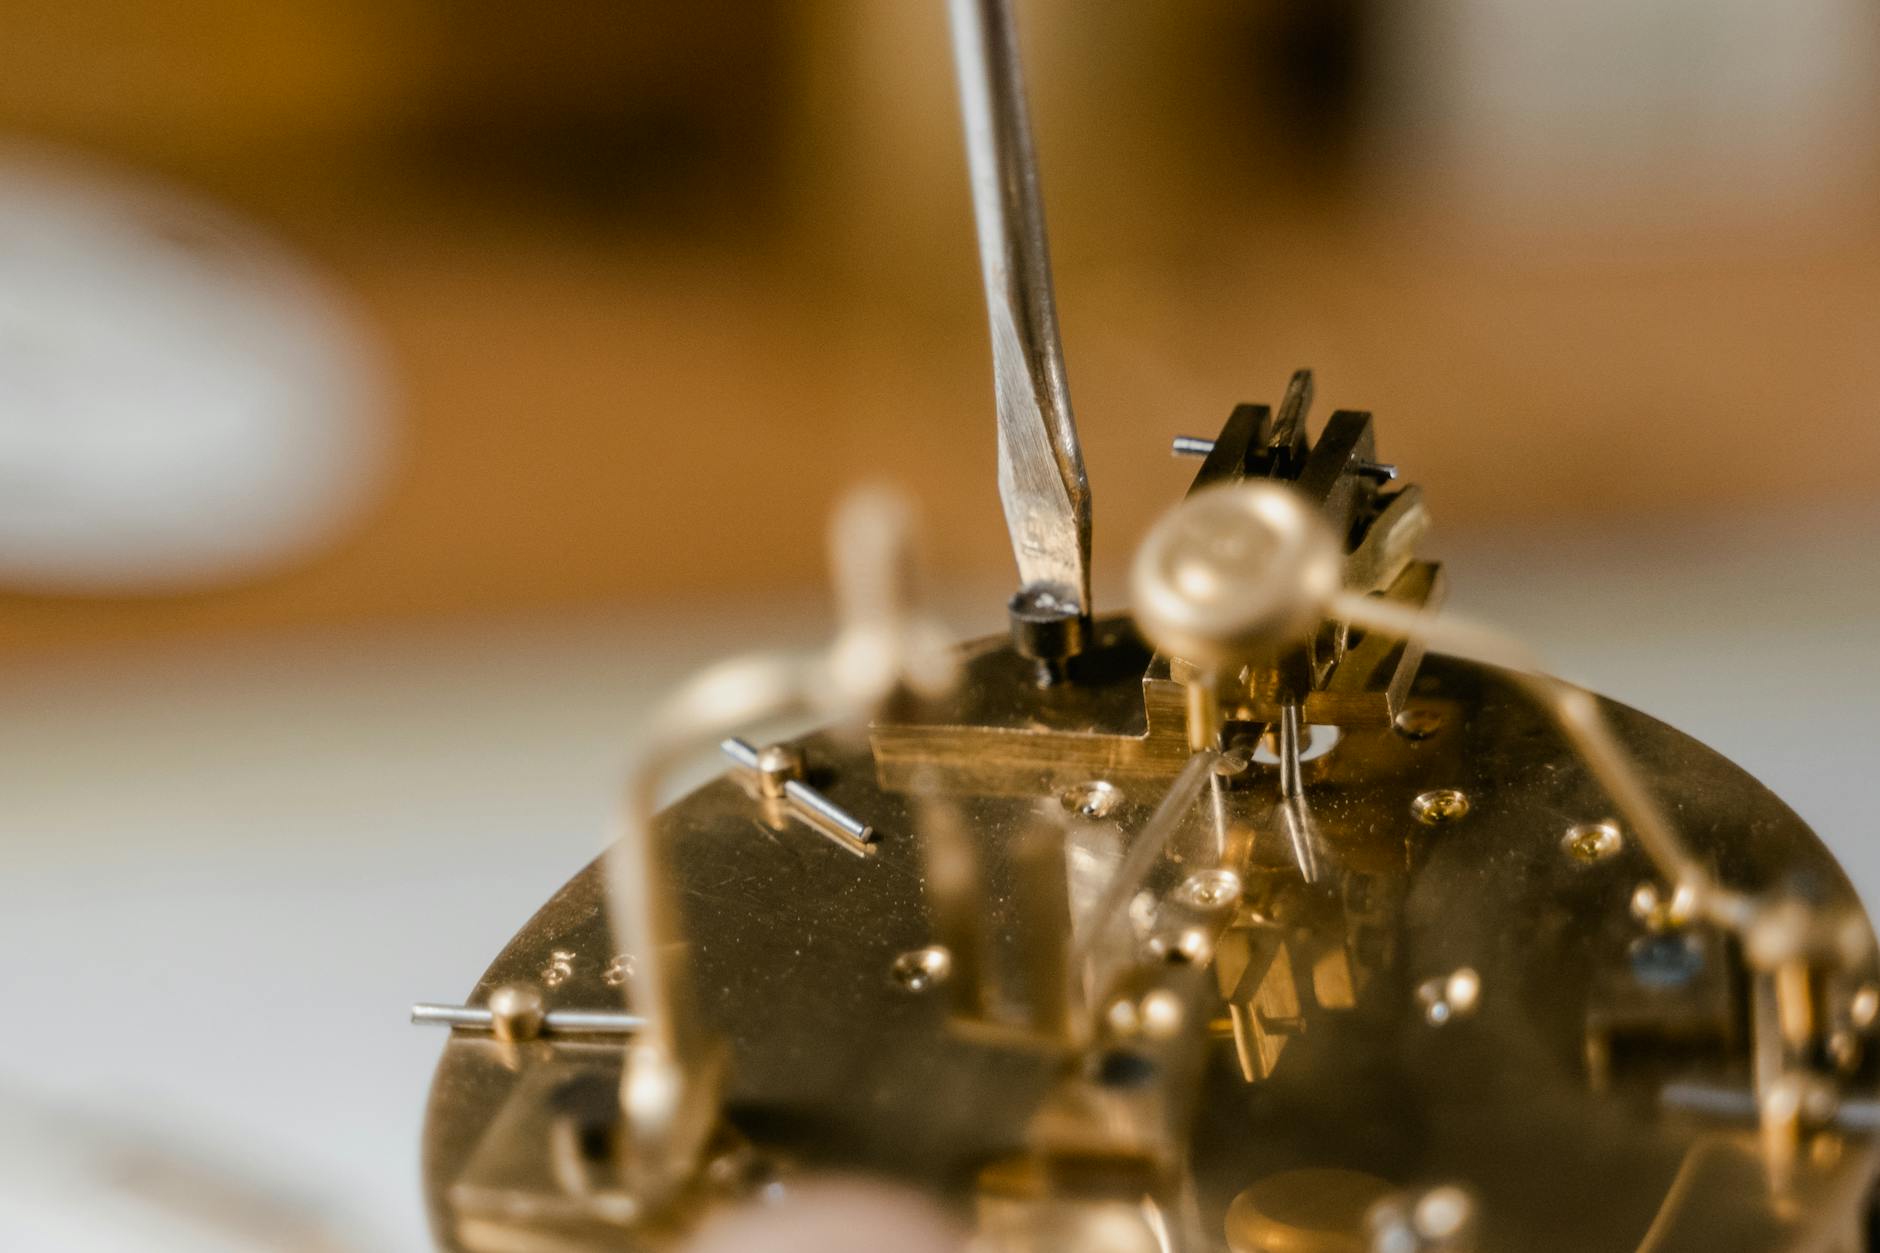 Image courtesy of Tima Miroshnichenko via
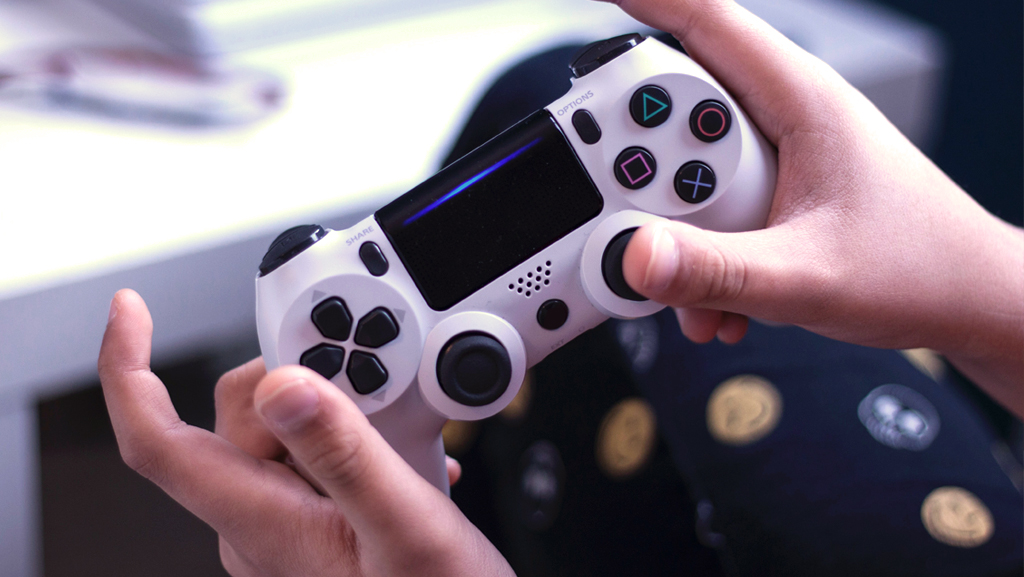
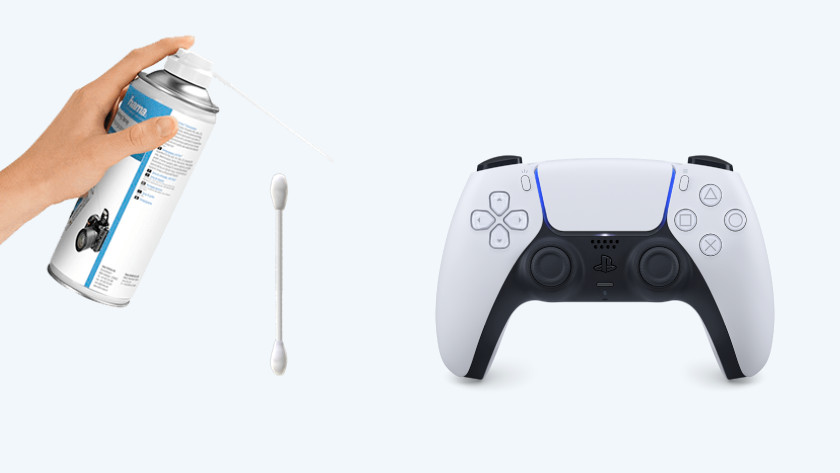 Image courtesy of via
  Image courtesy of via
 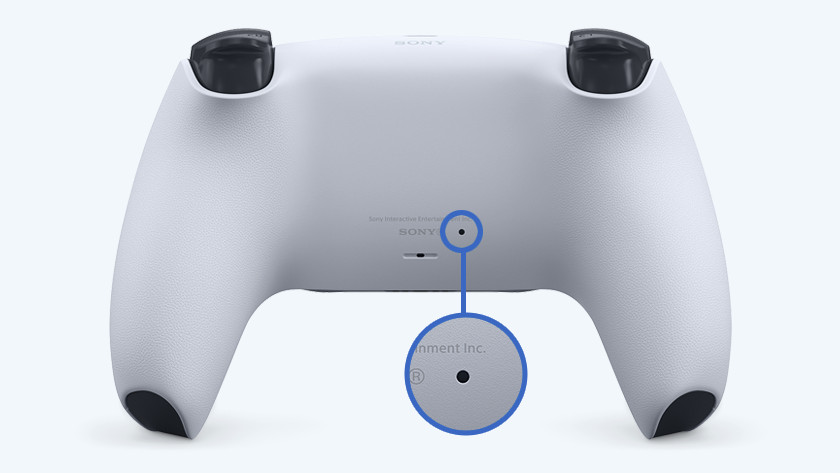 Image courtesy of via


 PlayStation Repair
 Xbox Repair
 Nintendo Repair
 Virtual reality (VR) Repair
 Accessories Repair