
 PlayStation Repair
 Xbox Repair
 Nintendo Repair
 Virtual reality (VR) Repair
 Accessories Repair
Fix Your Play: PS4 Controller Repair Guide
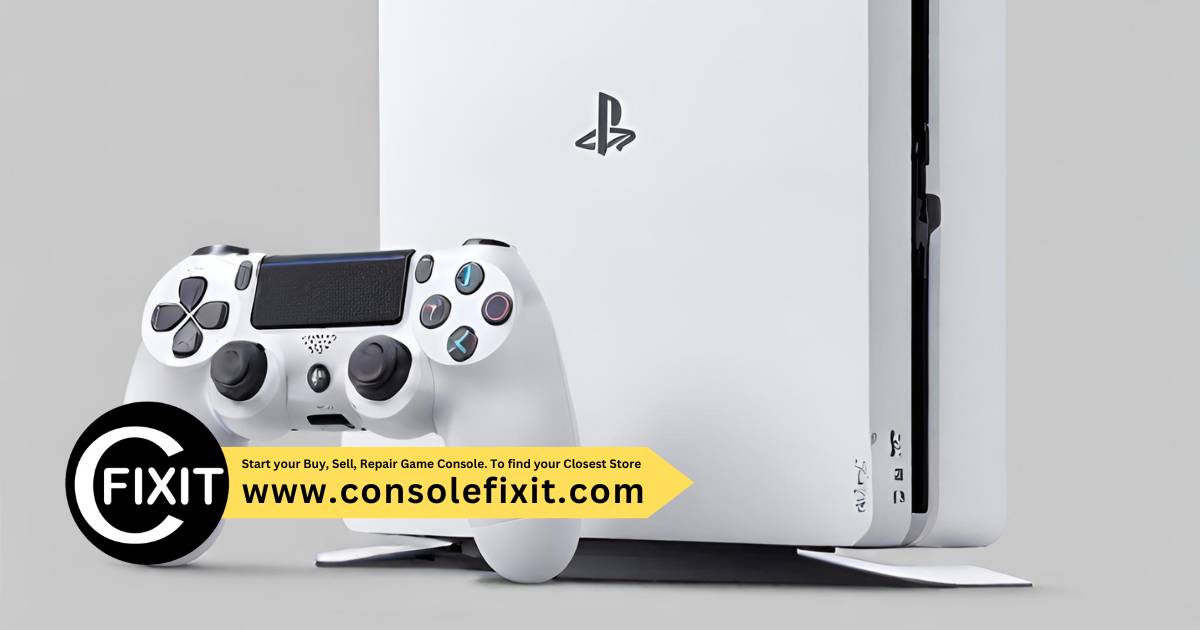
Unleash your gaming potential with our ultimate PS4 controller repair guide – say goodbye to sticky buttons and drift issues!
 Image courtesy of Steve Johnson via
 Table of Contents
- Introduction: The Gamer’s Dilemma
- Understanding Your PS4 Controller
- Initial Troubleshooting Steps
- Tools You’ll Need
- Internal Inspection & Diagnosis
- Specific Repairs
- Putting It Back Together
- Testing Your Repairs
- When to Seek Professional Help
- Taking Care of Your Controller
- Conclusion: Game On!
- FAQs: Everything Else You Want to Know
Introduction: The Gamer’s Dilemma
We start with a tale of a gamer’s favorite tool, the PS4 controller, that sometimes goes on the fritz, and the brave quest to fix it ourselves.
Imagine this: you’re in the middle of an intense gaming session, battling foes and conquering levels, when suddenly, your trusty PS4 controller starts acting up. Maybe the buttons are sticking, the joysticks are drifting, or it just won’t connect to your console. It’s a gamer’s nightmare – the Gamer’s Dilemma.
But fear not, fellow gamers, for there is a way out of this dilemma. In this guide, we will embark on a journey to demystify the art of PS4 controller repair, empowering you to troubleshoot, diagnose, and fix your beloved gaming tool. So, gather your courage, put on your repair cap, and let’s dive into the world of PlayStation repairs!
Understanding Your PS4 Controller
When your trusty PS4 controller starts acting up, it’s essential to understand how it works before attempting any repairs. Let’s explore the key components of your PS4 controller and why knowing them is crucial for successful fixes.
The Buttons and Joysticks
The buttons, triggers, and thumbsticks on your controller are vital for your gaming experience. If any of these components are malfunctioning, it can impact how you play your favorite games. Common issues like sticky buttons, unresponsive triggers, or joystick drift can often be resolved with some basic troubleshooting.
Battery and Charging
Keeping an eye on your controller’s battery life is essential. If your controller isn’t holding a charge, it could be due to a faulty battery or charging port. Understanding how to diagnose and address these issues can save you from unexpected gaming interruptions.
Lights and Signals
The light bar on your PS4 controller serves more than just a visual effect – it also provides valuable information about your controller’s status. Different colors and flashing patterns indicate various conditions, such as low battery or connection problems. Being able to interpret these signals can help you identify underlying issues with your controller.
Initial Troubleshooting Steps
Before diving into the intricate world of PlayStation repairs, let’s start with some simple troubleshooting steps you can try at home to see if we can quickly fix your PS4 controller issues. These steps might save you time and effort, so let’s get started!
Start your Buy, Sell, Repair Game Console. To find your closest store
Restarting Your Controller
If your PS4 controller is acting up, sometimes all it needs is a good old restart. To reset your controller, simply press the small “Reset” button located on the back of the controller near the L2 shoulder button. Use a paperclip or a small tool to press and hold the button for a few seconds until the controller restarts. This can often fix common glitches and connectivity issues.
Checking for Software Updates
Just like your smartphone or computer, your PS4 controller also needs software updates to work smoothly. Make sure to connect your controller to your PlayStation console using a USB cable and check for any available updates. Updating your controller’s software might solve various problems and improve its performance.
Examining External Damage
Before you crack open your controller, take a close look at the exterior for any visible signs of damage. Check for cracks, loose parts, or any unusual wear and tear. Sometimes, a simple visual inspection can reveal if there are external issues affecting your controller’s functionality. If you spot any damage, you might need to address it before moving on to deeper repairs.
Tools You’ll Need
Before you embark on your journey to repair your PS4 controller, it’s essential to have the right tools by your side. Here’s a list of items you’ll need to get started:
Screwdriver Set
A screwdriver set with various interchangeable heads will help you easily remove the screws holding your controller together.
Spudger Tool
A spudger tool is handy for prying open the controller’s casing without causing any damage. It helps you navigate the delicate components inside.
Tweezers
Tweezers come in handy when handling small components inside the controller, such as buttons or wires. They allow for precision and control during the repair process.
Cotton Swabs and Isopropyl Alcohol
Cotton swabs and isopropyl alcohol are useful for cleaning any dirt or grime that may be affecting your controller’s functionality. Keeping your controller clean is crucial for its longevity.
With these tools at your disposal, you’ll be well-equipped to dive into the world of PS4 controller repair and get your gaming back on track!
Internal Inspection & Diagnosis
Now that we’ve covered the basics of understanding your PS4 controller and performed some initial troubleshooting, it’s time to dive deeper into the internal workings of the controller. In this section, we will guide you through the process of opening up your controller and diagnosing any issues that may be causing it to misbehave.
Opening the Controller
Before we can diagnose and fix any problems with your controller, you’ll need to carefully open it up. Grab your trusty screwdriver and follow these steps to avoid damaging any components:
1. Remove the screws: Locate and unscrew all the screws holding the controller casing together. Be sure to keep track of where each screw came from.
2. Separate the casing: Gently pry open the controller casing, starting from one corner and working your way around. Be careful not to force it open or use too much pressure.
3. Take note of the internal layout: As you open the controller, pay attention to how the different components are arranged. This will help you when it’s time to put everything back together.
Spotting Common Issues
Once you have the controller opened up, it’s time to take a closer look at the internal components. Here are some common issues to watch out for:
1. Loose wires: Check for any wires that may have come loose or disconnected from their connectors. Reconnect them securely if needed.
2. Broken components: Look for any visibly damaged or broken parts, such as buttons, triggers, or joysticks. These will likely need to be replaced to get your controller working again.
3. Dust and debris: Inspect the inside of the controller for any buildup of dust or debris that could be interfering with the buttons or sensors. Use a can of compressed air to gently blow away any dirt.
By carefully inspecting the internal components of your PS4 controller, you’ll be able to pinpoint the root cause of the issues you’re experiencing. Once you’ve identified the problem, we can move on to specific repairs to get your controller back in top shape!
Specific Repairs
Now that we’ve opened up your PS4 controller and identified the problems, it’s time to get to work on fixing them. Below, we’ll guide you through some common repairs step by step, in a way that’s easy for you to understand.
Fixing Drift in Joysticks
If you notice that your character keeps moving even when you’re not touching the joystick, you may be experiencing drift. Here’s how you can fix it:
1. Start by gently removing the joystick cover using a spudger or your fingernail.
2. Once the cover is off, use a cotton swab dipped in rubbing alcohol to clean around the base of the joystick.
3. Let it dry for a few minutes, then carefully put the cover back on.
4. Test your controller to see if the drift has been resolved. If not, you may need to repeat the cleaning process or consider replacing the joystick.
Replacing Buttons
If a button on your controller is stuck or not responding, it may need to be replaced. Here’s what you can do:
1. Using a small screwdriver, carefully remove the screws holding the controller together.
2. Once the controller is open, locate the faulty button and gently pry it out of its place.
3. Replace the old button with a new one, making sure it is positioned correctly.
4. Put the controller back together and test the button to ensure it is working properly.
Battery Replacement
If your controller is not holding a charge or is turning off unexpectedly, it may be time to replace the battery. Here’s how you can do it:
1. Locate the battery inside your controller and carefully remove it, making sure not to damage any other components.
2. Purchase a new battery compatible with your controller model.
3. Insert the new battery into the correct slot, ensuring it is properly connected.
4. Put the controller back together and charge it fully before testing to see if the issue has been resolved.
Putting It Back Together
After successfully repairing your PS4 controller, it’s time to put all the pieces back together. This final step is crucial to ensure that your controller functions perfectly again.
Reassembling the Controller
Begin by carefully placing the components back in their designated spots. Make sure the buttons, triggers, thumbsticks, and other parts fit securely. Take your time and double-check that everything is aligned properly.
| Step | Description |
|---|---|
| 1 | Identify the issue with your PS4 controller |
| 2 | Check for any visible damage such as cracks or loose components |
| 3 | Clean the controller using compressed air or a gentle cleaning solution |
| 4 | Inspect the controller buttons and analog sticks for any sticking or unresponsiveness |
| 5 | Replace the controller battery if it is not holding a charge |
| 6 | Check for any firmware updates for the controller |
| 7 | If all else fails, consider contacting Sony for repair or replacement options |
Securing the Screws
With all the components back in place, it’s time to screw everything back together. Use the appropriate screwdriver to tighten the screws, but be careful not to overtighten, as this could damage the controller.
Connecting the Battery
If you’ve replaced the battery during the repair, make sure to reconnect it properly. Check for any loose connections and ensure the battery is securely in place. This is essential for powering up your controller.
Testing the Controller
Before closing up the controller completely, it’s a good idea to test it out. Check all the buttons, triggers, and thumbsticks to ensure they are working correctly. Also, verify that the battery is charging and holding a charge.
Once you’ve confirmed that everything is functioning as it should, you can proceed to put the final screws back in place and close up the controller.
Testing Your Repairs
Now that you’ve completed the repairs on your PS4 controller, it’s time to make sure everything is working as it should. Follow these simple steps to test your fixes and ensure your controller is ready for some serious gaming!
Testing the Buttons and Joysticks
Start by pressing each button on your controller. Check if they all register properly and if any of them feel sticky or unresponsive. Move the joysticks in all directions to see if there’s any drift or if they get stuck.
Checking Battery Life
If you replaced the battery in your controller, make sure to charge it fully before testing. Once fully charged, see how long the battery lasts during gameplay. If it drains quickly, it may be a sign of a faulty battery or charging port.
Verifying Lights and Signals
Power on your controller and observe the light bar. It should change color depending on the player number assigned to the controller. If the colors are off or if signals are not working properly, you may need to revisit your repair work.
Once you’ve gone through these tests, you’ll have a good idea of whether your repairs were successful. If everything checks out, congratulations! Your PS4 controller is now ready to take on any gaming challenge that comes your way.
When to Seek Professional Help
Sometimes, despite our best efforts, our PS4 controllers can present complex issues that may be beyond our DIY repair skills. In such cases, it’s essential to recognize when it’s time to seek the assistance of a professional. Here are some signs that indicate you might need expert help with your PlayStation repairs.
Unidentified Problems
If you’ve tried troubleshooting your controller but still can’t pinpoint the root cause of the issue, it’s a good indication that the problem might be more intricate than anticipated. Professional technicians have the expertise and specialized tools to identify and resolve complex problems efficiently.
Technical Expertise Required
For intricate repairs like soldering components, dealing with circuitry, or fixing internal connections, it’s crucial to have a deep understanding of electronics. If you lack the technical knowledge needed to handle such tasks, seeking professional help is the safest choice to avoid causing further damage.
Lack of Spare Parts
Repairing a PS4 controller often involves replacing faulty components. If you don’t have access to the necessary spare parts or are unsure about the compatibility of the replacements, it’s advisable to consult a professional repair service. They have access to authentic parts and can ensure the correct components are used for your device.
Remember, the goal is to have your PS4 controller functioning seamlessly so you can immerse yourself in your gaming adventures without any disruptions. Seeking professional help when needed can save you time, effort, and potentially further damage to your controller.
Taking Care of Your Controller
After going through the process of repairing your PS4 controller, you’ll want to ensure that it stays in top-notch condition for as long as possible. Here are some tips on how to take care of your controller to avoid future repairs.
Keep It Clean
Make sure to regularly clean your controller to prevent dirt and grime buildup. Use a slightly damp cloth to wipe down the surface of the controller, being careful not to get any moisture into the openings.
Avoid Dropping It
Try your best to avoid dropping your controller as it can cause internal damage or loosen components. Treat it with care and make sure to put it in a safe place when not in use.
Store It Properly
When you’re done gaming, store your controller in a cool, dry place. Avoid leaving it in direct sunlight or extreme temperatures, as this can affect its performance and lifespan.
Don’t Overcharge
Avoid leaving your controller plugged in for extended periods after it’s fully charged. Overcharging can reduce the battery life over time, so be mindful of disconnecting it once it’s ready.
Use Protective Cases
If you’re traveling with your controller or storing it in a backpack, consider using a protective case to prevent any accidental damage. This can help keep your controller safe from bumps and scratches.
By following these simple tips, you can help prolong the life of your PS4 controller and minimize the need for future repairs. Remember, taking care of your gaming gear ensures that you can continue enjoying your favorite games without any interruptions.
Conclusion: Game On!
After all the hard work and dedication you put into fixing your PS4 controller, it’s time to reap the rewards and get back to gaming! Congratulations on successfully completing your repair journey and gaining valuable skills along the way. Now, with your controller back in working order, you can dive back into your favorite games with confidence and excitement.
 Image courtesy of www.reddit.com via Google Images
Remember, the knowledge you’ve gained about your controller’s inner workings and how to troubleshoot and fix common issues will serve you well in the future. Being able to take care of your gaming equipment not only saves you money but also gives you a sense of accomplishment and independence.
So, put on your gaming headset, grab your freshly repaired controller, and hit that power button. It’s time to level up, conquer new challenges, and enjoy uninterrupted gaming sessions. Game on!
FAQs: Everything Else You Want to Know
Can I fix my controller if I’ve never fixed anything before?
Yes, you can! Repairing your PS4 controller might seem daunting at first, but with the right guidance and a steady hand, you can do it. Just follow the step-by-step instructions and take your time. Remember, practice makes perfect!
What if my controller isn’t charging?
If your controller isn’t charging, there could be a few reasons why. First, check your charging cable and port for any damage. If everything looks okay, the battery might need replacement. Follow the steps in the battery replacement section to swap out the old battery for a new one.
How do I make sure I don’t lose any small parts while I’m fixing my controller?
Small parts can be tricky to keep track of during a repair. To avoid losing them, try using a small container or a magnetic mat to hold the screws and other tiny components. You can also take photos as you disassemble the controller to help you remember where each part goes when it’s time to put it back together.
Book your Game Console, Controller Repair

Your Repair , Our Concern- Leave your mobile phone number and we will call you back . Consolefixit are experts at fixing game consoles. If your Xbox, PlayStation, or Nintendo is broken and needs repairing, give us a call for a free quote today.


