
 PlayStation Repair
 Xbox Repair
 Nintendo Repair
 Virtual reality (VR) Repair
 Accessories Repair
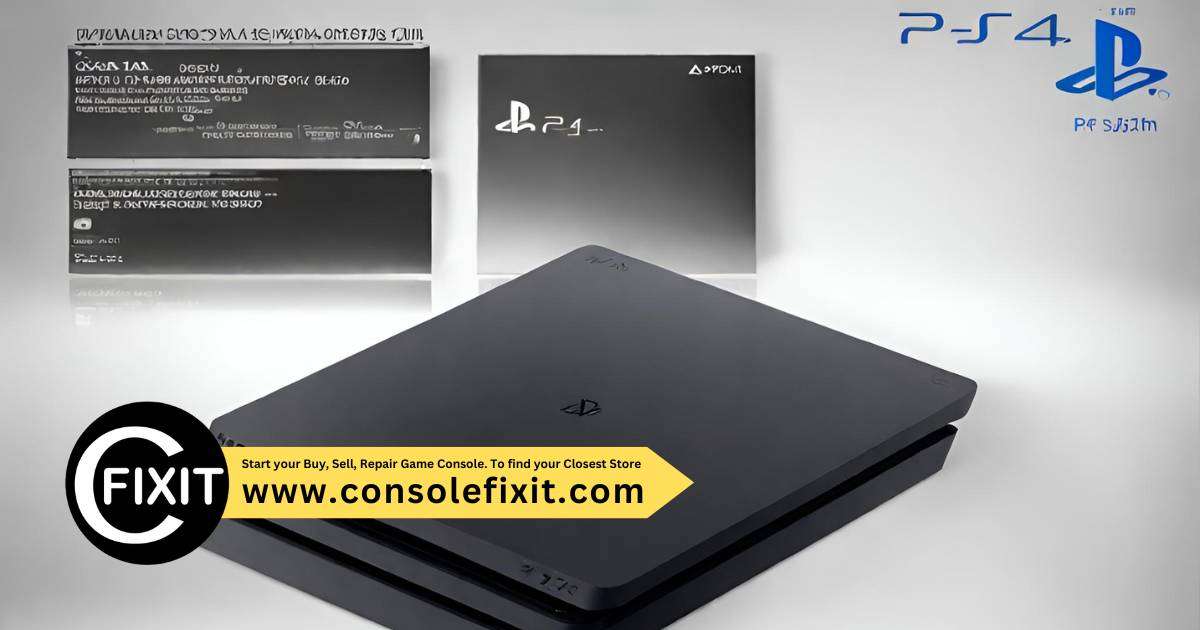
Fix Your Game: PS4 Controller Repair Guide
Are your PS4 controller buttons sticking or not responding? Learn how to fix common issues with our easy repair guide!
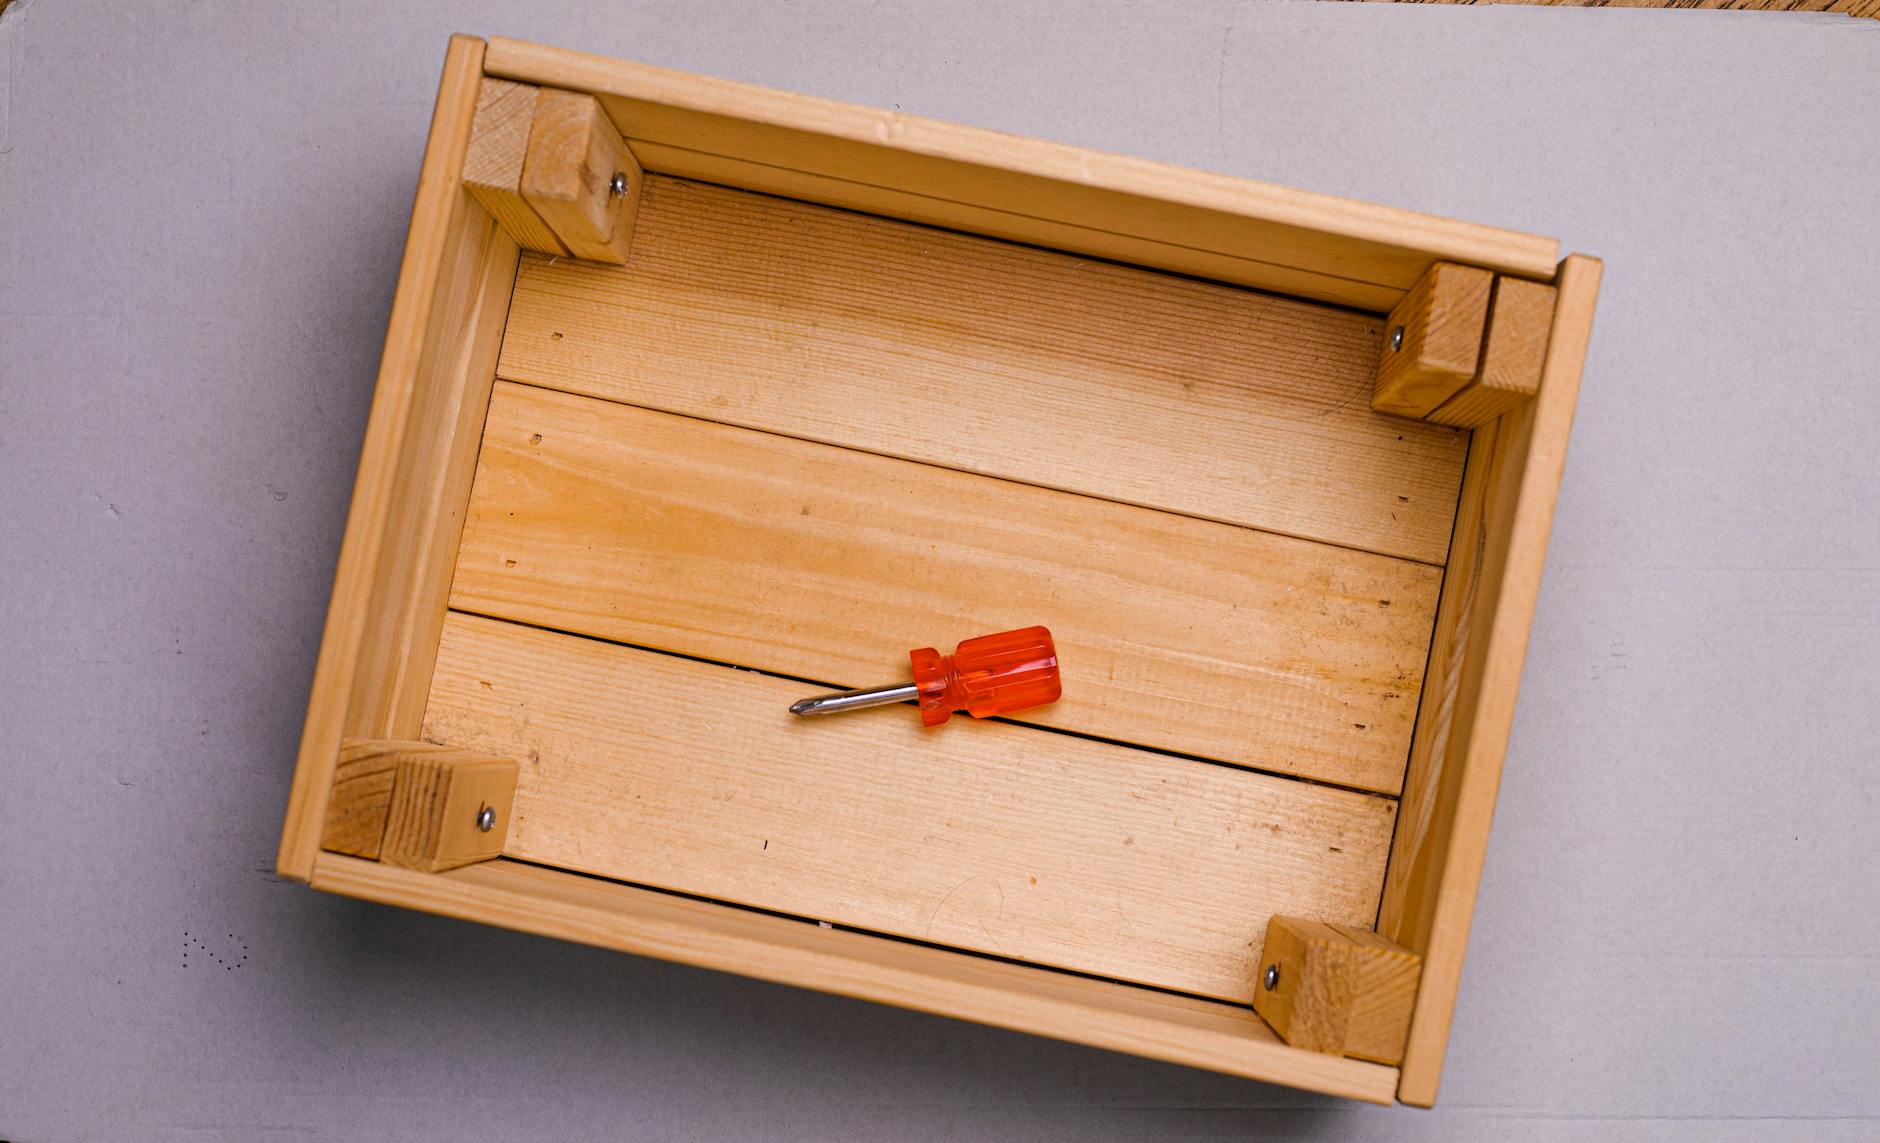 Image courtesy of Sergey Meshkov via
 Table of Contents
- Introduction: Becoming Your Own PlayStation Repair Hero
- Understanding Your PS4 Controller
- Steps Before You Start the Repair
- PS4 V2 Controller Repair Guide
- Fixing the PS4 Pro Console
- Troubleshooting a PS4 Slim Console
- Caring for Your Original PS4 Console
- Preventing Future Problems
- Wrap Up: Mastering PS4 Repairs
- FAQs: All About Fixing PS4 Controllers
Introduction: Becoming Your Own PlayStation Repair Hero
Hey there, aspiring PlayStation repair heroes! Are you a gaming enthusiast who loves spending hours battling dragons, scoring goals, or cruising through virtual worlds on your trusty PS4? Imagine this: You’re in the heat of the moment, about to clinch victory, when suddenly, disaster strikes! Your controller stops responding, and your gaming dreams are crushed. But fear not, young gamer, for you have the power to fix it yourself and get back to conquering your favorite games!
It’s common for PS4 controllers to encounter issues over time, like sticky buttons, unresponsive joysticks, or even battery troubles. But worry not, because in this PlayStation repair guide, you’ll learn the essential skills to become your own hero. So, gear up and get ready to embark on an epic journey of controller repair!
Understanding Your PS4 Controller
When you’re playing your favorite games on the PS4, the controller is your best friend. It helps you navigate through virtual worlds, battle enemies, and score victories. But what happens when your trusty controller starts acting up? Let’s dive into what makes the PS4 controller work and why it sometimes needs fixing.
What Makes the PS4 Controller Work
The PS4 controller is a sophisticated piece of technology designed to respond to your every move. It is equipped with buttons, joysticks, a touchpad, and even a light bar that changes color during gameplay. Every press of a button or movement of a joystick sends signals to the console, allowing you to control your game.
Common Controller Problems
Just like any electronic device, the PS4 controller can encounter issues over time. Some common problems include sticky buttons that don’t press smoothly, joysticks that drift or get stuck, or the controller not charging properly. These issues can disrupt your gaming experience, but don’t worry, many of them can be fixed with a little know-how and some simple tools.
Steps Before You Start the Repair
Before you begin fixing your PS4 controller, make sure you have all the necessary tools. You will need screwdrivers of various sizes to open up the controller and access its components. Additionally, having a cleaning cloth handy can help you wipe down any dirt or grime that may be causing issues. Having all your tools in one place will make the repair process smoother and more efficient.
Start your Buy, Sell, Repair Game Console. To find your closest store
Safety First!
Prior to starting any repairs on your PS4 controller, remember to prioritize safety. The first step is to turn off your PlayStation console to avoid any accidental button presses or interference during the repair. Ensuring that the console is off will prevent any mishaps and keep you safe while working on your controller. Safety should always come first!
PS4 V2 Controller Repair Guide
Is your PS4 V2 controller acting up? Don’t worry, we’ve got you covered with this easy-to-follow repair guide. Let’s get your controller back in tip-top shape!
Fixing Buttons
If you find that your buttons are sticky or unresponsive, follow these simple steps to get them working again. First, gently pry up the buttons using a small tool. Next, clean underneath the buttons with a soft cloth or cotton swab and some rubbing alcohol. Make sure to let it dry thoroughly before putting the buttons back in place. Voila! Your buttons should be good as new.
Battery Troubles
If your controller isn’t holding a charge like it used to, it might be time to check and replace the battery. Start by locating the battery compartment on the back of the controller. Carefully remove the old battery and replace it with a new one, making sure it’s installed correctly. After that, put the controller back together and charge it up. Your controller should now be ready for some more gaming fun!
Fixing the PS4 Pro Console
When your PS4 Pro console starts acting up, there are a few simple fixes you can try before panicking. Here are some tips to get your gaming back on track!
Resetting Your PS4 Pro
If your PS4 Pro is acting glitchy or slow, a quick reset might do the trick. To reset your console, go to Settings > Initialization > Initialize PS4. This will restore your console to its factory settings, so make sure to back up your saved data beforehand. After the reset, your PS4 Pro should be running smoothly again.
Cleaning the Dust Out
One common issue that can cause your PS4 Pro to overheat is a buildup of dust inside the console. To prevent this from happening, you can open up your PS4 Pro and carefully clean out any dust with a soft brush or compressed air. Make sure to do this in a well-ventilated area and be gentle to avoid damaging any components. Regularly cleaning the dust out of your PS4 Pro can help keep it running cool and quiet.
Troubleshooting a PS4 Slim Console
When you’re having issues with your PS4 Slim, it can be frustrating. But don’t worry, we’ve got you covered with some troubleshooting tips to get your console back up and running in no time!
| Step | Description |
|---|---|
| 1 | Identify the issue with your PS4 controller, such as unresponsive buttons or sticky analog sticks. |
| 2 | Remove the screws on the back of the controller using a Phillips head screwdriver. |
| 3 | Open the controller carefully, being mindful of any ribbon cables that may be connected. |
| 4 | Clean the internal components of the controller using compressed air and a soft cloth. |
| 5 | Inspect the buttons and analog sticks for any damage or debris that may be causing the issue. |
| 6 | Replace any faulty components with new ones, such as buttons or analog stick modules. |
| 7 | Reassemble the controller carefully and test it to ensure the issue has been resolved. |
Power Issues
If your PS4 Slim won’t turn on, there are a few things you can try. First, check to make sure the power cable is securely plugged in both to the console and the outlet. If that doesn’t work, try using a different power outlet to see if that solves the problem. Sometimes, the issue can be as simple as a loose connection.
Software Updates
One common reason for issues with the PS4 Slim is outdated software. Make sure your console is connected to the internet and check for any available updates. Updating the software can often fix bugs or glitches that are causing problems with your console’s performance.
Caring for Your Original PS4 Console
Keeping your original PS4 console in top shape is essential for enjoying seamless gaming experiences. Regular maintenance can help prevent common issues and extend the lifespan of your beloved console. Make sure to dust the exterior of the console regularly to avoid overheating. You can use a soft, dry cloth to wipe away any dust that may have accumulated on the surface.
When to Seek Professional Help
While taking care of your original PS4 console is crucial, there may come a time when you encounter complex problems that require professional assistance. If you notice persistent issues like system errors, overheating, or unusual noises coming from your console, it might be time to seek help from trained technicians.
Preventing Future Problems
One of the best ways to prevent future PS4 controller repairs is to handle your controller with care. This means no throwing, dropping, or slamming the controller during intense gaming sessions. By treating your controller gently, you can avoid unnecessary damage that would require repairs.
The Importance of Cleaning
Another crucial step in preventing future PS4 controller issues is to keep it clean. Dust, dirt, and grime can build up over time and cause buttons to stick or sensors to malfunction. To avoid these problems, regularly wipe down your controller with a clean, dry cloth. Additionally, you can use compressed air to gently blow out any dust that may have accumulated in the crevices of the controller.
Wrap Up: Mastering PS4 Repairs
Now that you’ve delved into the world of PS4 repairs, you’re well on your way to becoming a PlayStation repair hero! Mastering PS4 repairs takes patience, a steady hand, and a bit of know-how, but with practice, you can tackle common issues with ease.
Key Takeaways
Remember, understanding how your PS4 controller works is the first step in diagnosing and fixing issues. Whether it’s sticky buttons, unresponsive joysticks, or a battery that won’t charge, knowing the ins and outs of your controller can help you troubleshoot effectively.
Before you start any repair, always gather the necessary tools and take safety precautions to ensure a smooth and safe fixing process. Turning off your console, using the right screwdrivers, and working in a well-lit area are essential for successful repairs.
Specific guides for repairing the PS4 V2 controller, fixing the PS4 Pro console, troubleshooting the PS4 Slim, and caring for the original PS4 console offer step-by-step instructions tailored to each device. By following these guides carefully, you can address common issues and keep your PlayStation running smoothly.
Embrace the DIY Spirit
Repairing your PS4 isn’t just about fixing a problem – it’s about empowerment. By taking matters into your own hands and learning how to repair your console and controllers, you’re gaining valuable skills that can serve you well in the future.
So, don’t be afraid to take on the challenge of PS4 repairs. With practice and a can-do attitude, you can master the art of fixing PlayStation devices and enjoy a gaming experience that’s free from technical hiccups.
FAQs: All About Fixing PS4 Controllers
Can I fix the controller by myself?
Yes, you can definitely try fixing your PS4 controller by yourself! Sometimes, the issues are simple to solve with a little bit of troubleshooting. Just make sure to follow the steps carefully and be patient while working on it. However, if you ever feel unsure or uncomfortable with fixing it on your own, it’s always okay to ask an adult for help or take it to a professional for repairs.
What if my controller still doesn’t work after fixing?
If you’ve tried fixing your PS4 controller and it’s still not working properly, don’t worry! There are a few things you can do to troubleshoot further. First, double-check all the connections to make sure everything is properly in place. Next, try resetting the controller by turning it off and back on. If the problem persists, you might want to consider replacing the battery or seeking help from a professional repair service. Remember, it’s always better to be safe than sorry!
Book your Game Console, Controller Repair

Your Repair , Our Concern- Leave your mobile phone number and we will call you back . Consolefixit are experts at fixing game consoles. If your Xbox, PlayStation, or Nintendo is broken and needs repairing, give us a call for a free quote today.


