Learn how to troubleshoot and fix your malfunctioning Joy-Con controllers with this comprehensive repair guide for Nintendo Switch users.
Table of Contents
Hey there, friend! Do you love playing games on your Nintendo Switch, but your Joy-Con controllers are giving you a tough time? No worries! This guide is like a treasure map that will help you fix your Joy-Con and get back to the fun!
What’s up with Your Joy-Con?
First off, let’s figure out why your Joy-Con might be acting a bit wacky. We’ll check a few common things that can go wrong and see if maybe it’s time for a Joy-Con replacement.
Common Joy-Con Troubles
Sometimes Joy-Con buttons don’t listen well, or they start moving on their own. Let’s learn about the usual troubles and what they do.
Do You Need a New Joy-Con?
If fixing doesn’t work, it might be time to think about getting a new controller.
Getting Ready to Repair
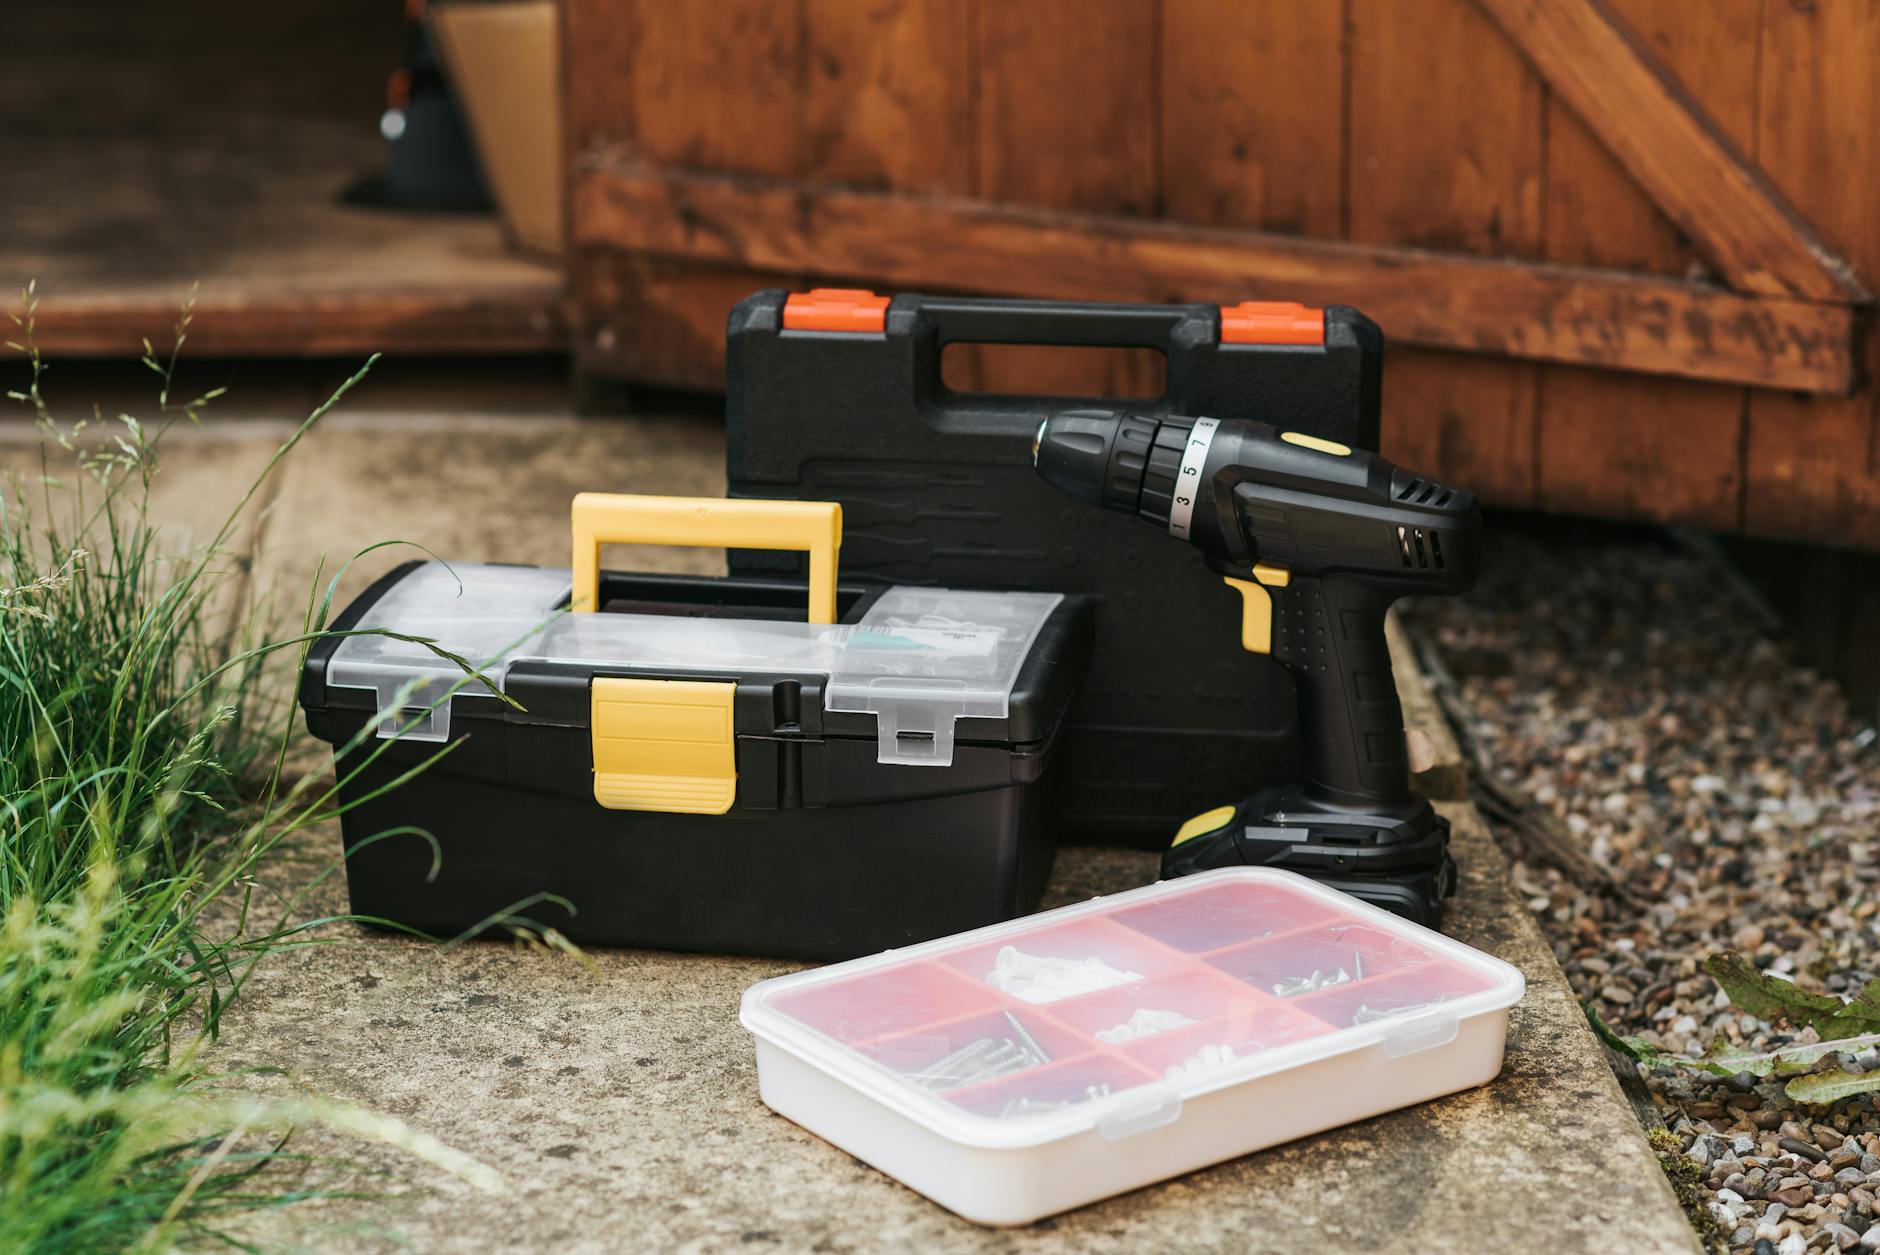
Before we start our repair adventure to fix your Nintendo Switch Joy-Con, it’s important to make sure we are prepared. We need to gather some tools and learn how to be safe so we don’t hurt ourselves or our precious gaming console.
Tools of the Trade
First things first, let’s talk about the special tools you’ll need to get the job done right. To open up your Joy-Con and make the necessary fixes, you’ll need a special screwdriver called a tri-wing screwdriver. This tool is essential for removing the screws that hold the Joy-Con together. Make sure to have this screwdriver on hand before you begin your repair.
Additionally, having a pair of tweezers can be helpful for handling small and delicate components inside the Joy-Con. Tweezers can make it easier to maneuver and place parts back together during the repair process.
It’s also a good idea to work on a clean, flat surface with plenty of light. This will help you see what you’re doing and prevent losing any tiny screws or pieces during the repair. Remember, it’s always better to work in a well-lit area to make the repair process smoother and more efficient.
Step-by-Step Joy-Con Repair
It’s time to dive into the repair! We’re going to take it step-by-step to make sure we do it just right.
Open Sesame!
We’ll show you how to carefully open up your Joy-Con without breaking anything.
Fixing the Insides
Here, we’ll look at what might need fixing inside the Joy-Con and how to do it.
Putting It All Back Together
After we’ve made the fix, we need to close up the Joy-Con neatly, like finishing a puzzle.
Testing Your Joy-Con
Now that we’ve fixed it, let’s test our Joy-Con to make sure it’s working like a charm.

Image courtesy of www.amazon.com via Google Images
Button Testing
Push all the buttons! How do they feel now? Let’s play a game to test.
Joystick Check
Move the joystick in all directions. Is it smooth? Is it listening to you well?
What if My Joy-Con Still Isn’t Happy?
Even the best adventurers sometimes need a little more help. If your Joy-Con is still frowning, let’s talk about what to do next.
Try, Try Again
It’s okay to try the fix again, or maybe check if another part needs repairing. Sometimes, a small adjustment can make a big difference. Don’t give up just yet!
To Replace or Not to Replace
If your Joy-Con is still not working properly after multiple attempts at repair, it might be time to consider a replacement. While it can be a tough decision, sometimes a new Joy-Con is the best way to ensure you can get back to gaming without any more hiccups.
Caring for Your Joy-Con
Your Joy-Con has been fixed, and it’s all set for more gaming fun! But just like any good friend, it needs some care and attention to make sure it stays in top shape. Here are a few simple tips to keep your Joy-Con happy every day:

Image courtesy of www.ifixit.com via Google Images
First off, make sure to keep your Joy-Con clean. Sometimes dirt or dust can sneak into the buttons and cause problems. Use a soft, dry cloth to gently wipe down the surface of your Joy-Con regularly to keep it shiny and free from grime.
It’s also important to be gentle with your Joy-Con. Avoid dropping it or throwing it around, as rough handling can damage the delicate internal parts. Treat it with care, and it will work like a charm for a long time.
Handling the Switch Dock
Just like your Joy-Con, the Switch dock needs a little TLC to ensure it stays in good condition. The dock is where your Joy-Con rests when you’re not playing, so let’s make sure it’s a cozy spot for your controllers:
Keep the dock clean and dust-free by wiping it down with a soft cloth regularly. Dust can build up in the dock’s connectors and affect how your Joy-Con charges and connects to the Switch. A quick wipe-down will keep everything running smoothly.
When inserting or removing your Joy-Con from the dock, be gentle and avoid forcing them in. The connectors are sensitive, so a little patience goes a long way in preventing any damage. Make sure your Joy-Con clicks into place securely when docking to avoid any loose connections.
Conclusion
Awesome job fixing your Joy-Con! Remember, taking care of your gaming gear means more fun times ahead. Keep this guide handy for your next repair adventure!
Generated by Texta.ai Blog Automation

 PlayStation Repair
 Xbox Repair
 Nintendo Repair
 Virtual reality (VR) Repair
 Accessories Repair


