From here you can book your game console, controller repair with us
Game Console & Controller Repairs
Any PS5 Console, PS5 Controller
Any PS4 Console, PS4 Controller
Any Xbox Series Console, Xbox Series Controller
Any Xbox One Console, Xbox One Controller
Any Nintendo Switch Console, Joy Con Controller
Have you ever been playing your Nintendo Switch and noticed that your game character starts moving all on its own, even when you’re not touching the controller? This frustrating issue is called Joy-Con drift. Let’s dive into what Joy-Con drift is and why it happens.
Joy-Con drift is when the joystick on your Nintendo Switch controller starts acting glitchy and moves characters or objects in games without you even touching it. It’s like the controller has a mind of its own! This can make playing games really difficult and not as fun as it should be.
Signs of Joy-Con Drift
Do you ever feel like your game controller is acting strange? It might be experiencing something called Joy-Con drift. Let’s take a closer look at the signs that your Joy-Con is drifting.
Characters Moving on Their Own
Have you ever been playing a game, and suddenly your character starts moving without you touching anything? That’s one sign of Joy-Con drift. It can be frustrating when your game character has a mind of its own!
Unresponsive Joystick
When you try to move your joystick, but nothing happens on the screen, it could be a sign of Joy-Con drift. The joystick might not be responding the way it should, making it difficult to control your game.
Misaligned Controls
Imagine trying to jump in your game, but instead, your character crouches. Misaligned controls, where the actions on the screen don’t match what you’re doing with the joystick, can be caused by Joy-Con drift.
Preparing for the Fix
Before you start fixing your Nintendo Switch Joy-Con, make sure you have all the tools you need. You’ll just need a simple screwdriver and a pair of tweezers. These tools will help you open up the Joy-Con and get to the root of the problem.
It’s essential to have a clean and organized workspace when you’re fixing your Joy-Con. Find a well-lit area with plenty of space to spread out your tools and pieces of the controller. This will help you keep track of everything and make the repair process much easier.
Step-by-Step Guide to Fix Joy-Con Drift
In this section, we will walk you through the process of fixing Joy-Con drift in a simple and easy-to-understand way. Follow these steps carefully to get your Nintendo Switch controller working smoothly again.
Opening the Joy-Con
To start fixing the drift issue, you’ll need to carefully open the Joy-Con case. Use a small screwdriver to remove the screws holding the case together. Be gentle to avoid damaging any parts inside.
Inspecting the Joystick
Once you have the Joy-Con open, take a close look at the joystick mechanism. Check for any dust, dirt, or damage that may be causing the drift. You may need to use tweezers to remove debris gently.
Start your Buy, Sell, Repair Game Console. To find your closest store
Leave your mobile phone number and we will call you back
Cleaning or Replacing the Joystick
If you find dirt or dust causing the issue, use a q-tip or compressed air to clean the affected areas. If the joystick is damaged beyond repair, you may need to replace it with a new one. Follow the manufacturer’s instructions for proper replacement.
Testing the Repair
After cleaning or replacing the joystick, put the Joy-Con back together and test it out. Check if the drift issue has been resolved by playing a game and seeing if the controls respond correctly. If the problem persists, you may need to revisit the cleaning or replacement steps.
Step
Description
1
Unscrew the screws on the back of the Joy-Con controller
2
Carefully pry open the Joy-Con casing to reveal the internal components
3
Locate the joystick mechanism and gently clean any debris or dust that may be causing the drift
4
Apply a small amount of contact cleaner to the joystick mechanism to help prevent future drift issues
5
Reassemble the Joy-Con controller and test to ensure the drift issue has been resolved
Closing the Joy-Con
Once you have confirmed that the drift issue is fixed, carefully close the Joy-Con case. Make sure all the screws are securely back in place and that the case is aligned correctly. Test the controller again to ensure everything is working as it should.
Preventing Future Drift
Now that you’ve successfully fixed your Joy-Con drift issue, you’ll want to make sure it doesn’t happen again. By taking some simple steps to care for your Joy-Con, you can prevent drift from returning and keep your gaming experiences smooth and enjoyable.
Regular Cleaning
One way to prevent Joy-Con drift is by regularly cleaning your controllers. Dust, dirt, and debris can accumulate inside the Joy-Con and affect its performance. You can use a soft, dry cloth to wipe down the exterior of the controller and compressed air to gently blow away any particles inside. Keeping your Joy-Con clean can help maintain its functionality.
Proper Handling and Usage
Another important aspect of preventing future drift is handling and using your Joy-Con properly. Avoid dropping or mishandling the controller, as this can damage the internal components and lead to drift. Additionally, try to use the joystick and buttons gently to reduce wear and tear. By treating your Joy-Con with care, you can extend its lifespan and avoid drift issues in the future.
When to Seek Professional Help
Sometimes, fixing Joy-Con drift may be a bit too tricky to handle on your own. There are instances where seeking the help of a professional is the best course of action.
Complex Issues
If you encounter issues during the repair process that seem too complicated or require specialized knowledge, it’s time to reach out to a professional. They have the expertise and tools necessary to tackle more complex problems and ensure your Joy-Con is fixed properly.
Warranty and Service Options
If your Nintendo Switch is still under warranty, it’s a good idea to check with Nintendo for repair services. They may offer to fix the Joy-Con for you at no additional cost, provided the issue is covered by the warranty. Even if your warranty has expired, Nintendo might still provide repair services for a fee. It’s essential to explore all your options before attempting any repairs yourself.
Summing Up the DIY Repair Journey
Now that you’ve learned about Joy-Con drift and how to fix it, you’re one step closer to becoming a pro at Nintendo Switch repairs. Remember, when your controller starts acting up, you don’t always have to rush to find a professional to help you out. With the right tools and a little bit of patience, you can take matters into your own hands and get back to gaming in no time.
By following the step-by-step guide we’ve provided, you can open up your Joy-Con, inspect the joystick, clean or replace it, test your repair work, and then carefully close everything back up. It’s a process that may seem daunting at first, but with a little practice, you’ll soon find yourself breezing through it like a pro.
Don’t forget to keep your Joy-Con well-maintained to prevent future drift issues. Regular cleaning and proper handling can go a long way in extending the life of your controller. And if you ever find yourself facing a more complex issue that’s beyond your expertise, don’t hesitate to reach out to Nintendo’s repair services for assistance.
So, next time you encounter Joy-Con drift, instead of feeling frustrated, remember that you now have the knowledge and skills to tackle the problem head-on. Who knows, you might even become the go-to repair expert among your friends!
FAQs: Common Questions on Joy-Con Drift
Is it hard to repair Joy-Con drift by myself?
Don’t worry, fixing Joy-Con drift can be easy with some guidance! By following the step-by-step instructions provided in this guide, you’ll be able to repair your drifting Joy-Con without any hassle.
How long does a Joy-Con repair take?
The time it takes to repair a Joy-Con drift can vary depending on your comfort level with DIY repairs. On average, it might take around 30 minutes to an hour to complete the repair process. Just take your time and follow each step carefully for the best results.
Is it better to clean or replace the joystick?
When it comes to fixing Joy-Con drift, both cleaning and replacing the joystick can be effective solutions. Cleaning the joystick may temporarily resolve the issue, while replacing it with a new one ensures a longer-term fix. It’s up to you to decide based on the severity of the drift problem and your preference for a quick fix or a more lasting solution.

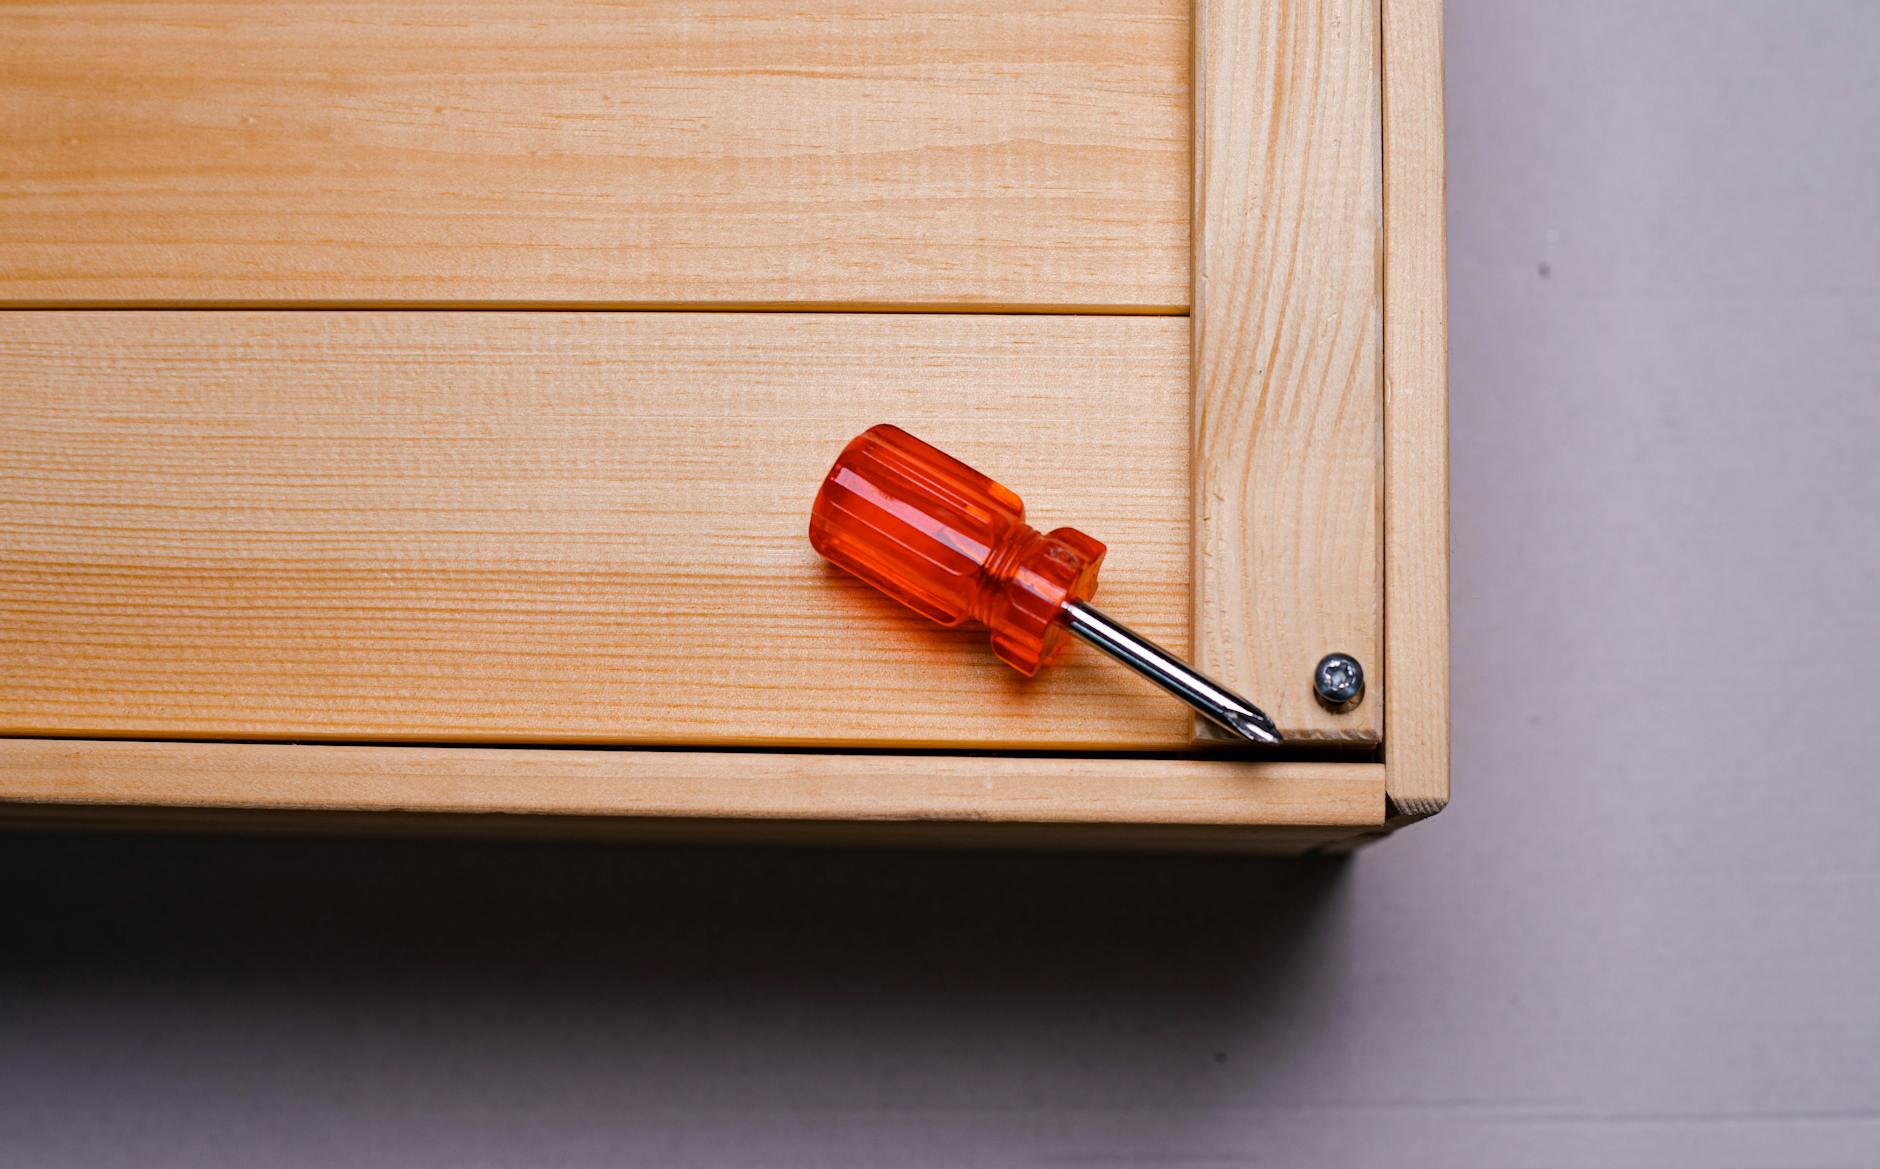 Image courtesy of Sergey Meshkov via


 PlayStation Repair
 Xbox Repair
 Nintendo Repair
 Virtual reality (VR) Repair
 Accessories Repair