From here you can book your game console, controller repair with us
Game Console & Controller Repairs
Any PS5 Console, PS5 Controller
Any PS4 Console, PS4 Controller
Any Xbox Series Console, Xbox Series Controller
Any Xbox One Console, Xbox One Controller
Any Nintendo Switch Console, Joy Con Controller
We all love playing games on our Nintendo Switch, but there’s one pesky problem that can get in the way of our gaming fun – Joy-Con drift. If you’ve ever experienced your character moving on its own or not responding properly to your commands, you might be dealing with Joy-Con drift. This issue can be frustrating, but don’t worry, we’re here to help you understand what Joy-Con drift is all about and how you can fix it!
Joy-Con drift is when your Nintendo Switch controller’s joystick starts to act up on its own, causing your in-game character to move without you touching the controller. It’s like having a mind of its own! This can make it really hard to play your favorite games and enjoy the full gaming experience.
But why does Joy-Con drift happen in the first place? Sometimes dust or debris can get stuck inside the joystick, causing it to malfunction. Other times, the wear and tear from regular use can also lead to drifting issues. Whatever the cause may be, it’s essential to address Joy-Con drift so you can get back to playing your favorite games hassle-free.
Understanding Joy-Con Drift
Dealing with Joy-Con drift can be frustrating, especially when you’re all set to play your favorite games on the Nintendo Switch. But what exactly is Joy-Con drift, and why does it happen? Let’s break it down in simple terms so you can grasp the issue better.
What is Joy-Con Drift?
Joy-Con drift is when the joystick on your Nintendo Switch controller moves around on its own, even when you’re not touching it. This can make it hard to control your character in a game, causing unwanted movements or camera angles that disrupt your gameplay.
Why Do Joy-Cons Start to Drift?
There are a few reasons why your Joy-Con might start drifting. One common cause is the accumulation of dust and debris inside the controller, which can interfere with the joystick’s movement sensors. Another reason could be wear and tear over time, causing the joystick components to malfunction.
Before You Start the Repair
Before you begin repairing your Joy-Con, make sure you have all the necessary tools handy. You will need a small Phillips-head screwdriver, a tri-wing screwdriver, a plastic opening tool, tweezers, isopropyl alcohol, and a replacement joystick.
Preparing Your Workspace
Creating a suitable work area is essential for a successful Joy-Con repair. Find a clean and well-lit space to work in. Lay down a soft cloth to prevent scratching the Joy-Con or losing any small screws. Make sure you have enough room to spread out your tools and keep everything organized.
Step-by-Step Repair Guide
So, you’ve spotted some drift in your Joy-Con while playing your favorite Nintendo Switch games. Don’t worry, we’ve got you covered with a simple step-by-step guide to help you fix the issue and get back to gaming in no time!
Opening Up the Joy-Con
To begin fixing the drift in your Joy-Con, you’ll need to carefully open up the case. Grab a small screwdriver and gently unscrew the screws holding the Joy-Con together. Be sure to keep track of the tiny screws as you remove them so you don’t lose them!
Replacing the Joystick
Once you have the case open, locate the problematic joystick causing the drift. Carefully disconnect it from the circuit board, making sure not to damage any of the other components. Next, take your replacement joystick and carefully connect it to the circuit board in the same spot where the old one was. Make sure it’s securely in place before moving on to the next step.
Reassembling the Joy-Con
With the new joystick in place, it’s time to put your Joy-Con back together. Gently line up the two halves of the case and carefully screw all the screws back in. Make sure everything is snug but not over-tightened. Once you’ve reassembled the Joy-Con, give it a quick visual check to make sure everything looks good before moving on to testing it out.
Start your Buy, Sell, Repair Game Console. To find your closest store
Leave your mobile phone number and we will call you back
Testing the Fixed Joy-Con
After replacing the joystick in your Joy-Con to fix the annoying drift issue, it’s important to test the controller to ensure the problem has been resolved. Testing the Joy-Con will help you determine if the repair was successful and if you can now get back to enjoying your favorite games on your Nintendo Switch without any issues.
Image courtesy of reviewed.usatoday.com via Google Images
How to Test the Joystick
To test the fixed Joy-Con, simply turn on your Nintendo Switch and navigate to a game that requires precise movements, such as aiming or moving characters. Pay close attention to how the joystick responds to your commands. Move the joystick in all directions and see if the on-screen movement matches your input accurately.
If the joystick is working properly, you should notice that there is no unintended drifting or movement without your control. The character or cursor on the screen should move smoothly and precisely based on how you are manipulating the joystick. Testing the Joy-Con in different games and scenarios can help you confirm that the drift issue has been successfully fixed.
What to Do If the Drift Persists
If, after testing the fixed Joy-Con, you find that the drift issue persists, there are a few steps you can take to troubleshoot the problem. First, double-check that the joystick replacement was done correctly and that all components are securely in place. Sometimes, a loose connection or improper installation can cause continued drifting.
Step
Description
1
Identify the affected Joy-Con controller
2
Disconnect the Joy-Con from the Switch
3
Remove the rubber dust cover from the affected joystick
4
Use compressed air to clean around the affected joystick
5
Apply a small amount of electrical contact cleaner to the affected joystick
6
Move the joystick in all directions to help the cleaner penetrate
7
Let the Joy-Con dry for a few minutes before reassembling and testing
If you are confident that the replacement was done correctly, you may need to consider seeking professional help to diagnose and fix the issue. There could be underlying problems with the Joy-Con that require specialized knowledge and tools to repair. Additionally, if the Joy-Con is still under warranty, you may be able to get a replacement or repair from Nintendo.
Prevention: Tips to Avoid Future Drift
Once you’ve fixed your Joy-Con drift issue, you’ll want to make sure it doesn’t happen again. Here are some handy tips to help you keep your Joy-Cons in top condition for a long time.
Proper Joy-Con Use and Handling
It’s essential to handle your Joy-Cons with care to prevent unnecessary wear and tear. Avoid dropping them or subjecting them to impacts that could damage the delicate internals. Remember, these controllers are designed for gaming, not rough handling!
Regular Maintenance and Cleaning
Just like any electronic device, your Joy-Cons need a little TLC from time to time. Regularly cleaning the joysticks and buttons with a soft cloth can prevent debris from causing issues. Additionally, consider storing your Joy-Cons in a clean, dust-free environment when not in use to avoid buildup that could lead to drift.
By following these simple tips, you can prolong the life of your Joy-Cons and enjoy uninterrupted gaming sessions on your Nintendo Switch.
When to Seek Professional Help
While attempting to fix Joy-Con drift can be a rewarding experience, there may come a time when you need to seek professional help. Here are some signs that it’s time to stop trying to fix it on your own:
If you’ve followed all the steps in the repair guide and the Joy-Con drift issue still persists, it might be best to take your Nintendo Switch to a professional repair shop. Look for a repair shop that is reputable and has experience working with Nintendo products. You can ask for recommendations from friends or family, or simply search online for reviews of repair shops near you.
Considering Replacement Joy-Con
If the cost of repair seems too high or if the Joy-Con is beyond fixing, you might want to consider buying a replacement Joy-Con. While this may be an additional expense, it could save you time and frustration in the long run. Make sure to purchase genuine Nintendo products to ensure compatibility and quality.
Conclusion: Enjoy your Repaired Joy-Con
After following the step-by-step guide to fix your Joy-Con drift, it’s time to enjoy your newly repaired Joy-Con and get back to gaming on your Nintendo Switch. You’ve successfully replaced the joystick, put the Joy-Con back together, and tested it to ensure the drift issue is resolved. Now, it’s time to have fun!
With your replacement Joy-Con in hand, you can now enjoy playing your favorite games without any interference caused by the drift. Whether you’re exploring the vast landscapes of Hyrule in “The Legend of Zelda: Breath of the Wild” or competing in exhilarating races in “Mario Kart 8 Deluxe,” your gaming experience will be smooth and precise.
Remember, taking care of your Joy-Cons is essential to prevent drift from happening again in the future. By following proper handling techniques and regular maintenance tips, you can prolong the life of your controllers and continue to enjoy uninterrupted gameplay.
So, grab your newly fixed Joy-Con, power up your Nintendo Switch, and immerse yourself in the exciting worlds of your favorite games. Have fun gaming, and may your Joy-Con drift issues be a thing of the past!
FAQs (Frequently Asked Questions)
Why did my Joy-Con start to drift?
Joy-Con drift can happen due to dust or debris getting inside the joystick mechanism, causing it to malfunction. It can also occur because of wear and tear over time, leading to the joystick not functioning correctly.
Can I fix Joy-Con drift myself?
Absolutely! With the right tools and a clear guide like the one provided in this article, many 11-year-old kids have successfully fixed their Joy-Con drift issues. Just follow the step-by-step instructions carefully, and you’ll be back to playing your favorite Nintendo Switch games in no time.
What should I do if I can’t fix the drift?
If you find that the drift issue persists even after attempting the repair, don’t worry! It’s essential to know when to seek professional help. You can take your Nintendo Switch to a trustworthy repair shop near you for expert assistance. If fixing it isn’t an option, considering a replacement Joy-Con could be a viable solution to get back to a seamless gaming experience.

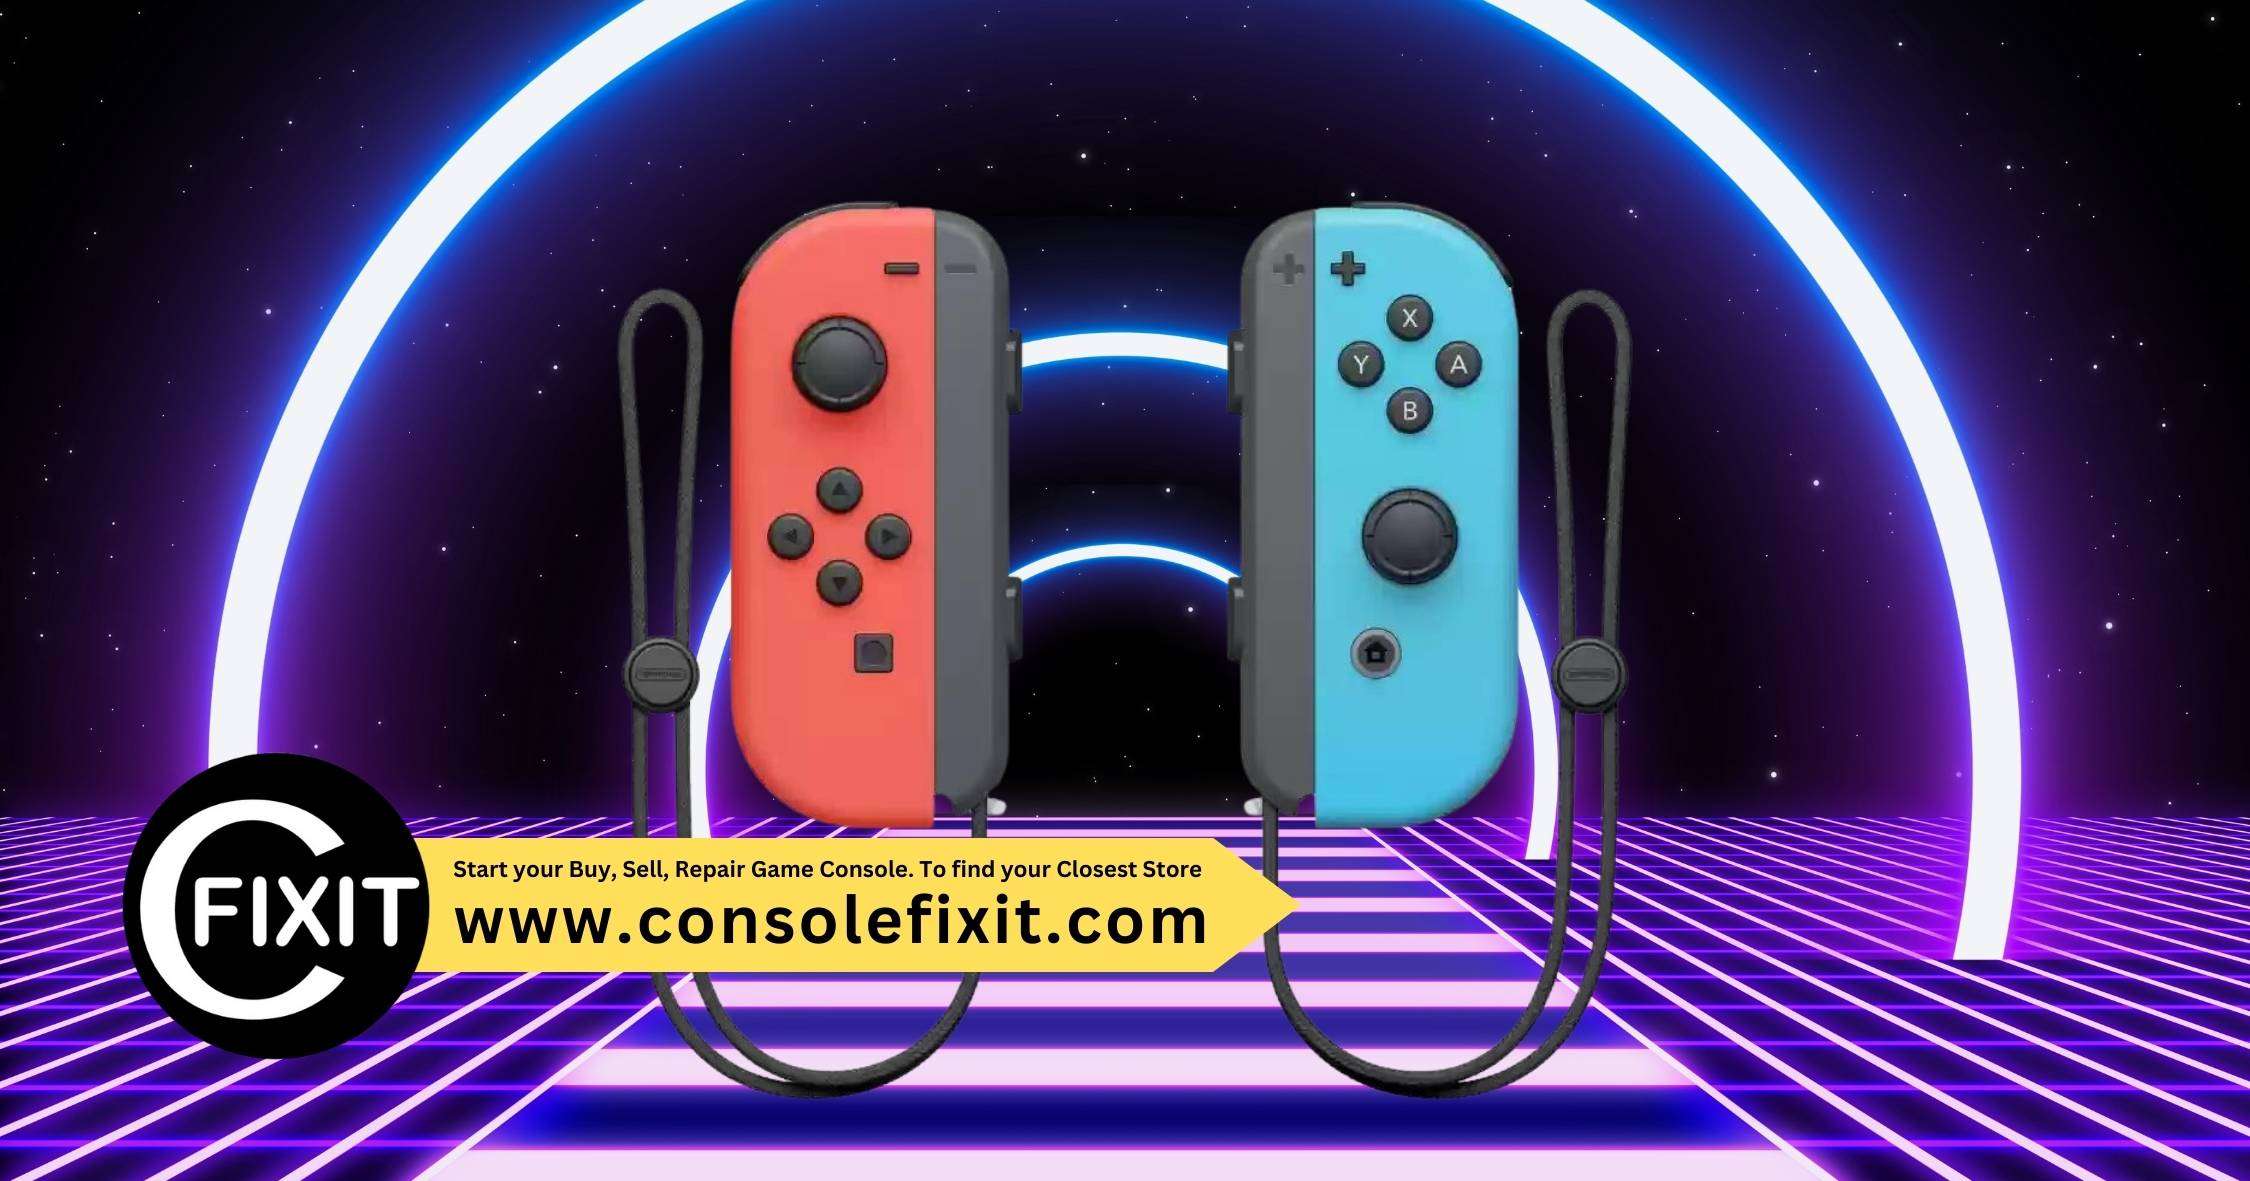
 Image courtesy of Sergey Meshkov via
 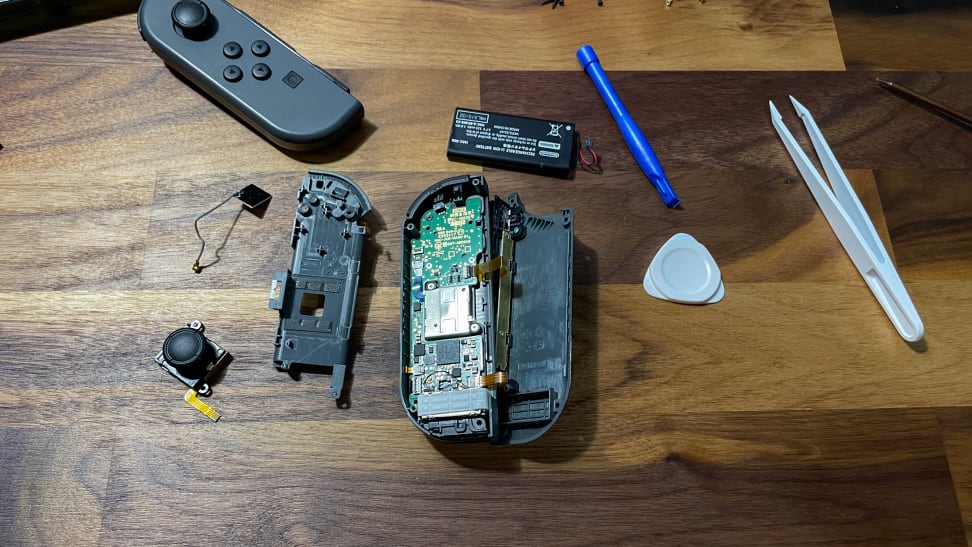 Image courtesy of reviewed.usatoday.com via
  Image courtesy of m.youtube.com via


 PlayStation Repair
 Xbox Repair
 Nintendo Repair
 Virtual reality (VR) Repair
 Accessories Repair