From here you can book your game console, controller repair with us
Game Console & Controller Repairs
Any PS5 Console, PS5 Controller
Any PS4 Console, PS4 Controller
Any Xbox Series Console, Xbox Series Controller
Any Xbox One Console, Xbox One Controller
Any Nintendo Switch Console, Joy Con Controller
We’re going to learn about what ‘Joy Con drift’ is. This is when the joystick on a Nintendo Switch controller starts moving on its own! It can be frustrating when your game character moves without you even touching the controller. Let’s find out more about this issue and why it’s important to fix it.
What is Joy Con Drift?
Sometimes your game character moves without you touching the controller. That’s called ‘drift’, and we’ll see why it happens. The joystick on the controller may start acting up, causing your character to move on its own. This can make playing games difficult and less enjoyable.
Why Fixing it is Important
We want to make sure you can play your games the right way. Fixing the drift helps your games work better. Imagine trying to race in Mario Kart but your car keeps moving on its own—it can be super frustrating! By fixing the Joy Con drift, you can enjoy your games without any unexpected movements.
Gathering Your Repair Tools
Let’s look at what tools you need to be like a detective fixing this controller mystery.
Tool List
We’ll make a list of simple tools you can find at home or buy from a store.
To fix the Joy Con drift, you’ll need a small screwdriver, a pair of tweezers, a set of replacement joysticks, and a cleaning cloth. These tools will help you open up the controller, remove the faulty joystick, and replace it with a new one. Make sure to have all these items ready before you start your repair journey!
Understanding Your Joy Con
Before we start fixing the Joy Con drift, let’s take a closer look at this interesting controller.
Parts of the Joy Con
When you hold your Nintendo Switch controller, you’ll see different buttons and lights. But the most important part causing trouble is the joystick. It’s the little stick that helps you move your game character around. Sometimes, it’s this tiny piece that decides to move all on its own!
Preparing for the Repair
Before we dive into fixing the Joy Con drift, we need to get ready for our repair mission. Let’s make sure we have everything in place so we can successfully bring the controller back to its working state.
Safety First
Safety is our top priority when working on any DIY project. Let’s remember to unplug the Joy Con from the Nintendo Switch before we begin. This way, we avoid any accidental button presses while working on the controller. It’s also a good idea to have a clean, well-lit workspace to prevent losing any tiny screws or components.
Start your Buy, Sell, Repair Game Console. To find your closest store
Leave your mobile phone number and we will call you back
Setting up Your Workspace
Find a comfortable and well-lit area where you can spread out and work on the Joy Con without any distractions. Make sure to have a clean surface to place all the tools and the Joy Con itself. It’s also helpful to have a small container to keep track of the screws you’ll be removing to avoid losing them.
Step-by-Step Joy Con Repair Guide
First, we need to carefully open up the Joy Con to access the joystick inside. Make sure to use a small Phillips screwdriver to remove the screws from the back of the controller. Gently pry open the casing to reveal the inner components.
Once the Joy Con is open, locate the joystick that is causing the drift issue. Carefully disconnect the ribbon cable connected to the joystick and remove any screws holding it in place. Replace the old joystick with a new one, ensuring it is securely attached and all connections are properly made.
Putting it All Back Together
After the new joystick is in place, carefully reassemble the Joy Con by following the steps in reverse. Make sure all components are aligned correctly and the screws are tightly secured. Snap the casing back together and test the joystick to ensure it moves smoothly without any drift.
Step
Description
1
Identify the affected Joy-Con
2
Unclip the back cover of the Joy-Con using a prying tool
3
Locate the joystick mechanism and housing
4
Clean the contact points with a cotton swab and alcohol
5
Apply lubricant to the joystick mechanism
6
Reassemble the Joy-Con and test for drift
7
Repeat the process if drift persists
Testing Your Joy Con
After fixing the drift in your Joy Con, the next step is to test if everything is working perfectly. Let’s make sure your Nintendo Switch controller is back to its best behavior!
The Test Run
Now is the exciting part. It’s time to play a game and see if the drift has been completely fixed. Choose a game that you enjoy and that requires precise movements. This will help you notice if the joystick is still acting up.
Start playing and pay close attention to how your character moves on the screen. Try moving in different directions and see if there are any sudden movements that you didn’t make yourself. If everything is smooth and under your control, then congratulations! You’ve successfully repaired your Joy Con.
If, however, you notice that the drift is still present, don’t worry. It might just need a bit more tweaking or another check. You can always go back and retrace your steps to make sure everything was done correctly. Don’t give up, detective!
Preventing Future Joy Con Drift
Now that we’ve fixed the Joy Con drift issue, let’s make sure it doesn’t happen again by taking good care of our controllers. Here are some simple tips to keep your Joy Con in top shape:
Care Tips for Your Joy Con
1. Keep your Joy Con clean: Dirt and dust can sneak into the joystick mechanism and cause drift. Wipe down your controllers regularly with a soft, dry cloth to prevent build-up.
2. Store your Joy Con properly: When you’re not using your controllers, make sure to store them in a safe place away from extreme temperatures, humidity, or direct sunlight. This will help prevent any damage to the internal components.
3. Avoid dropping or mishandling your Joy Con: Accidental drops or rough handling can damage the delicate joystick mechanism. Be gentle when using and storing your controllers to prolong their lifespan.
4. Update your Joy Con firmware: Periodically check for software updates for your Nintendo Switch console. Sometimes, firmware updates can fix bugs or issues that may lead to Joy Con drift.
By following these simple care tips, you can help prevent future Joy Con drift and ensure that your controllers work smoothly for a long time to come. Happy gaming!
What to Do If You Can’t Fix It Yourself
Sometimes a problem is too tricky, but don’t worry, there’s still hope! If you’ve tried everything and the Joy Con drift doesn’t go away, there are still options available to you.
Finding Help Nearby
If fixing the Joy Con yourself seems impossible, don’t panic! There are experts out there who can help you. Look around your neighborhood or town for shops or professionals that specialize in fixing electronics like video game controllers. They have the knowledge and tools to get your Joy Con back in tip-top shape.
Getting a Replacement
If, unfortunately, your Joy Con is beyond repair, it may be time to consider getting a replacement. You can visit a store that sells gaming accessories or even check online for a new Joy Con. Make sure to look for an official Nintendo replacement to ensure compatibility and quality.
Conclusion
Today, we went on a journey to learn about fixing Joy Con drift. We discovered how this issue can make your game character move without your control and discussed the importance of repairing it to enjoy your games fully.
By gathering the necessary tools and understanding the different parts of the Joy Con, we prepared ourselves for the repair process. We prioritized safety and set up a workspace where we could comfortably work on our controller.
Our step-by-step guide led us through the detective work of opening up the Joy Con, replacing the faulty joystick, and putting everything back together like a puzzle. After completing the repair, we tested the Joy Con to ensure it was functioning properly.
To prevent future Joy Con drift issues, we explored simple care tips to maintain the controller in good condition. In case you encounter a challenging problem that you can’t solve on your own, we discussed finding help nearby or getting a replacement Joy Con.
With these newfound skills and knowledge, you’re now equipped to tackle Joy Con drift and keep your gaming experience uninterrupted. Remember, with a little patience and care, you can conquer any controller issue that comes your way!
FAQs (Frequently Asked Questions)
Can I fix Joy Con drift by myself?
Yes, you can absolutely fix Joy Con drift by yourself! With the right tools and following the step-by-step guide provided in this blog post, you will be able to tackle the issue and enjoy playing your games without any unwanted movements from the joystick. It’s like solving a fun puzzle!
How long does it take to replace a joystick?
The time it takes to replace a joystick in a Joy Con controller may vary depending on your experience level and how comfortable you are with electronics. On average, if you follow the instructions carefully, it should take around 30 minutes to an hour to complete the replacement process. Take your time, be patient, and enjoy the repair adventure!
What do I do if the problem comes back?
If you encounter the Joy Con drift issue again after successfully replacing the joystick, don’t worry! You can revisit the step-by-step guide provided in this blog post to ensure that everything was done correctly. If the problem persists, it might be best to seek help from a professional or consider getting a replacement Joy Con. Remember, there’s always a solution to every gaming problem!


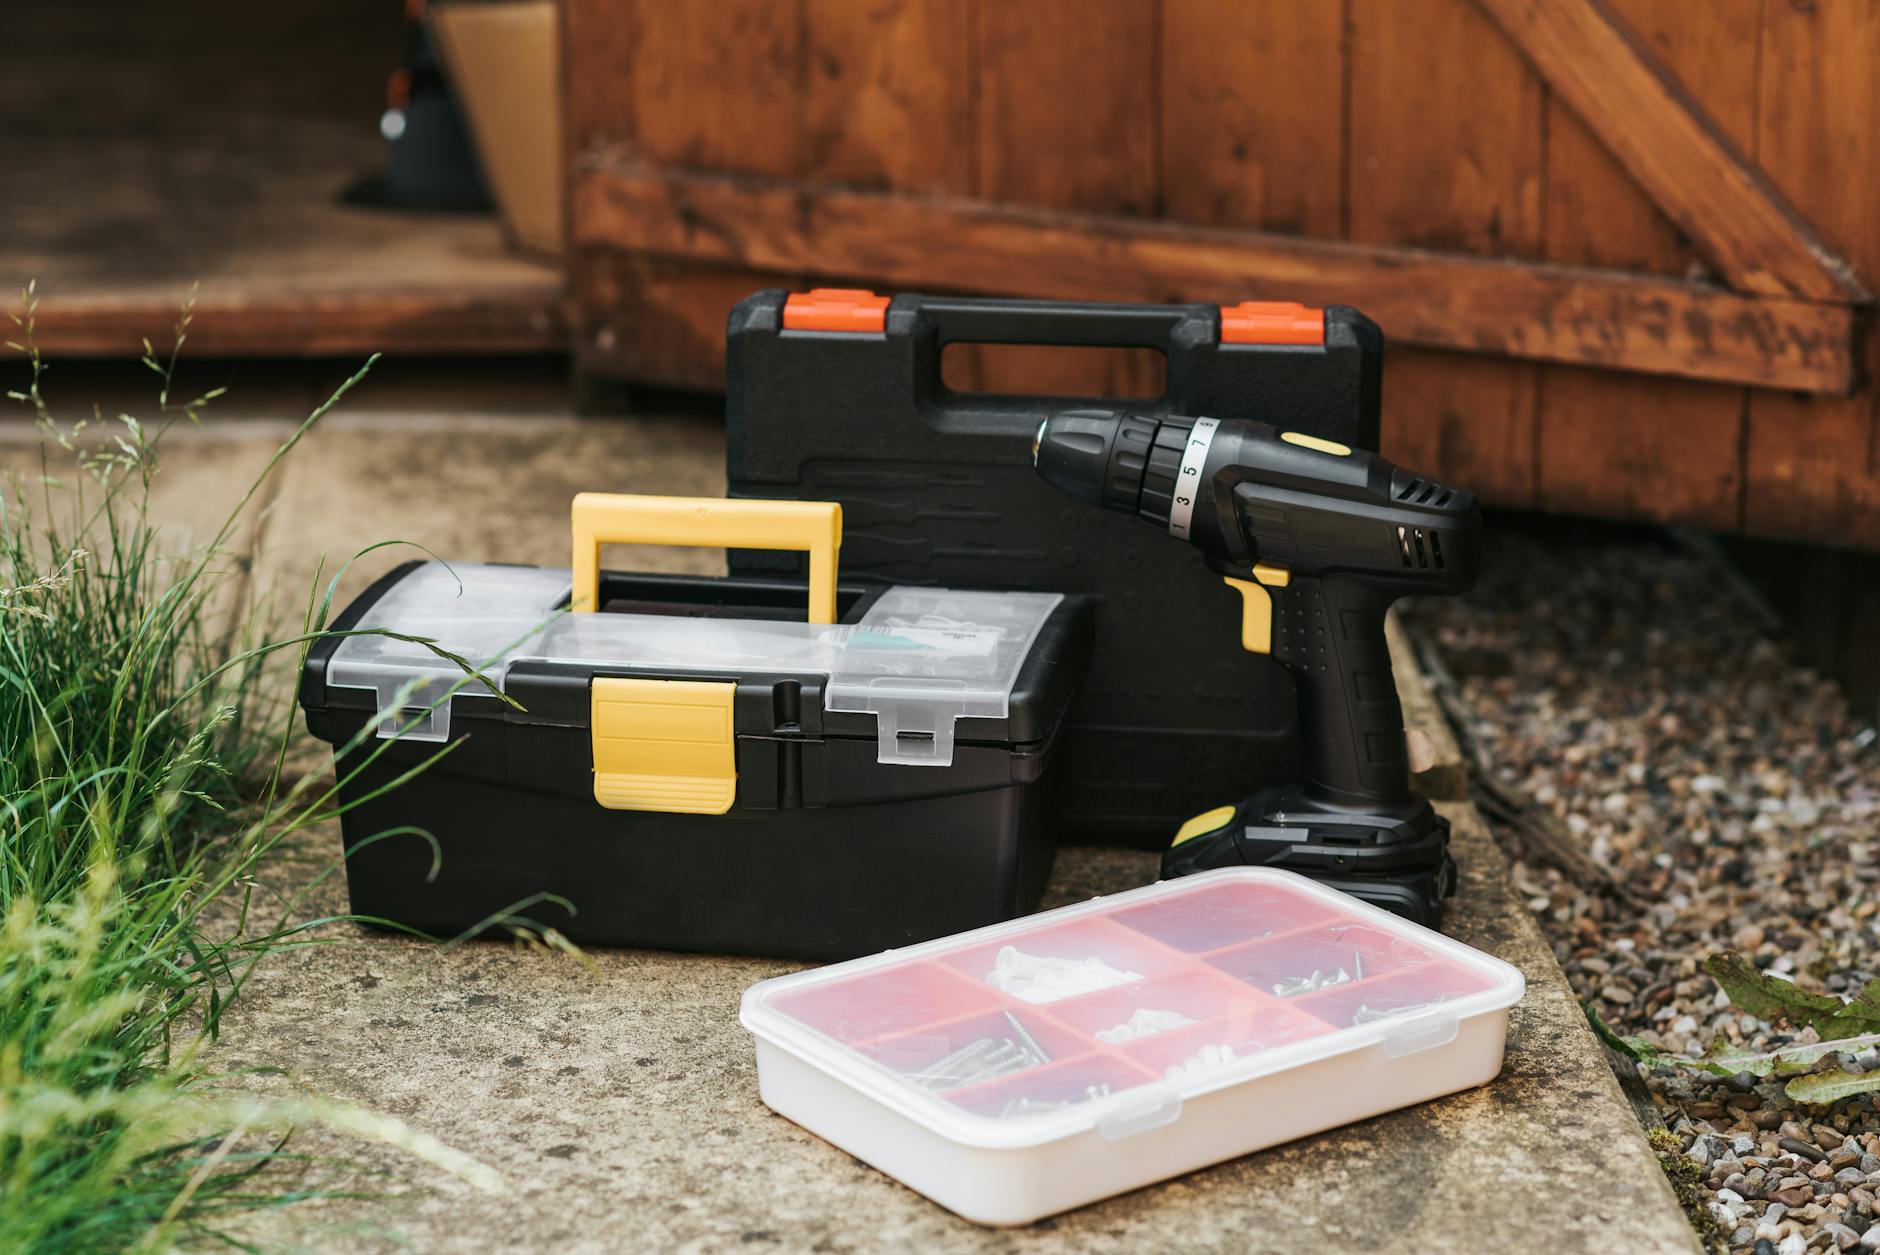 Image courtesy of Anete Lusina via
  Image courtesy of via


 PlayStation Repair
 Xbox Repair
 Nintendo Repair
 Virtual reality (VR) Repair
 Accessories Repair