From here you can book your game console, controller repair with us
Game Console & Controller Repairs
Any PS5 Console, PS5 Controller
Any PS4 Console, PS4 Controller
Any Xbox Series Console, Xbox Series Controller
Any Xbox One Console, Xbox One Controller
Any Nintendo Switch Console, Joy Con Controller
We’re going to learn some cool ways to fix our Nintendo Joy Con controllers! If you’ve ever had issues with your Joy Con or just want to know how to take better care of them, you’re in the right place. Let’s dive in and discover how we can keep our Joy Cons in top shape so we can get back to playing our favorite games without any interruptions.
Now, let’s explore the world of Joy Con repair and find out some handy tips and tricks to make sure our controllers are always ready for action!
What is a Joy Con?
First, let’s talk about what Joy Cons are and why we use them.
The Basics of Joy Cons
Joy Cons are the controllers for the Nintendo Switch. They let us play games and have fun.
Why Joy Cons Are Important
Playing games with friends or alone is super cool, and Joy Cons make that happen!
Common Joy Con Problems
Sometimes our Joy Cons stop working right. Let’s find out what can go wrong with them.
Drifting Joysticks
When Joy Cons move by themselves, it’s called drifting, and it’s a bit annoying. Imagine trying to move your character in a game, but the controller has a mind of its own and goes in a different direction! That’s what drifting is. It happens when there’s a problem with the joystick inside the Joy Con. But don’t worry, we can fix that!
Button Issues
Sometimes the buttons on the Joy Con can cause problems. They might feel sticky when you press them, or they may not respond as quickly as they should. This could happen if there’s dirt or dust stuck under the buttons, making them hard to press. It can be frustrating when you’re playing a game and the buttons don’t work smoothly. But no need to fret, we can tackle this issue too!
Preparing for Your Joy Con Repair
Before we start fixing our Nintendo Joy Con controllers, we need to make sure we have everything ready. Let’s get prepared!
Start your Buy, Sell, Repair Game Console. To find your closest store
Leave your mobile phone number and we will call you back
Tools You’ll Need
To open up the Joy Con and replace the joystick, we’ll need some special tools. Make sure to have tiny screwdrivers, a prying tool, and a clean cloth to keep everything organized.
Setting Up Your Work Area
Find a good place to work on your Joy Con repair. It’s best to choose a clean, flat surface where you can lay out all the parts without losing anything. Make sure to have good lighting, too, so you can see what you’re doing clearly.
Step-by-Step Joycon Joystick Replacement
First, we need to carefully open up the Joy Con to access the joystick. Make sure you have a clean, flat surface to work on so that you don’t lose any tiny screws or parts.
Removing the Old Joystick
Now that we have the Joy Con open, it’s time to remove the old, wobbly joystick. Using a gentle hand, disconnect the old joystick without causing any damage to the surrounding components. Remember to keep track of all the pieces you remove.
Putting in the New Joystick
With the old joystick out, it’s time to insert the new one. Carefully place the replacement joystick into the designated slot, ensuring that it fits snugly and securely. Double-check that all connections are properly reattached.
After following these steps, your Joy Con should have a fresh joystick ready to go!
Testing Your Repaired Joy Con
After replacing the joystick, we need to make sure our Joy Con is connected back to the Nintendo Switch. This is important so that we can start playing our favorite games again. To sync the Joy Con, simply slide it onto the sides of the Switch until you hear a click. Then, turn on your Switch and check if the Joy Con is responding correctly.
Tips
Description
Calibrate Joy-Con
Before attempting any repair, try calibrating the Joy-Con in the system settings to see if that resolves any connectivity or performance issues.
Clean the Contacts
If your Joy-Con is not responding properly, gently clean the metal contacts on both the Joy-Con and the Switch console with a soft, dry cloth to ensure a proper connection.
Replace the Joystick
If the joystick on your Joy-Con is drifting or not responding correctly, consider purchasing a replacement joystick and following online tutorials on how to swap it out.
Check for Firmware Updates
Make sure both the Joy-Con and the Switch are running the latest firmware updates to ensure compatibility and optimal performance.
Consider Professional Repair
If you are unable to fix the issue on your own, consider reaching out to Nintendo or a professional repair service for assistance.
Now comes the fun part – let’s test our repaired Joy Con by playing a game! Choose a game that requires precise movements or button presses to really put the Joy Con to the test. Check if the joystick moves smoothly without any drifting or unintended movements. Press all the buttons to ensure they are responsive and not sticking. If everything works perfectly, congratulations – your Joy Con is fixed!
Finding Repair Help
If we can’t fix our Joy Con controllers by ourselves, don’t worry! There are other ways to get them working again.
Local Repair Shops
One option is to look for a local repair shop that specializes in fixing electronics like Nintendo products. These experts have the tools and knowledge to get our Joy Cons back in top shape. Just search online or ask around to find a shop near us that can help.
Asking Friends
Another great way to get repair help is by reaching out to friends or family members who might have experience fixing their own Joy Cons. They could share tips, tricks, or even lend a hand in repairing our controllers. It’s always nice to have someone we trust guiding us through the process.
Taking Care of Your Joy Cons
It’s essential to keep our Joy Cons clean to prevent any issues from arising. Dust and dirt can build up inside the controllers, causing buttons to stick or joysticks to malfunction. To clean your Joy Cons, use a soft, dry microfiber cloth to gently wipe the surface of the controllers. Avoid using harsh chemicals or liquids that could damage the electronics inside.
When we’re not using our Joy Cons, it’s important to store them properly to avoid any damage. Find a safe and dry place to keep your controllers, away from extreme temperatures or moisture. Storing them in a protective case or a designated spot in your gaming area can help prevent accidental drops or bumps that could lead to issues.
Conclusion
Fixing Joy Cons can be a really cool experience and it saves us from having to go out and buy new ones. Not only do we save some money, but we also learn a lot about how these amazing controllers work! Whether it’s replacing a joystick or fixing a sticky button, taking care of our Joy Cons can be a fun DIY project that anyone can tackle.
FAQs
Is it hard to replace a Joycon joystick?
Not really! If you follow the steps and are careful, you can do it!
What do I do if I can’t fix it myself?
You can find a repair shop or maybe get some help from a friend.
How do I stop my Joy Cons from drifting?
Sometimes cleaning them helps, but sometimes you need to replace the joystick.

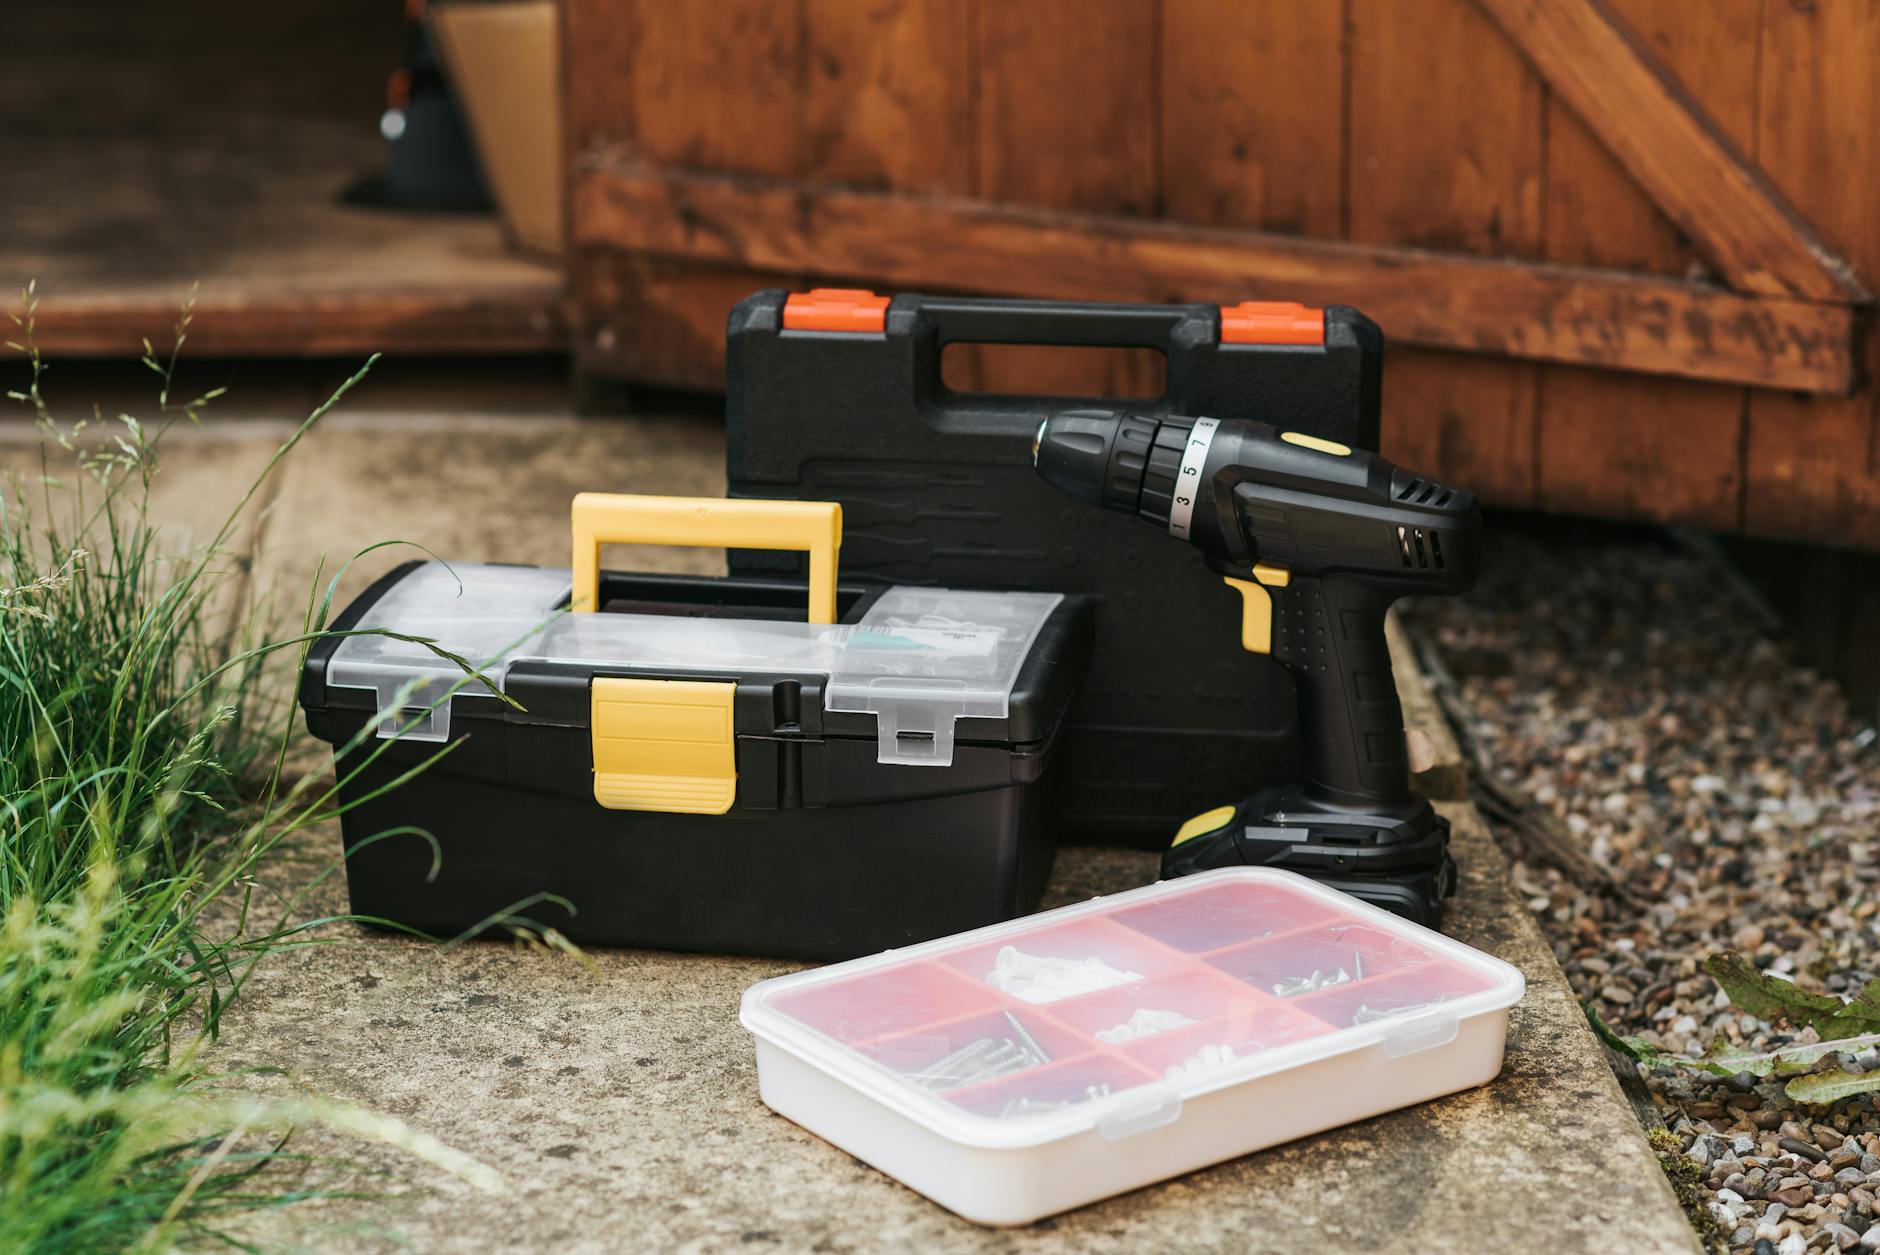 Image courtesy of Anete Lusina via
  Image courtesy of via
  Image courtesy of via


 PlayStation Repair
 Xbox Repair
 Nintendo Repair
 Virtual reality (VR) Repair
 Accessories Repair