From here you can book your game console, controller repair with us
Game Console & Controller Repairs
Any PS5 Console, PS5 Controller
Any PS4 Console, PS4 Controller
Any Xbox Series Console, Xbox Series Controller
Any Xbox One Console, Xbox One Controller
Any Nintendo Switch Console, Joy Con Controller
Welcome, young gamers! Have you ever been in the middle of an intense game on your Sony PlayStation 4 when suddenly something goes wrong with your controller? Don’t worry, we’ve got you covered! Today, we’re going to embark on an exciting adventure where we learn how to repair your PS4 console by replacing a cable together.
Imagine being back in action with your favorite games in no time! By the end of this guide, you’ll be a pro at fixing your own PlayStation 4 and getting back to gaming fun. So, let’s roll up our sleeves and dive into the world of PS4 repair! Are you ready?
What is a PS4?
Have you ever wondered what a PS4 is and why it’s so much fun to play with? Well, let’s dive in and find out together!
Discover Your PS4
A PlayStation 4, also known as a PS4, is a super cool gaming console made by Sony. It’s like having your own personal arcade right at home! With a PS4, you can play all kinds of awesome games, watch movies, and even chat with your friends while you’re playing. It’s like having a magic box that brings all your favorite entertainment to life!
Signs You Need a New Cable
Have you been playing on your PlayStation 4 and noticed something not quite right with your controller? It might be time to check if you need a new cable for your PS4 controller. Let’s explore some signs that indicate it’s time for a replacement.
Common Cable Problems
One of the most common signs that you need a new PS4 controller cable is if you notice any fraying or damage on the cable itself. If the cable looks worn out, it may not be transmitting power or data effectively, leading to issues with your controller’s functionality.
Another sign to look out for is if your controller keeps disconnecting or not charging properly. This could be a result of a faulty cable that is no longer making a secure connection with the console or a power source.
Start your Buy, Sell, Repair Game Console. To find your closest store
Leave your mobile phone number and we will call you back
If you’re experiencing intermittent issues with your controller, such as buttons not responding or lagging inputs, it could also be a sign that the cable is on its last legs. A new cable might just be the solution to get your controller working smoothly again.
Tools You’ll Need
Before we can start fixing our PlayStation 4 controller by replacing the cable, we need to gather some important tools. Each tool plays a crucial role in making sure we can complete the repair successfully. Let’s take a look at what we’ll need:
Gathering Your Tools
First, we will need a small Phillips head screwdriver. This tool is essential for opening up the controller and accessing the cable that needs to be replaced. Make sure it’s the right size to fit the screws on the controller.
Next, we’ll need the replacement PS4 controller cable. This is the new cable that will take the place of the old one that has been causing issues. Make sure to have this cable ready before starting the repair process.
Lastly, it’s always a good idea to have a clean and flat workspace to work on. Having a clutter-free area will make it easier to keep track of all the small parts and screws while working on the controller.
Safety First!
Before we dive into replacing the cable on your PS4 controller, it’s crucial to make sure we’re keeping safety as the top priority. By following these safety steps, we can ensure a smooth and secure repair process.
Staying Safe While Repairing
First things first, before you start tinkering with your PS4, it’s essential to unplug the console from the power source. This step helps prevent any electrical accidents while you’re working on it.
Next, make sure you’re working in a clean and well-lit area. Having a clutter-free space will help you focus on the task at hand and avoid misplacing any small parts or tools you might need.
Additionally, it’s a good idea to have an adult supervise you during the repair process. They can provide guidance, especially when using tools that may require some extra caution.
Remember, safety always comes first! By taking these simple precautions, you can ensure a successful and risk-free repair experience with your PS4.
Replacing the PS4 Controller Cable
Is your PS4 controller acting up and not working as it should? It might be time to replace the cable connecting it to the console. Don’t worry, we’ll walk you through the steps to get your controller back in gaming shape!
Step-by-Step Cable Replacement
First, make sure to gather all the tools you’ll need for this task. You’ll require a screwdriver to open up the controller and a replacement cable to swap out the old one. Once you have everything ready, follow these simple steps:
1. Carefully remove any screws holding the controller together using the screwdriver. Keep track of them to avoid losing any.
2. Gently open the controller casing to reveal the internal components. Be cautious not to damage any parts while doing this.
3. Locate the old cable that needs to be replaced. Carefully disconnect it from both the controller and the console.
4. Take your new cable and connect it to the controller, ensuring a secure fit. Then, attach the other end to the console, making sure it’s properly plugged in.
5. Once the new cable is in place, carefully close up the controller casing and reattach any screws you removed earlier.
Now that you’ve successfully replaced the cable, it’s time to test your PS4 controller to ensure everything is working as it should.
Testing Your PS4 Controller
After successfully replacing the cable on your PS4 controller, it’s time to make sure everything is working smoothly. Let’s test your controller to ensure it’s ready for some gaming fun!
How to Test Your Controller
First, reconnect your controller to your PlayStation 4 console. Make sure the cable is securely attached to both the controller and the console.
Next, turn on your PlayStation 4 and wait for it to fully boot up. Press the PS button on your controller to sync it with the console. If the controller lights up and connects without any issues, that’s a good sign!
Now, navigate through the PS4 menu using the controller to check if all the buttons and joysticks are responding correctly. Test each button to ensure they are working as they should. Try out the joysticks to see if they move smoothly in all directions.
If you have any games installed on your console, launch one and play a few rounds to see how the controller performs. Make sure you can move your character, aim, and interact with the game without any problems. If everything feels good, congratulations, your controller is back in action!
Remember, if you encounter any issues during testing, double-check the cable connection and repeat the steps to ensure everything is set up correctly. If problems persist, you may need to seek further assistance or consider replacing the controller altogether.
Conclusion
Today, we’ve embarked on a journey to explore the world of PS4 repair and learned how to replace a vital component, the PS4 controller cable. By following the instructions and using the right tools, you have successfully tackled a common issue that can occur with your PlayStation 4. Congratulations on taking the initiative to fix your own gaming console!
Remember, it’s essential to stay safe while working on electronic devices like the PS4. Always unplug the console before making any repairs and work in a clean, well-lit area to avoid accidents. Your safety is the top priority!
With the skills you’ve acquired today, you have not only saved yourself the cost of a professional repair but also gained valuable knowledge about how your PS4 works. Being able to troubleshoot and fix minor issues with your gaming console is a fantastic skill to have, and you should be proud of your accomplishment.
So, the next time you encounter a problem with your PS4, don’t hesitate to roll up your sleeves and try to fix it yourself. With a little know-how and the right tools, you can become a master of PS4 repair. Keep gaming, keep learning, and keep exploring the exciting world of PlayStation 4!

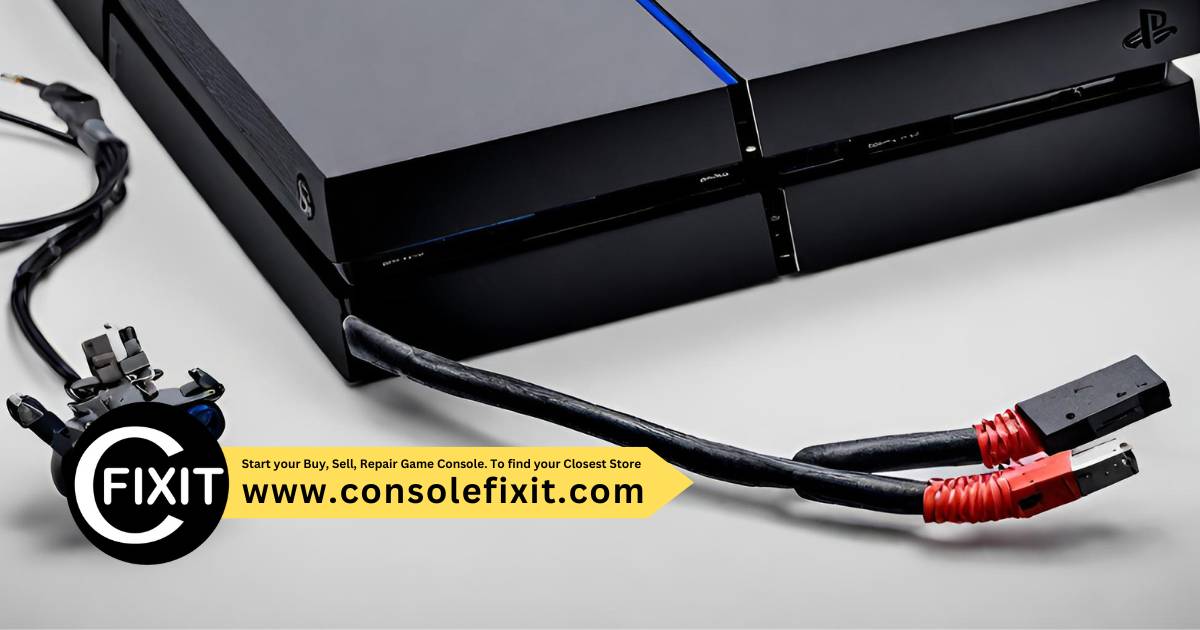
 Image courtesy of Ksenia Chernaya via


 PlayStation Repair
 Xbox Repair
 Nintendo Repair
 Virtual reality (VR) Repair
 Accessories Repair