From here you can book your game console, controller repair with us
Game Console & Controller Repairs
Any PS5 Console, PS5 Controller
Any PS4 Console, PS4 Controller
Any Xbox Series Console, Xbox Series Controller
Any Xbox One Console, Xbox One Controller
Any Nintendo Switch Console, Joy Con Controller
Keeping your PS4 Slim console in good shape is essential for an enjoyable gaming experience. When your console works properly, you can dive into exciting adventures, conquer challenging levels, and compete with friends without any interruptions.
Fun With Your PS4 Slim
Imagine losing yourself in the world of your favorite games, with every detail crystal clear and every movement responsive. Playing on a well-maintained PS4 Slim can make your gaming sessions more immersive and exciting.
Taking Care of Your Console
Just like any other electronic device, your PS4 Slim needs regular maintenance to stay in top condition. By taking care of your console, you can ensure its longevity and continue enjoying countless hours of gaming fun.
Understanding the Basics of PS4 Slim
When it comes to your PS4 Slim console, understanding its features and potential repair needs is essential to keeping it running smoothly for all your gaming adventures. Let’s delve into what makes the PS4 Slim unique and some common issues you might encounter.
What is PS4 Slim?
The PS4 Slim is a sleek and compact version of the original PS4 console, designed to take up less space while still delivering a powerful gaming experience. Compared to its predecessors, the PS4 Slim boasts improved hardware and energy efficiency, making it a popular choice among gamers.
Common PS4 Slim Issues
Despite its stellar performance, the PS4 Slim may face certain issues over time that could affect its functionality. Some common problems include overheating, disk drive malfunctions, connectivity issues, and hardware failures. Knowing how to identify and address these issues can help prolong the life of your console.
Safety First: Preparing to Repair
When it comes to PlayStation repairs, the safety of yourself and your console is paramount. Before diving into fixing your PS4 Slim, it’s essential to prepare properly to ensure a smooth and secure repair process.
Start your Buy, Sell, Repair Game Console. To find your closest store
Leave your mobile phone number and we will call you back
Tools You’ll Need
Before starting any repairs on your PS4 Slim, make sure you have the necessary tools handy. Some basic tools you’ll likely need include a Phillips head screwdriver, a soft cloth for cleaning, compressed air for dusting, and a pair of tweezers for delicate work. Having these tools readily available will make the repair process much more manageable.
Safety Tips
Prior to starting any repair work on your PS4 Slim, it’s crucial to follow some simple safety tips to prevent accidents. Always unplug the console from the power source before beginning any repairs to avoid electric shocks. Additionally, make sure to work in a well-lit and clear workspace to see what you’re doing clearly. Lastly, handle all components with care to avoid damaging any parts of the console during the repair process.
Step 1: Diagnosing the Problem
Before you can start fixing your PS4 Slim, you need to figure out what’s causing the issue. Here are a few simple steps to help you diagnose the problem:
Listening and Looking
Pay close attention to any strange sounds coming from your PS4 Slim. Is it making loud noises that it didn’t before? This could indicate a problem with the internal components. Also, check for any visual cues like blinking lights or unusual error messages on the screen. These can give you clues about what might be wrong.
Error Messages and What They Mean
If you’re seeing error messages on your PS4 Slim, don’t panic! These messages are actually helpful in diagnosing the problem. Take note of the exact wording of the message and look it up online to find out what it means. Sometimes, a quick search can point you in the right direction for fixing the issue.
By paying attention to the signs and messages your console is giving you, you’ll be better equipped to tackle the repair process with confidence.
Opening Up Your PS4 Slim
When you’re ready to dive into repairing your PS4 Slim, the first step is to carefully remove the screws and panels that hold the console together. Grab a screwdriver that fits the screws snugly to avoid stripping them. Take your time and unscrew each one patiently, making sure not to misplace any parts.
Once you’ve successfully removed the outer screws and panels, you’ll get a glimpse of what’s hidden inside your beloved PS4 Slim. You’ll see the power supply, cooling fan, hard drive, and other important components that make the console function smoothly. Remember to handle these internal parts with care to avoid any damage.
Fixing Common PS4 Slim Issues
One common problem that can affect the performance of your PS4 Slim is a buildup of dust and debris inside the console. Over time, dust can clog the vents and fans, causing the system to overheat and potentially leading to hardware failures. To address this issue, you can follow these simple steps to clean the interior of your PS4 Slim:
Step
Description
1
Turn off the PS4 Slim and unplug all cables.
2
Remove the top cover of the PS4 Slim by sliding it off.
3
Locate the hard drive bay and remove the screw holding it in place.
4
Take out the old hard drive and replace it with a new one.
5
Secure the new hard drive with the screw and put the cover back on.
6
Plug all cables back in and turn on the PS4 Slim to ensure it works properly.
1. Power off your PS4 Slim and unplug all cables to ensure safety during cleaning.
2. Use a can of compressed air to blow out dust from the vents and fan. Be sure to hold the can upright and keep it at a safe distance from the console to prevent damage.
3. Wipe down the exterior of the console with a microfiber cloth to remove any dust or dirt accumulation.
4. Reassemble the console and plug it back in to test if the cleaning has improved its performance.
Resolving Disk Drive Problems
Another common issue that PS4 Slim owners may encounter is problems with the disk drive, such as discs not being read or ejected properly. If you are facing these issues, follow these steps to troubleshoot and potentially fix the problem:
1. Power off your PS4 Slim and unplug all cables before proceeding with any repairs.
2. Manually eject any stuck discs by locating the manual eject screw near the disk drive and turning it counterclockwise with a screwdriver.
3. Check the disk drive for any visible dirt or debris that may be obstructing the disc from being read or ejected properly. Use a soft brush or compressed air to clean the drive gently.
4. Test the disk drive by inserting a disc and checking if it is being read and ejected smoothly. If the issue persists, you may need to consider seeking professional help for further repairs.
Repairing PS4 Slim Controllers
When it comes to your PS4 Slim gaming experience, the controllers play a crucial role. If your controller is not functioning properly, it can significantly impact your gameplay. Here are some tips on fixing issues specific to PS4 Slim controllers that you can easily do at home.
There are a few common issues that players might encounter with their PS4 Slim controllers. One frequent problem is stick drift, where the analog sticks move on their own. This can be fixed by recalibrating the sticks or replacing them if necessary.
Another common issue is unresponsive buttons. If your buttons are not registering when pressed, it could be due to dirt or debris blocking the contacts. Cleaning the buttons and the contacts underneath can often solve this problem.
Replacing Buttons and Sticks
If you find that some buttons on your PS4 Slim controller are sticking or not responding correctly, you may need to replace them. You can purchase replacement buttons and sticks online or from gaming stores. With the help of a small screwdriver and some patience, you can easily swap out the old components for new ones.
Make sure to follow online tutorials or guides specific to your controller model for a smooth replacement process. Remember to be gentle with the delicate components inside the controller to avoid causing any damage.
Step 5: Testing After Repairs
Now that you’ve completed the repairs on your PS4 Slim console and controllers, it’s essential to ensure that everything is in working order before you start gaming again. Follow these simple steps to test the repairs:
Reassembling the PS4 Slim
Take the time to carefully reassemble your PS4 Slim console. Make sure all the components are put back together correctly, and all the screws are securely fastened. Double-check that you haven’t missed anything before proceeding to the next step.
Power On and Test
Once your PS4 Slim is fully reassembled, it’s time to power it on and test if the repairs were successful. Connect the console to power and turn it on. Check if the controllers are working properly and that the console is running smoothly.
If you fixed any issues with the controllers, test all the buttons and sticks to ensure they are responding correctly. Insert a game disc and see if the console can read it without any problems. Test the audio and video output to confirm that everything is functioning as it should.
If you encounter any issues during the testing phase, don’t panic. Go back and double-check your repairs to see if everything was done correctly. If you’re still having trouble, refer to the troubleshooting section of this guide or seek professional help if needed.
Taking Care of Your PS4 Slim Post-Repair
Now that you have successfully repaired your PS4 Slim console and controllers, it is essential to take proper care of them to prevent future issues. Here are some tips to help you maintain your gaming gear in tip-top shape:
Image courtesy of www.amazon.in · In stock via Google Images
Regular Cleaning
After completing the repairs, make it a habit to regularly clean your PS4 Slim console and controllers. Dust and debris can accumulate inside the console, leading to overheating and performance issues. Use a soft, dry cloth to gently wipe the exterior of the console and controllers to keep them free from dirt and grime. Avoid using harsh chemicals that could damage the plastic.
Avoiding Common Pitfalls
To prolong the life of your PS4 Slim, it’s important to avoid common pitfalls that could harm the console. Make sure to place your console in a well-ventilated area to prevent overheating. Avoid blocking the air vents and keep the console away from dusty or humid environments. Additionally, be gentle with the controllers to prevent wear and tear on the buttons and analog sticks.
Conclusion: Ready for More Gaming Fun
Repairing and maintaining your PS4 Slim console can bring you even more joy and excitement as you continue to enjoy gaming on a well-functioning device. By successfully fixing any issues that may arise and taking proper care of your console, you are ensuring that it will be ready for countless hours of gaming fun.
Next time you power up your PS4 Slim, you can do so with the satisfaction of knowing that you played a part in keeping it in top condition. With a little know-how and some basic tools, you can tackle common problems and keep your gaming experience seamless and enjoyable.
So don’t wait until something goes wrong – take the time to learn about your PS4 Slim, follow the steps outlined in this guide, and enjoy many more hours of gaming fun on your newly repaired and well-maintained console.
FAQs: Your Questions Answered
Can I fix my PS4 Slim myself?
Yes, you can definitely fix your PS4 Slim yourself! Many common issues can be resolved with some basic troubleshooting and repair techniques. However, it’s essential to follow safety precautions and have a good understanding of the repair process before attempting any fixes. If you’re not comfortable or confident in your abilities, it’s always wise to seek professional help to avoid causing further damage to your console.
What if my PS4 Slim still doesn’t work?
If your PS4 Slim still isn’t functioning properly even after attempting DIY repairs, don’t panic. Double-check your repair work to ensure everything was done correctly. If the issue persists, it may be time to consult a professional technician who can diagnose and fix more complex problems. Remember, it’s better to seek professional help than risk causing irreparable damage to your beloved PS4 Slim.

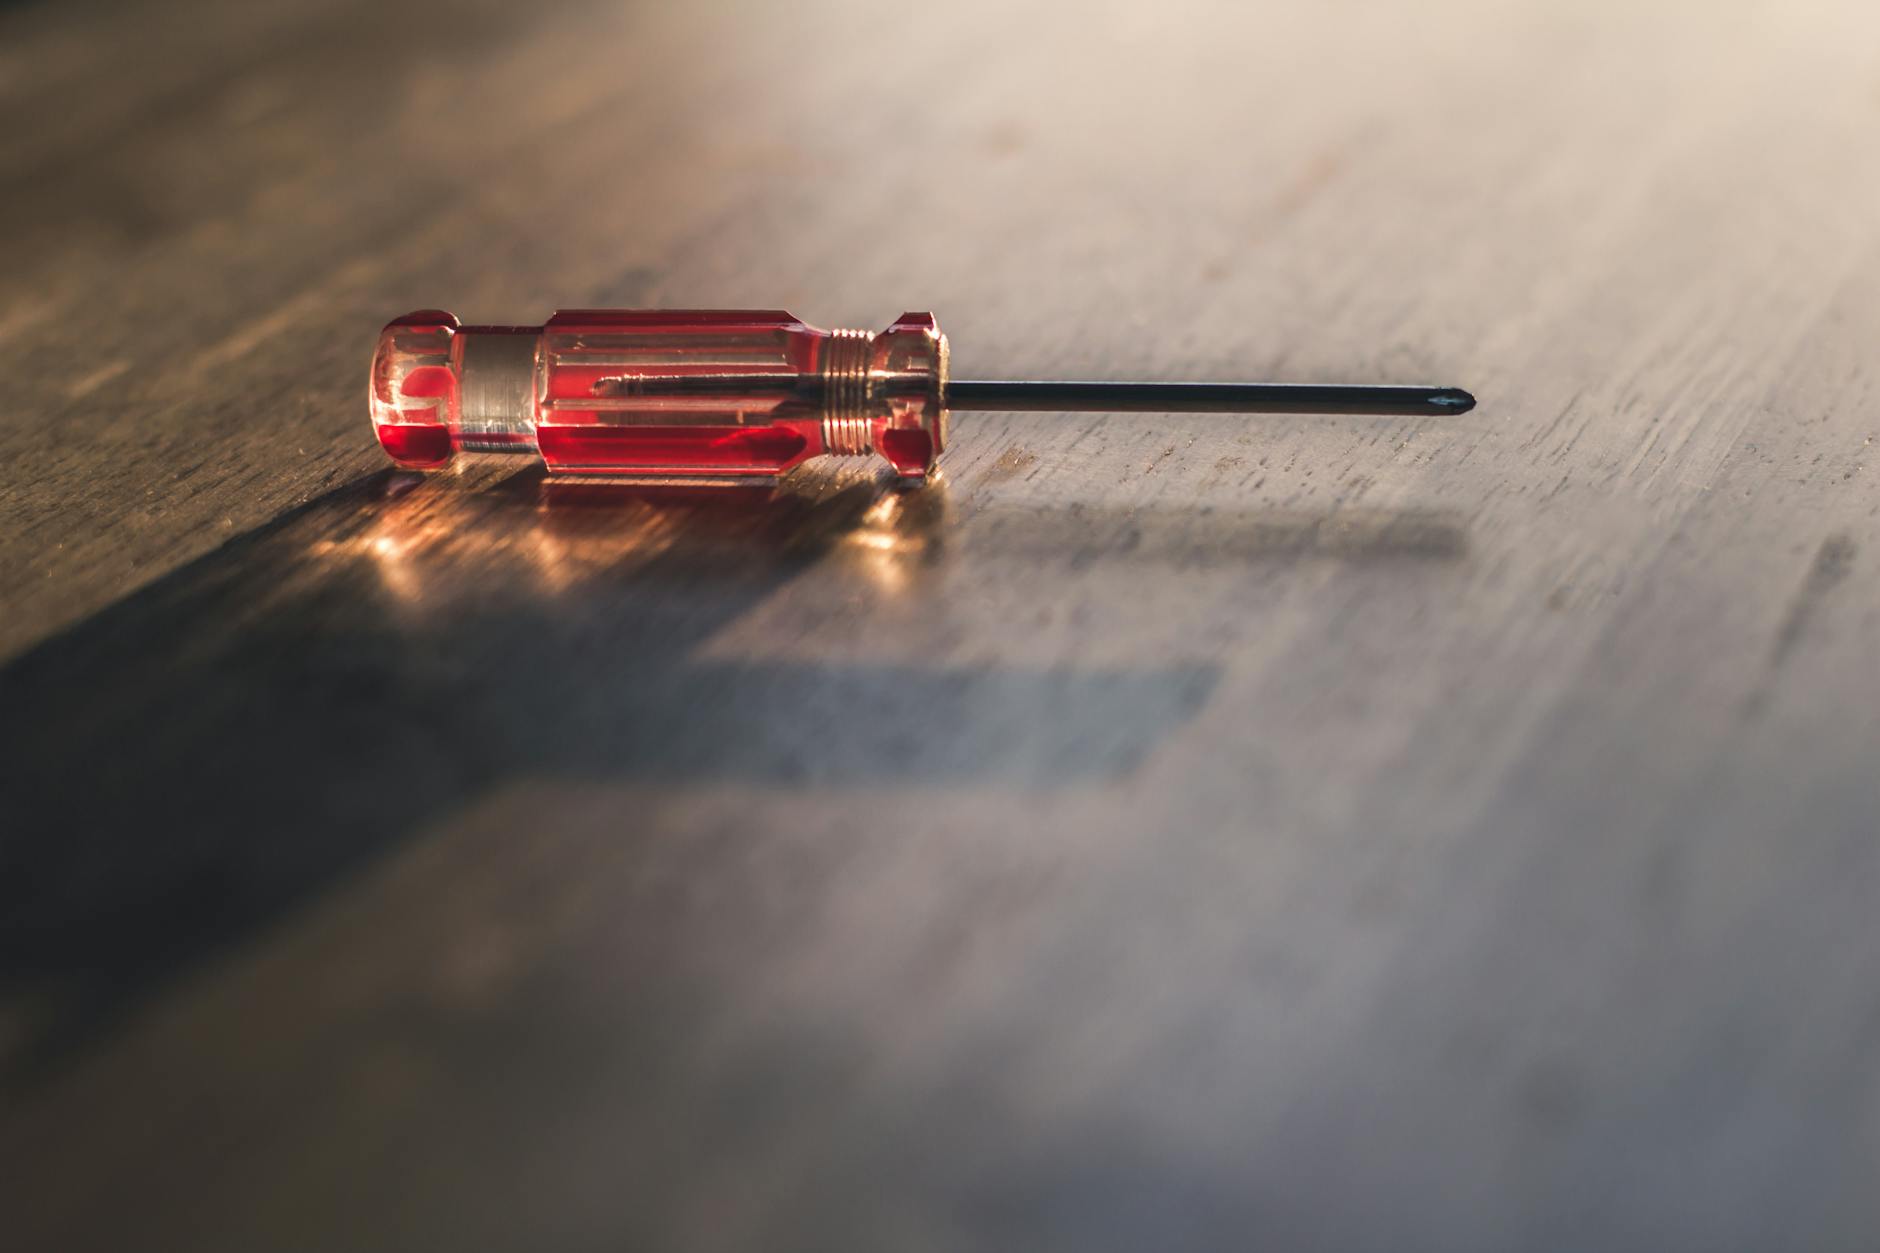 Image courtesy of Steve Johnson via
  Image courtesy of www.ifixit.com via
 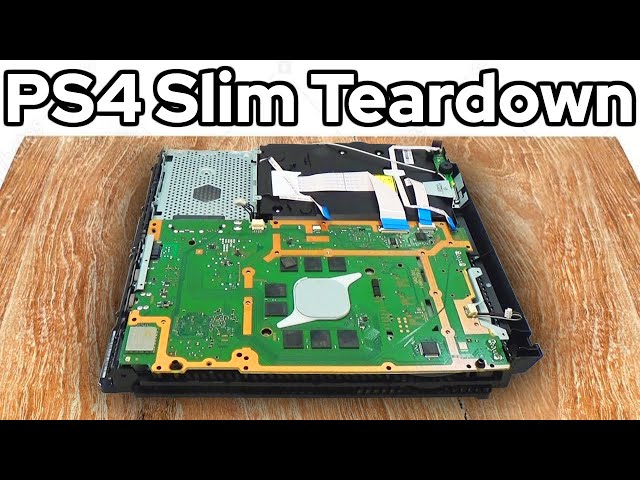 Image courtesy of m.youtube.com via
  Image courtesy of www.amazon.in · In stock via


 PlayStation Repair
 Xbox Repair
 Nintendo Repair
 Virtual reality (VR) Repair
 Accessories Repair