From here you can book your game console, controller repair with us
Game Console & Controller Repairs
Any PS5 Console, PS5 Controller
Any PS4 Console, PS4 Controller
Any Xbox Series Console, Xbox Series Controller
Any Xbox One Console, Xbox One Controller
Any Nintendo Switch Console, Joy Con Controller
Have you ever been in the middle of an intense gaming session on your PS4, only to find that your controller’s D-Pad isn’t responding as it should? This common issue can be frustrating for any gamer, disrupting your gameplay and causing unnecessary stress. But fear not, as this step-by-step guide is here to help you fix your PS4 D-Pad and get back to gaming without any interruptions!
Whether you’re playing the latest action-packed adventure or competing in a thrilling sports game, having a responsive D-Pad on your PS4 controller is crucial for an enjoyable gaming experience. That’s why understanding the issues that can arise with the PS4 D-Pad and knowing how to address them is essential for any avid gamer.
In this guide, we’ll explore the common problems that can occur with the PS4 controller’s D-Pad, such as unresponsiveness or sticking, and walk you through the process of fixing them. By following the detailed instructions provided in this guide, you’ll be able to troubleshoot and repair your PS4 D-Pad with ease, ensuring that you can continue enjoying your favorite games without any hindrances.
Before You Begin: Gather Your Tools
Before you start fixing your PS4 D-Pad, it’s essential to gather all the necessary tools and materials. Having everything you need at hand will make the repair process smoother and more efficient. Here’s what you’ll need:
Tools Checklist
1. Small Phillips head screwdriver
2. Plastic opening tools (to avoid scratching the controller)
3. Tweezers (for handling small components)
4. Cleaning cloth or alcohol wipes (for cleaning purposes)
5. Replacement D-Pad components (if needed)
6. PS4 controller cable (for charging and testing the controller)
Start your Buy, Sell, Repair Game Console. To find your closest store
Leave your mobile phone number and we will call you back
Where to Find Your Tools
If you don’t already have these tools at home, you can purchase them from electronics stores or online retailers. You can also check with local repair shops or electronic stores for the necessary tools. Searching for ‘ps4 repair near me’ online can help you find stores that sell these tools in your area.
Identifying the Problem
So, you’ve noticed something off with your PS4 controller’s D-Pad. Let’s figure out what’s going on before we jump into fixing it.
Image courtesy of www.walmart.com · In stock via Google Images
Common D-Pad Issues
There are a few signs that can point to a problem with your D-Pad. If you’re pressing a direction and nothing happens on the screen, or if the movement is delayed or inconsistent, your D-Pad might need some attention. Sometimes, you might even hear a weird clicking sound when you press the D-Pad. These are all indicators that there could be an issue with this part of your controller.
Before we begin the repair process, it’s essential to pinpoint the exact problem. Is the issue isolated to the D-Pad itself, or could it be related to a different part of the controller? By identifying the root cause, you’ll be better equipped to tackle the repair process effectively.
Opening Up Your Controller
When it comes to fixing your PS4 D-Pad, the first step is to open up your controller safely. This process can be a bit tricky, but with the right guidance, you’ll be able to access the D-Pad and make the necessary repairs. Here’s a step-by-step guide to help you with the process.
Step-by-Step Disassembly
Before you begin opening up your PS4 controller, make sure you have a clean workspace and all the tools required for the job. To start, you’ll need a small Phillips head screwdriver to remove the screws on the back of the controller. Carefully unscrew each one and keep them in a safe place so you don’t lose them.
Once the screws are removed, gently pry open the controller using a plastic opening tool or a guitar pick. Be cautious not to use excessive force as you don’t want to break any of the clips holding the controller together. Slowly work your way around the edges until the two halves separate.
After opening the controller, you’ll see the internal components, including the D-Pad. Take note of how everything is arranged inside, as you’ll need to remember this when putting the controller back together later. If you’re unsure, you can take pictures to refer back to during reassembly.
Now that you have access to the D-Pad, you can proceed with cleaning or replacing it as needed. Stay tuned for the next section on fixing the D-Pad for further instructions on how to address any issues you may encounter.
Fixing the D-Pad
When it comes to fixing the D-Pad on your PS4 controller, there are a few important steps to follow to ensure a successful repair. Whether your D-Pad is sticking, unresponsive, or not working at all, this guide will help you get back to gaming in no time.
If your D-Pad is sticky or unresponsive, the first thing to try is cleaning it. Dust and debris can accumulate under the D-Pad, causing it to malfunction. Here’s how you can clean it:
1. Carefully remove the D-Pad from the controller. Be gentle to avoid damaging any of the delicate components.
2. Use a soft, dry cloth to gently wipe away any dust or dirt that may be causing the issue.
3. If the problem persists, you can use a small amount of isopropyl alcohol on a cotton swab to clean more stubborn debris.
4. Allow the D-Pad to dry completely before reassembling your controller.
Replacing D-Pad Components
If cleaning the D-Pad doesn’t solve the issue, you may need to replace some of its components. Here’s how you can do that:
1. Carefully remove the D-Pad from the controller as outlined in the disassembly section.
2. Identify any broken or damaged parts of the D-Pad that may need replacing.
3. Purchase replacement components from a reputable source to ensure compatibility with your controller.
4. Follow the manufacturer’s instructions for installing the new components, making sure to handle them with care.
5. Once the new components are in place, reassemble your controller and test the D-Pad for functionality.
By following these steps, you can effectively fix the D-Pad on your PS4 controller and get back to gaming without any issues. Remember to take your time and be gentle with the delicate components to avoid causing any further damage. Happy gaming!
Reassembling Your Controller
Now that you have successfully fixed or replaced the D-Pad on your PS4 controller, it’s time to put everything back together. Follow these step-by-step instructions to reassemble your controller correctly.
Putting It All Back
1. Start by carefully placing the D-Pad back into its designated slot on the controller. Make sure it sits securely and is aligned properly.
2. Next, gently reattach the faceplate of the controller, ensuring that all the buttons line up correctly with their corresponding slots.
3. Slowly ease the back cover of the controller back into place, making sure all the clips snap back into position. Be cautious not to force anything, as this could cause damage.
4. Once the controller is back together, use a screwdriver to reinsert any screws that were removed during the disassembly process. Make sure they are tightened securely but not over-tightened.
5. Finally, connect the PS4 controller cable to the controller and to the console itself. Ensure that the cable is securely plugged in on both ends.
With the D-Pad fixed and the controller reassembled, you’re now ready to test it out and resume your gaming sessions. Follow the next steps to ensure everything is functioning as it should.
Testing Your Repaired D-Pad
Now that you have successfully fixed or replaced the D-Pad on your PS4 controller, it’s time to test it out to ensure everything is working as it should. Follow these simple steps to make sure your controller is back to its full functionality.
1. Connect your newly repaired controller to your PS4 console using the PS4 controller cable.
2. Turn on your console and navigate to the settings menu using the D-Pad to ensure all directions are working smoothly and accurately.
3. Launch a game that requires precise D-Pad movements, such as a platformer or a fighting game, and test the responsiveness of the D-Pad during gameplay.
4. Pay close attention to each direction of the D-Pad to make sure there are no sticking or unresponsive buttons. If any issues persist, you may need to reopen the controller for further inspection.
By following these steps and thoroughly testing your repaired D-Pad, you can rest assured that your PS4 controller is back in top condition and ready for more gaming adventures!
Conclusion: Ready for More Gaming
After following this step-by-step guide to fix your PS4 D-Pad, you should be ready to dive back into your favorite games with your newly repaired controller. By now, you’ve learned how to identify common issues, open up the controller, fix or replace the D-Pad, reassemble the controller, and test the repaired D-Pad for functionality.
Now that your PS4 controller is back in working order, you can enjoy seamless gaming experiences without any interruptions. Whether you’re exploring open worlds, engaging in epic battles, or solving challenging puzzles, your controller will be there to help you achieve victory.
So go ahead, grab your controller, power up your PS4, and get ready for countless hours of fun and excitement. Your repaired D-Pad will ensure precise movements and smooth gameplay, allowing you to fully immerse yourself in the gaming world without any distractions.
Happy gaming, and may your repaired PS4 controller bring you many victories and memorable gaming moments!

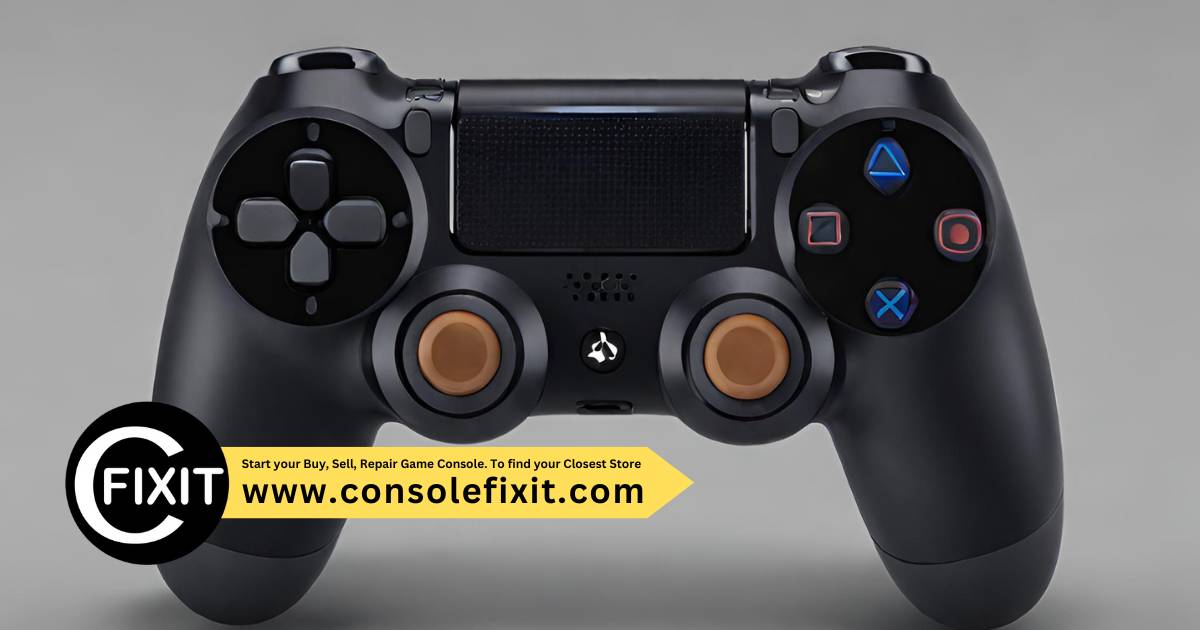
 Image courtesy of Sergey Meshkov via
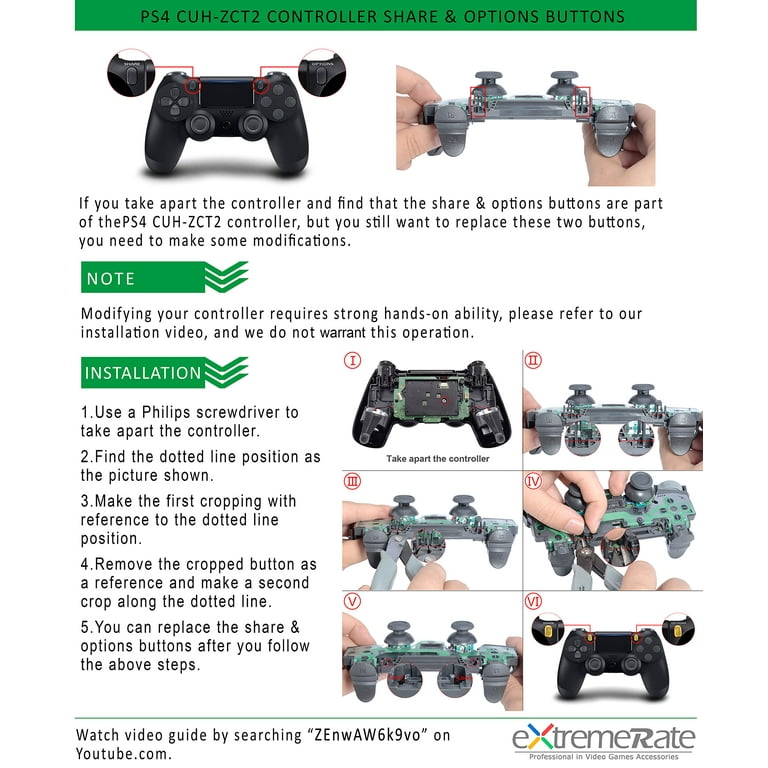
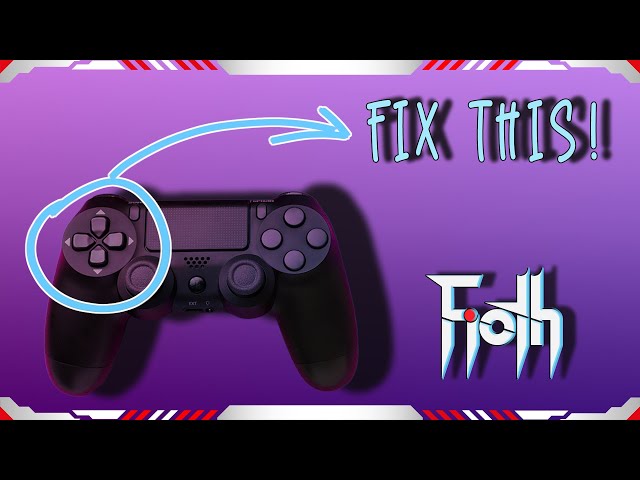 Image courtesy of m.youtube.com via
 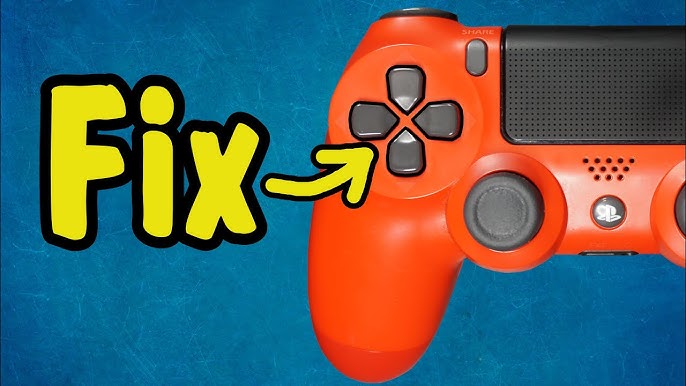 Image courtesy of m.youtube.com via


 PlayStation Repair
 Xbox Repair
 Nintendo Repair
 Virtual reality (VR) Repair
 Accessories Repair