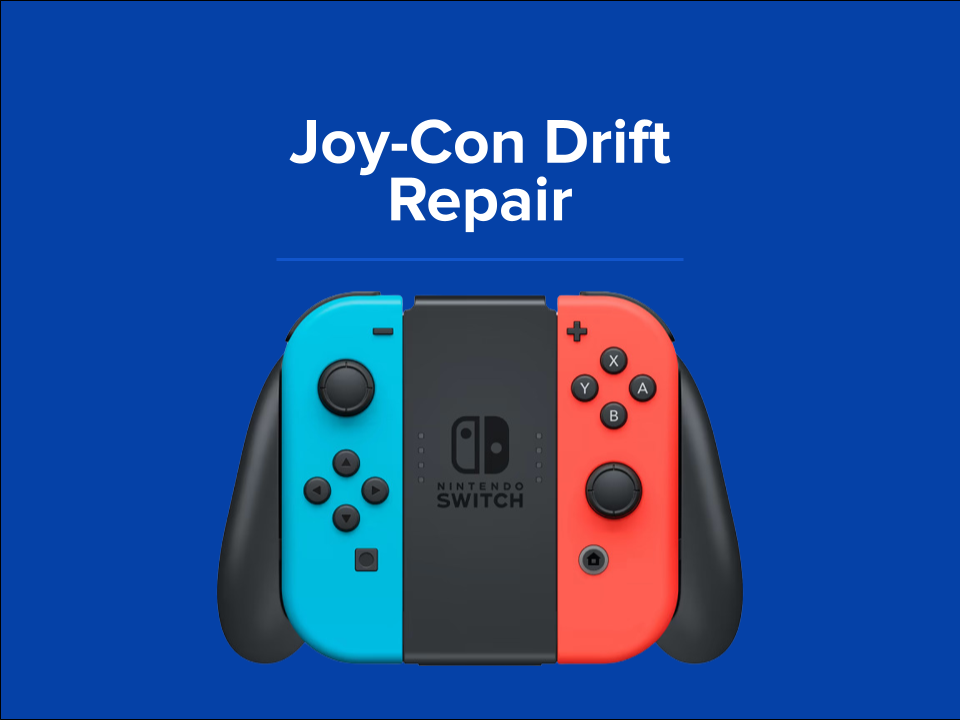
Unleash your inner gamer and discover how to quickly and easily fix joystick drift with our comprehensive Switch repair guide.
Table of Contents
Introduction to Joystick Drift on Nintendo Switch
When you’re in the middle of an intense game on your Nintendo Switch, the last thing you want is for your character to start moving on its own. This frustrating issue is known as joystick drift. Understanding what joystick drift is and why it’s essential to address it can help you get back to enjoying your gaming experience without any interruptions.
What is Joystick Drift?
Joystick drift occurs when the joystick on your Nintendo Switch controller starts registering movement even when you’re not touching it. This can cause your character to move erratically or perform actions without your input, making it challenging to play your favorite games smoothly.
Why Does it Happen?
Joystick drift can happen due to a variety of reasons, including wear and tear on the joystick components, dust or debris getting stuck inside the controller, or even manufacturing defects. Understanding why joystick drift occurs can help you take the necessary steps to fix the issue and get back to enjoying your gaming sessions on the Nintendo Switch.
Preparing for the Repair
Before jumping into fixing the joystick drift on your Nintendo Switch, it’s important to be prepared. Let’s go over what you need to get started.
Tools You Need
To successfully repair the joystick drift on your Nintendo Switch Joy-Con, you will need a few tools and materials. Here’s a list of what you’ll need:
- Tri-point screwdriver
- Phillips head screwdriver
- Plastic opening tools
- New joystick replacement part
- Clean cloth
Having these tools at hand will make the repair process much smoother and ensure you have everything you need to fix the issue.
Safety First
When working on electronic devices like the Nintendo Switch Joy-Con, it’s important to prioritize safety. Here are some important steps to keep yourself safe during the repair process:
- Turn off the Nintendo Switch and remove the Joy-Con before starting any repairs.
- Work in a well-lit area with plenty of space to avoid losing any small parts.
- Avoid using excessive force when handling the Joy-Con to prevent damaging it further.
- If at any point you feel uncomfortable or unsure, it’s best to seek help from an adult or professional.
By following these safety guidelines, you can ensure a smooth and secure repair process for your Nintendo Switch Joy-Con.
Step-by-Step Guide to Open the Joy-Con
Are you ready to dive into fixing the joystick drift on your Nintendo Switch? The first step is opening up the Joy-Con controller. Follow these simple instructions to safely access the inner workings of your controller.

Image courtesy of www.helpertech.com via Google Images
Removing the Screws
Before you can open the Joy-Con, you’ll need to remove the screws that hold it together. Use a small Phillips head screwdriver to carefully unscrew the screws on the back of the controller. Make sure to keep the screws in a safe place so you don’t lose them.
Taking Apart the Controller
Once the screws are removed, gently separate the two halves of the Joy-Con. Be cautious not to damage any of the components inside. Slowly open the controller, taking note of how everything fits together. You may need to apply a bit of pressure, but be gentle to avoid breaking anything.
Inspecting the Joystick
When it comes to fixing joystick drift on your Nintendo Switch, it’s essential to take a closer look inside the Joy-Con to understand what might be causing the issue. Let’s inspect the joystick components and see if we can pinpoint the problem.
Identifying the Joystick Components
The joystick in your Joy-Con controller is made up of different parts that work together to allow you to control your games. These components include the stick itself, sensors that detect movement, and connections that transmit signals to the console. Understanding how these parts function can help you figure out what might be going wrong.
Looking for Visible Damage
One of the easiest ways to inspect the joystick is to visually examine it for any signs of damage. Check if the stick is misaligned, if there are any loose components, or if there’s any debris that might be interfering with its movement. If something looks out of place or broken, it could be the cause of the joystick drift.
Replacing the Joystick
When your Nintendo Switch joystick is experiencing drift, it may be necessary to replace it with a new one. Follow these step-by-step instructions to successfully replace the faulty joystick and get back to gaming without any issues.

Image courtesy of www.youtube.com via Google Images
Removing the Old Joystick
First, you’ll need to carefully disassemble the Joy-Con controller to access the faulty joystick. Use the appropriate tools and follow the guide provided in the previous section on how to open the Joy-Con controller. Once you have the controller opened up, locate the old joystick that needs to be replaced.
Installing the New Joystick
After removing the old joystick, it’s time to install the new one. Take your replacement joystick and align it correctly with the connector inside the controller. Make sure to securely attach the new joystick to ensure proper functionality. Follow any specific instructions that may come with the replacement joystick to ensure a successful installation.
Once the new joystick is in place, carefully reassemble the Joy-Con controller by following the steps outlined in the subsequent section. Make sure all components are secured back together properly to avoid any issues during gameplay.
Reassembling the Joy-Con
Now that you’ve successfully replaced the faulty joystick, it’s time to reassemble your Joy-Con controller. Start by carefully placing each component back into its original position. Make sure everything fits snugly and aligns correctly.
Screwing Everything Back Together
Once all the parts are back in place, it’s crucial to secure them properly by screwing everything back together. Use the screws you removed earlier and tighten them firmly but not too tightly to avoid damaging the components. Double-check to ensure there are no loose parts left.
Testing the Repaired Joy-Con
Once you have successfully replaced the faulty joystick in your Joy-Con controller, it’s time to sync it with your Nintendo Switch console. To do this, simply slide the Joy-Con back onto the sides of the console until you hear a satisfying click. Your controller should automatically connect to the console, indicated by the LED lights flashing on the side of the Joy-Con.

Image courtesy of www.ifixit.com via Google Images
Playing a Game
Now comes the exciting part – testing out your repaired Joy-Con by playing a game! Select a game from your library that requires precise movements, like aiming or controlling a character. Move the joystick in all directions to ensure there is no drift or unresponsiveness. You should feel smooth and accurate movements as you navigate through the game.
Conclusion and Recap
Fixing joystick drift on your Nintendo Switch is an essential task to ensure smooth and accurate gameplay. By following the steps outlined in this guide, you can successfully repair your Joy-Con controller and get back to enjoying your favorite games without any issues.
First, we discussed what joystick drift is and why it’s crucial to address it promptly. Joystick drift occurs when the controller inaccurately registers movement, leading to frustrating gameplay experiences.
Next, we talked about preparing for the repair, emphasizing the importance of having the necessary tools on hand and following safety precautions throughout the process.
Then, we provided a step-by-step guide on how to open the Joy-Con controller, inspect the joystick for any damage, replace the faulty joystick with a new one, and reassemble the controller to its original state.
After completing the repair, it’s crucial to test the Joy-Con to ensure that the joystick functions correctly and that there is no more drift present. By syncing the controller with your Nintendo Switch console and testing it out in a game, you can verify that the repair was successful.
In conclusion, fixing joystick drift on your Nintendo Switch is a manageable task with the right tools and guidance. By following the steps outlined in this repair guide, you can address joystick drift issues and get back to enjoying a seamless gaming experience. Stay tuned for more tips and guides on how to keep your gaming devices in top shape!
Generated by Texta.ai Blog Automation

 PlayStation Repair
 Xbox Repair
 Nintendo Repair
 Virtual reality (VR) Repair
 Accessories Repair


