From here you can book your game console, controller repair with us
Game Console & Controller Repairs
Any PS5 Console, PS5 Controller
Any PS4 Console, PS4 Controller
Any Xbox Series Console, Xbox Series Controller
Any Xbox One Console, Xbox One Controller
Any Nintendo Switch Console, Joy Con Controller
Introduction: The Joy of Gaming without Interruption
Hey cool gamers! Imagine playing your favorite game and suddenly, your controller stops working! It’s not fun, right? But no worries! Today, we’re going to learn how to fix your game controllers, called Joy Cons, so you can get back to gaming fast! Nintendo Switch repairs and fixing joy cons can be easy and fun, so let’s dive right in!
What Are Joy Cons?
Joy Cons are the controllers for the Nintendo Switch. These are the cool gadgets that let us navigate through our favorite games and have tons of fun while doing it. But sometimes, these controllers might not work as smoothly as we’d like them to. That’s where a little DIY magic comes in handy!
Understanding Your Joy Cons
Let’s break it down – Joy Cons are like your keys to the gaming world. They’re not just regular controllers; they have special features that make gaming more exciting. With buttons, joysticks, and cool motion sensors, Joy Cons bring life to our games, allowing us to interact with them in awesome ways.
Common Problems with Joy Cons
Sometimes Joy Cons can be a bit tricky and have some problems. We’ll look at what could go wrong with them.
Learning the Signs
Do you notice your Joy Cons acting up while you’re playing your favorite game? Here are some signs that might indicate your Joy Cons need fixing:
1. **Drifting**: Your character moves on its own, even when you’re not touching the controller.
2. **Unresponsive Buttons**: Pressing buttons doesn’t work, or they get stuck.
3. **Connectivity Issues**: Your Joy Cons don’t connect to the Switch properly, causing lag or disconnection during gameplay.
If you experience any of these problems, it’s time to roll up your sleeves and start fixing your Joy Cons!
Gathering Your Tools
Before we start fixing our Joy Cons, we need to gather some simple tools. You might be thinking, “Do I need fancy gadgets?” Not at all! Just a few basic items that you can easily find around your house will do the trick.
What You’ll Need
Let’s make a list of the tools we’ll need to get started on our repair adventure. Don’t worry, these tools are not complicated or expensive:
1. Tri-wing screwdriver: This special screwdriver will help us open up the Joy Cons without any trouble.
2. Phillips screwdriver: Another handy tool for taking apart the Joy Cons.
3. Tweezers: Perfect for handling small parts inside the Joy Cons.
4. Replacement parts: If we find that a part needs to be fixed or replaced, it’s good to have the new parts ready.
With these tools in hand, we’ll be all set to start fixing our Joy Cons and get back to gaming in no time!
Step-by-Step Guide to Fix Your Joy Cons
Ready, set, fix! I’ll show you each step you need to follow to get your Joy Cons back in action.
Opening up the Joy Con
We’re going to start by carefully opening our Joy Cons so we can see what’s going on inside. Make sure to do this step gently so we don’t damage anything.
Identifying the Problem
Now, let’s take a closer look at our Joy Cons to figure out what’s causing the issue. It could be a loose connection, a worn-out part, or something else. Once we know the problem, we can move on to fixing it!
Making the Fix
Here’s where the magic happens! Based on what we identified earlier, we’ll now make the necessary repairs. It could be replacing a part, tightening a connection, or cleaning out any dirt or dust that might be causing trouble. Once we’re done, our Joy Cons should be good to go!
Issue
Solution
Joy-Con drift
Replace joysticks or clean the sensors
Unresponsive buttons
Replace buttons or clean button contacts
Connection issues
Reset controller or replace wireless module
Physical damage
Replace damaged components or housing
Testing Your Joy Cons
After fixing them, we need to make sure our Joy Cons are working like champions. Let’s see how to test them out!
The Right Way to Test
Testing your Joy Cons is super easy! First, make sure your Nintendo Switch is turned off. Then, attach your Joy Cons to the sides of the Switch. Turn on your console and try moving around in your game. Check if the buttons are responding correctly and if your character is moving smoothly.
If everything seems to be working fine, great job! You’ve successfully fixed your Joy Cons. But if you notice any issues like buttons not working or your character moving strangely, don’t worry. You can always go back and double-check your repair steps to see if you missed anything.
Remember, testing your Joy Cons after fixing them is important to ensure you can jump back into your games without any interruptions. So, give it a try and enjoy your gaming adventures!
Taking Care of Your Joy Cons
Now that your Joy Cons are fixed, it’s essential to know how to take care of them so they last a long time. Here are some simple tips to keep your Joy Cons happy and working smoothly:
1. Keep Them Clean: Dust and dirt can build up on your Joy Cons, affecting their performance. Make sure to clean them regularly with a soft, dry cloth to avoid any issues.
2. Avoid Dropping Them: Accidentally dropping your Joy Cons can cause damage to the internal components. Be sure to handle them carefully and avoid any unnecessary drops.
3. Store Them Safely: When you’re not using your Joy Cons, store them in a safe and dry place. Avoid leaving them in extreme temperatures or humid environments as it can impact their functionality.
4. Use Protective Cases: Consider using protective cases for your Joy Cons to prevent any scratches or damage when you’re not using them. This can help maintain their appearance and functionality for longer.
5. Update Software Regularly: Make sure to keep your Nintendo Switch and Joy Cons updated with the latest software. Updates can fix bugs and improve performance, ensuring a smoother gaming experience.
By following these maintenance tips, you can help prolong the life of your Joy Cons and continue enjoying your favorite games without any interruptions. Taking care of your gaming gear is just as important as fixing them when issues arise!
Conclusion: Ready for Boundless Adventures
Awesome job fixing your Joy Cons! Now you’re all set to dive back into your favorite games and have loads of fun!
With your repaired Joy Cons, you can embark on boundless adventures in the gaming world without any interruptions. No more worrying about your controllers acting up in the middle of an epic battle or a thrilling race. Your gaming experience is now smoother and more enjoyable, thanks to your DIY repair skills!
Remember, the power to fix your Joy Cons is in your hands. You’ve learned valuable skills that can help you solve problems and keep your gaming gear in top-notch condition. So, whether you’re exploring mysterious worlds, competing in exciting tournaments, or teaming up with friends for multiplayer challenges, your fixed Joy Cons will be there to support you every step of the way.
Keep up the fantastic work, young gamer, and may your gaming adventures be limitless and full of joy!
FAQs: Questions Young Gamers Ask
Got more questions? Here are some answers to questions other young gamers like you have asked about fixing Joy Cons!
Can I fix my Joy Cons by myself?
We’ll explore if it’s okay for a gamer like you to try fixing Joy Cons without help.
What do I do if I can’t fix my Joy Cons?
Don’t worry! There’s always a plan B if fixing doesn’t work the first time.
How do I stop my Joy Cons from having problems again?
Let’s talk about some easy things you can do to keep your Joy Cons in top shape!

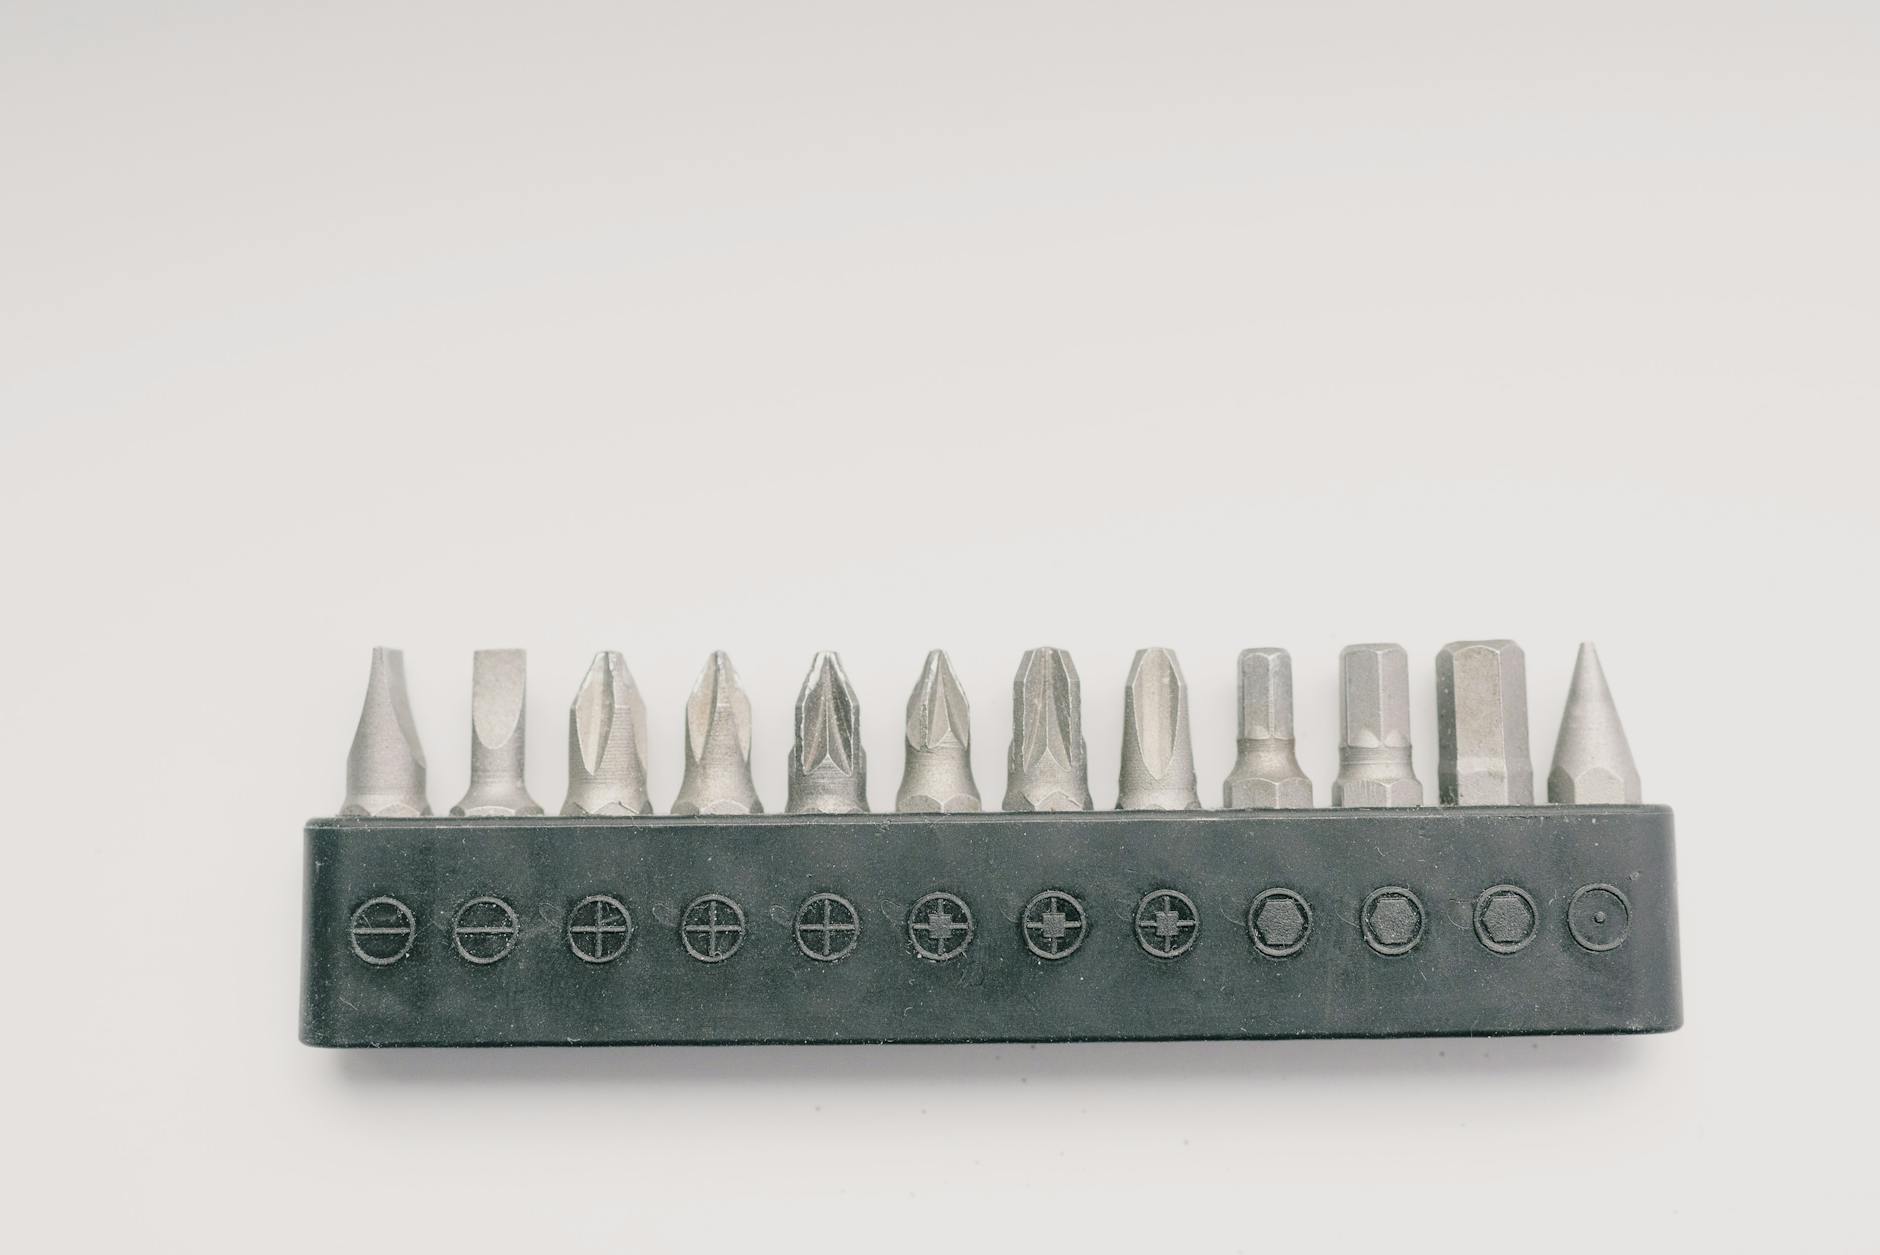 Image courtesy of Ksenia Chernaya via


 PlayStation Repair
 Xbox Repair
 Nintendo Repair
 Virtual reality (VR) Repair
 Accessories Repair