From here you can book your game console, controller repair with us
Game Console & Controller Repairs
Any PS5 Console, PS5 Controller
Any PS4 Console, PS4 Controller
Any Xbox Series Console, Xbox Series Controller
Any Xbox One Console, Xbox One Controller
Any Nintendo Switch Console, Joy Con Controller
Before we start fixing things, let’s chat about what Joy Cons are and why they might need a doctor from time to time. Joy Cons are the small controllers that come with the Nintendo Switch. They are what you use to play all your favorite games. Sometimes, these Joy Cons can run into trouble and need a little fixing up.
Imagine if your favorite hero in a game couldn’t move the way you wanted them to because of a broken Joy Con. That’s why it’s important to know how to fix them so you can get back to gaming smoothly!
Tools You’ll Need
Every repair person needs their tools. Here’s what you’ll need for our Joy Con repair adventure!
Gathering Your Tools
Let’s put together our toolbox with some simple stuff you might find at home or get from a nearby store. To repair your Joy Cons, you’ll need a small Phillips head screwdriver, tweezers, a plastic opening tool or spudger, replacement joysticks (if necessary), and some rubbing alcohol or contact cleaner for cleaning. Make sure to have a clean, well-lit workspace to do your repairs.
Understanding the Problem
Hey there! Before we dive into fixing your Joy Cons, let’s figure out what might be going on with them. These tiny controllers can sometimes act up, making it hard for you to enjoy your favorite games. Here are some common problems you might encounter:
Start your Buy, Sell, Repair Game Console. To find your closest store
Leave your mobile phone number and we will call you back
1. Joy Cons not responding to your commands.
2. Joy Cons drifting or moving on their own.
3. Joy Con buttons sticking or not working properly.
Don’t worry, we’ll explore why these issues happen and how we can fix them together!
Let’s Get to Fixing!
Are you ready to dive into fixing your Joy Cons and getting back to your favorite game? Let’s roll up our sleeves, grab our tools, and follow these simple steps to bring your controllers back to life.
Step-by-step Repair Guide
First things first, make sure you have a clean, well-lit workspace to operate in. Gather your tools and let’s get started!
1. **Assess the Issue**: Take a close look at your Joy Con and try to identify the problem. Is the joystick not responding properly? Is there a drift in the movements?
2. **Open Up the Joy Con**: Carefully remove the screws at the back of the Joy Con using a small screwdriver. Be gentle to avoid damaging any internal components.
3. **Inspect the Joystick**: Once you’ve opened up the Joy Con, take a look at the joystick mechanism. Clean it gently with a soft cloth and some rubbing alcohol to remove any dust or debris that might be causing the issue.
4. **Replace the Joystick**: If cleaning doesn’t solve the problem, you may need to replace the joystick. You can find replacement joysticks online or at your nearest electronics store. Follow the manufacturer’s instructions for installation carefully.
5. **Close Up the Joy Con**: Once you’ve replaced the joystick or made any necessary repairs, carefully put the Joy Con back together. Make sure all the screws are securely fastened and that everything is in place.
6. **Test Your Joy Con**: Before you put everything away, it’s important to test your Joy Con to make sure it’s working properly. Connect it to your Nintendo Switch and try out the joystick to see if the issue has been resolved.
By following these simple steps, you can easily fix your Joy Cons and get back to gaming in no time!
Testing Your Handy Work
Now that you’ve successfully completed the repairs on your Joy Cons, it’s time to make sure they are functioning properly. Testing your controller after a repair is an essential step to ensure everything is in working order.
Here are a few simple tests you can perform to check if your Joy Cons are ready for gaming:
1. **Button Test**: Press each button on the controller to verify that they are responsive and working correctly. Make sure all buttons register a response when pressed.
2. **Joystick Test**: Move the joysticks in all directions to confirm they are smooth and accurate. Check for any resistance or drifting issues.
3. **Connectivity Test**: Pair the Joy Cons with your Nintendo Switch console and test the wireless connection. Ensure the controller is properly syncing with the console without any lag or disconnectivity.
4. **Motion Sensor Test**: If your Joy Con has motion-sensing capabilities, test them by playing a game that utilizes motion controls. Verify that the sensors are detecting your movements accurately.
5. **Rumble Test**: Test the rumble feature of the Joy Cons by playing a game that triggers vibration feedback. Make sure the rumble function is working as expected.
By performing these simple tests, you can be confident that your Joy Cons are in good working condition and ready for hours of gaming fun!
What If They Still Don’t Work?
If your Joy Cons are still misbehaving even after you’ve given them a good fix, don’t fret! There are still options to explore to get them back in top shape.
Finding Help Nearby
If you’ve tried everything and your Joy Cons are still acting up, it might be time to seek help from a professional. You can look for places near you that specialize in fixing Nintendo products, like gaming stores or repair shops. They have the knowledge and expertise to diagnose and repair more complex issues that you might not be able to tackle on your own.
Common Joy-Con Issues
DIY Fix
Drifting Joysticks
Calibrate Joy-Con
Unresponsive Buttons
Clean Buttons or Replace Rubber Domes
Weak or Dead Battery
Replace Battery
Connection Problems
Reset Joy-Cons or Replace Bluetooth Module
By finding help nearby, you can ensure that your Joy Cons receive the attention they need to get back to working like new. Plus, you won’t have to wait too long to get back to your favorite games!
Caring for Your Joy Cons
Now that your Joy Cons are up and running again, it’s essential to know how to keep them in tip-top shape for years of gaming fun! Let’s dive into some best practices for maintaining your Joy Cons.
Best Practices for Maintenance
1. Cleanliness is key: Just like you, your Joy Cons need a bath once in a while. Use a soft, slightly damp cloth to wipe away any dirt or grime that may have accumulated on the surface of your controllers. Be gentle to avoid damaging any sensitive parts.
2. Avoid extreme temperatures: Joy Cons don’t like it too hot or too cold. Make sure to store them in a cool, dry place away from direct sunlight or sources of heat. Extreme temperatures can affect the performance of your controllers.
3. Proper storage: When you’re not using your Joy Cons, it’s best to store them in a safe place where they won’t get squished or knocked around. Consider investing in a protective case to keep them secure when not in use.
4. Mindful gaming: While it’s tempting to get carried away in the heat of the game, remember to treat your controllers with care. Avoid excessive force or rough handling that could lead to unnecessary wear and tear on your Joy Cons.
5. Regular checks: Just like a check-up at the doctor, it’s a good idea to inspect your Joy Cons every now and then for any signs of wear or damage. Catching issues early can help prevent bigger problems down the line.
By following these simple tips, you can ensure that your Joy Cons stay in top condition for all your gaming adventures. Taking care of your controllers means they’ll be there for you whenever you need them, ready to help you conquer the next level or race to victory!
Wrap-Up
Throughout this DIY repair guide, we’ve learned how to fix Joy Cons and get back to gaming in no time. From understanding common issues to gathering the necessary tools, you’re now equipped to tackle any problem that comes your way.
By following the step-by-step repair guide, you’ve honed your skills in Joy Con repair and can now confidently troubleshoot any issues that may arise. Remember, practice makes perfect, so don’t be afraid to get hands-on with your controllers!
After testing your handy work and ensuring your Joy Cons are back in action, it’s essential to remember to care for them properly. By implementing best practices for maintenance, you can keep your controllers happy and healthy for years to come.
From finding help nearby to troubleshooting any lingering issues, this guide has equipped you with the knowledge and skills needed to become a DIY repair expert. Whether it’s a joystick replacement or a simple fix, you now have the tools to handle it all.
FAQs
Can I fix my Joy Cons at home?
If you’re feeling up to the challenge, you can definitely try fixing your Joy Cons at home! Just make sure to follow a repair guide carefully and gather all the necessary tools before starting. Remember, safety first!
How long does it take to repair Joy Cons?
The time it takes to repair your Joy Cons can vary depending on the issue and your experience level. Simple fixes may only take a few minutes, while more complex issues could take longer. Be patient and take your time to ensure the repair is done correctly.
What should I do if my Joy Cons are still not working after DIY repair?
If your Joy Cons are still not functioning properly after attempting a DIY repair, don’t worry! You can always seek help from a professional repair service. Look for authorized Nintendo repair centers near you for expert assistance.

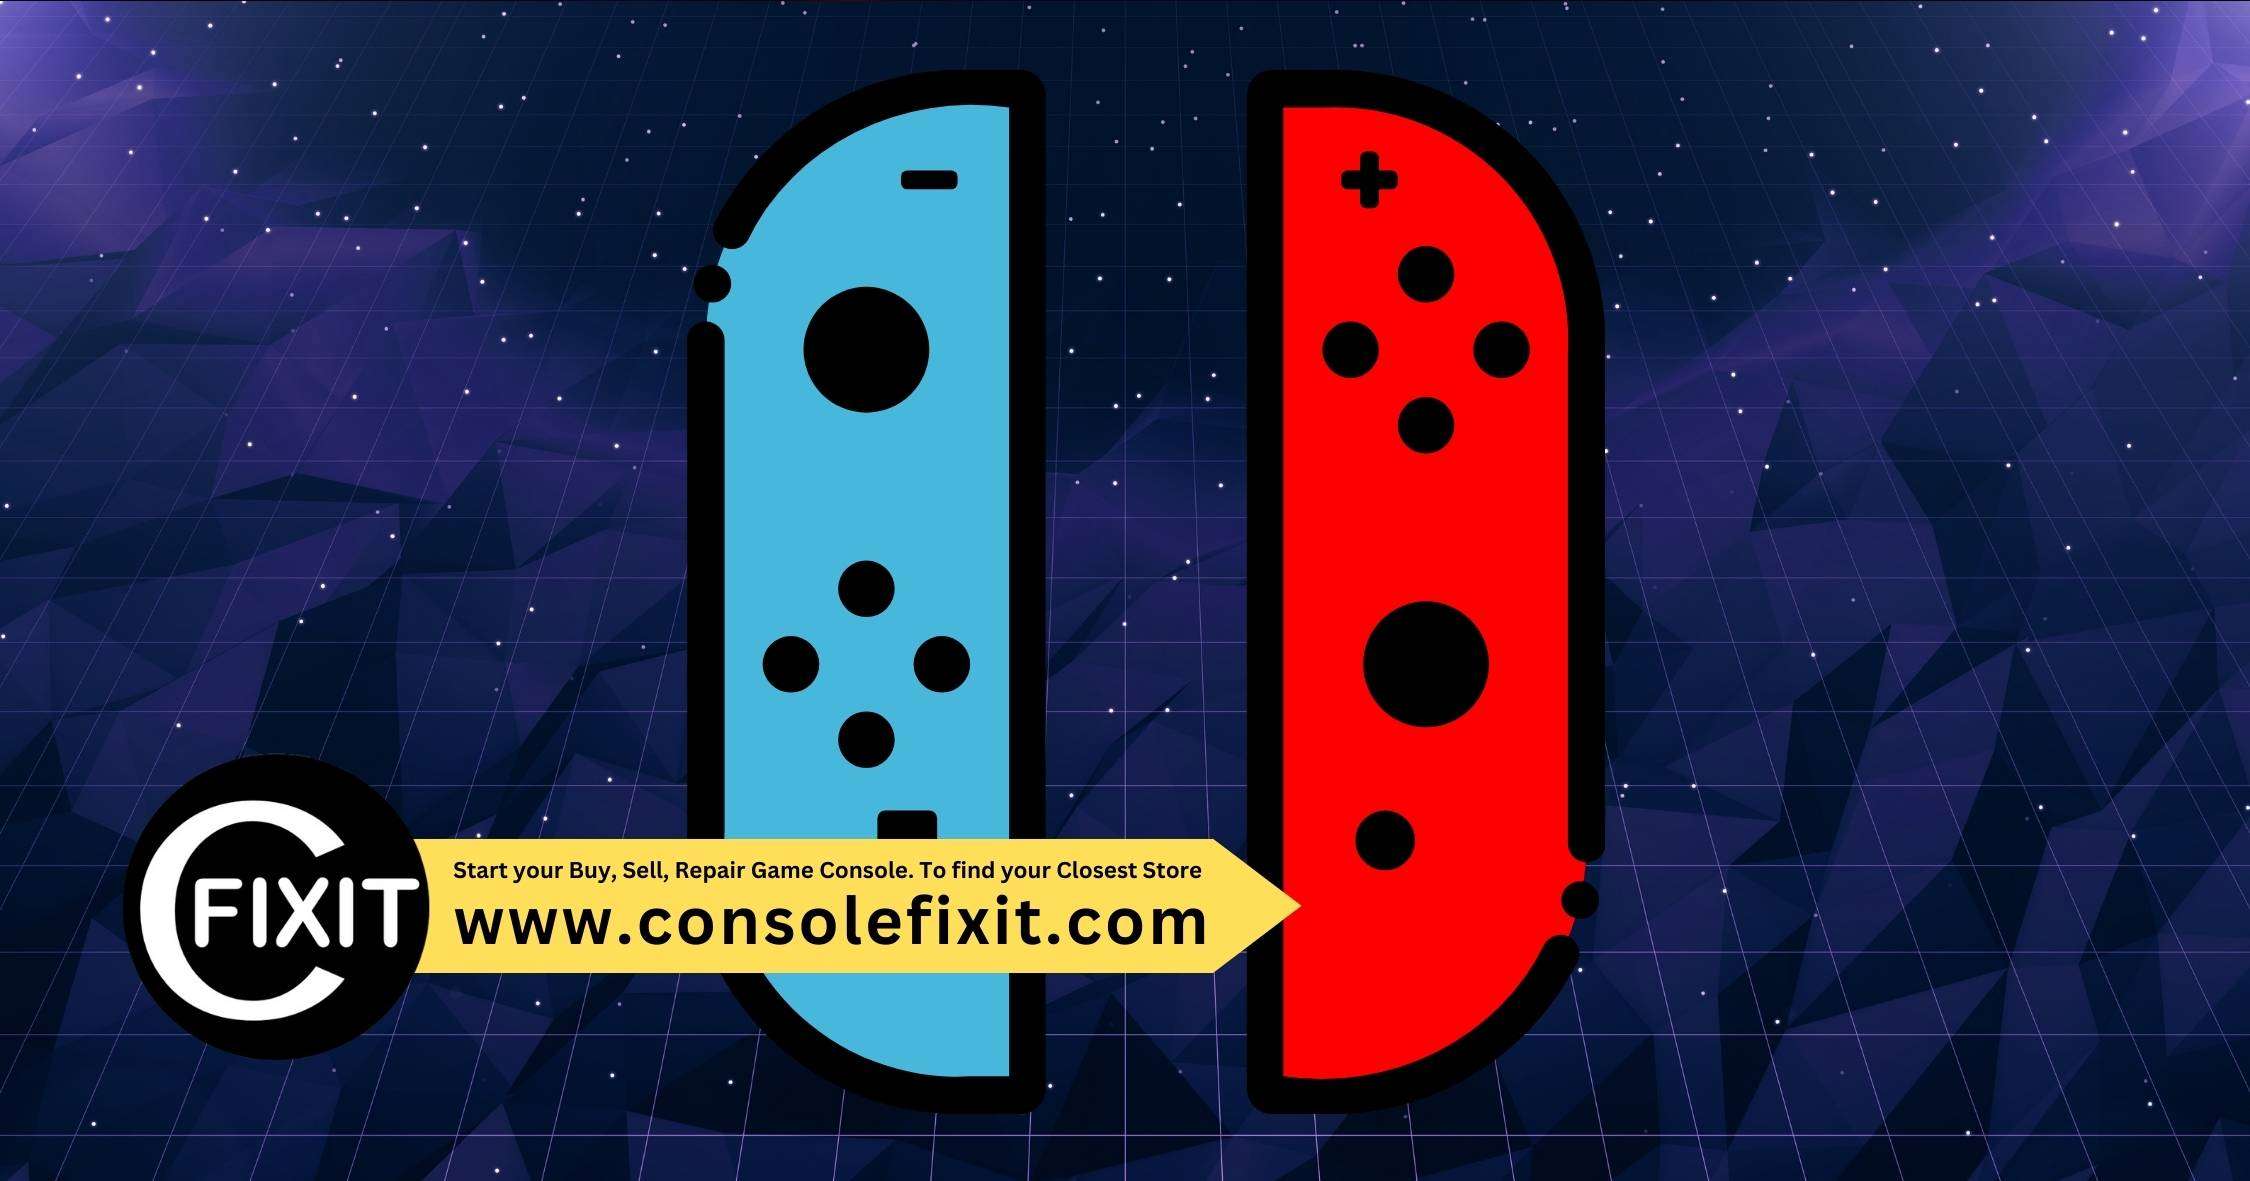
 Image courtesy of Obsahovka Obsahovka via


 PlayStation Repair
 Xbox Repair
 Nintendo Repair
 Virtual reality (VR) Repair
 Accessories Repair