From here you can book your game console, controller repair with us
Game Console & Controller Repairs
Any PS5 Console, PS5 Controller
Any PS4 Console, PS4 Controller
Any Xbox Series Console, Xbox Series Controller
Any Xbox One Console, Xbox One Controller
Any Nintendo Switch Console, Joy Con Controller
Introduction: Becoming a Nintendo Switch Repair Wizard
Now, we’re going to learn how to fix up your Nintendo Switch’s Joy-Cons so you can get back to gaming in no time! We’ll keep it simple and fun, like figuring out a new game!
Are your Joy-Cons acting up and not letting you play your favorite games smoothly? Don’t worry, we’ve got your back! Together, we’ll embark on an exciting journey to become a Nintendo Switch Repair Wizard and master the art of fixing Joy-Cons.
Imagine yourself as a hero on a quest to save the day by restoring your Joy-Cons to their former glory. With a little guidance and some tools in hand, you’ll soon be on your way to enjoying seamless gaming experiences once again!
So, grab your repair gear, put on your thinking cap, and get ready to dive into the world of Nintendo Switch repairs – an adventure where every fix brings you one step closer to becoming a true repair wizard!
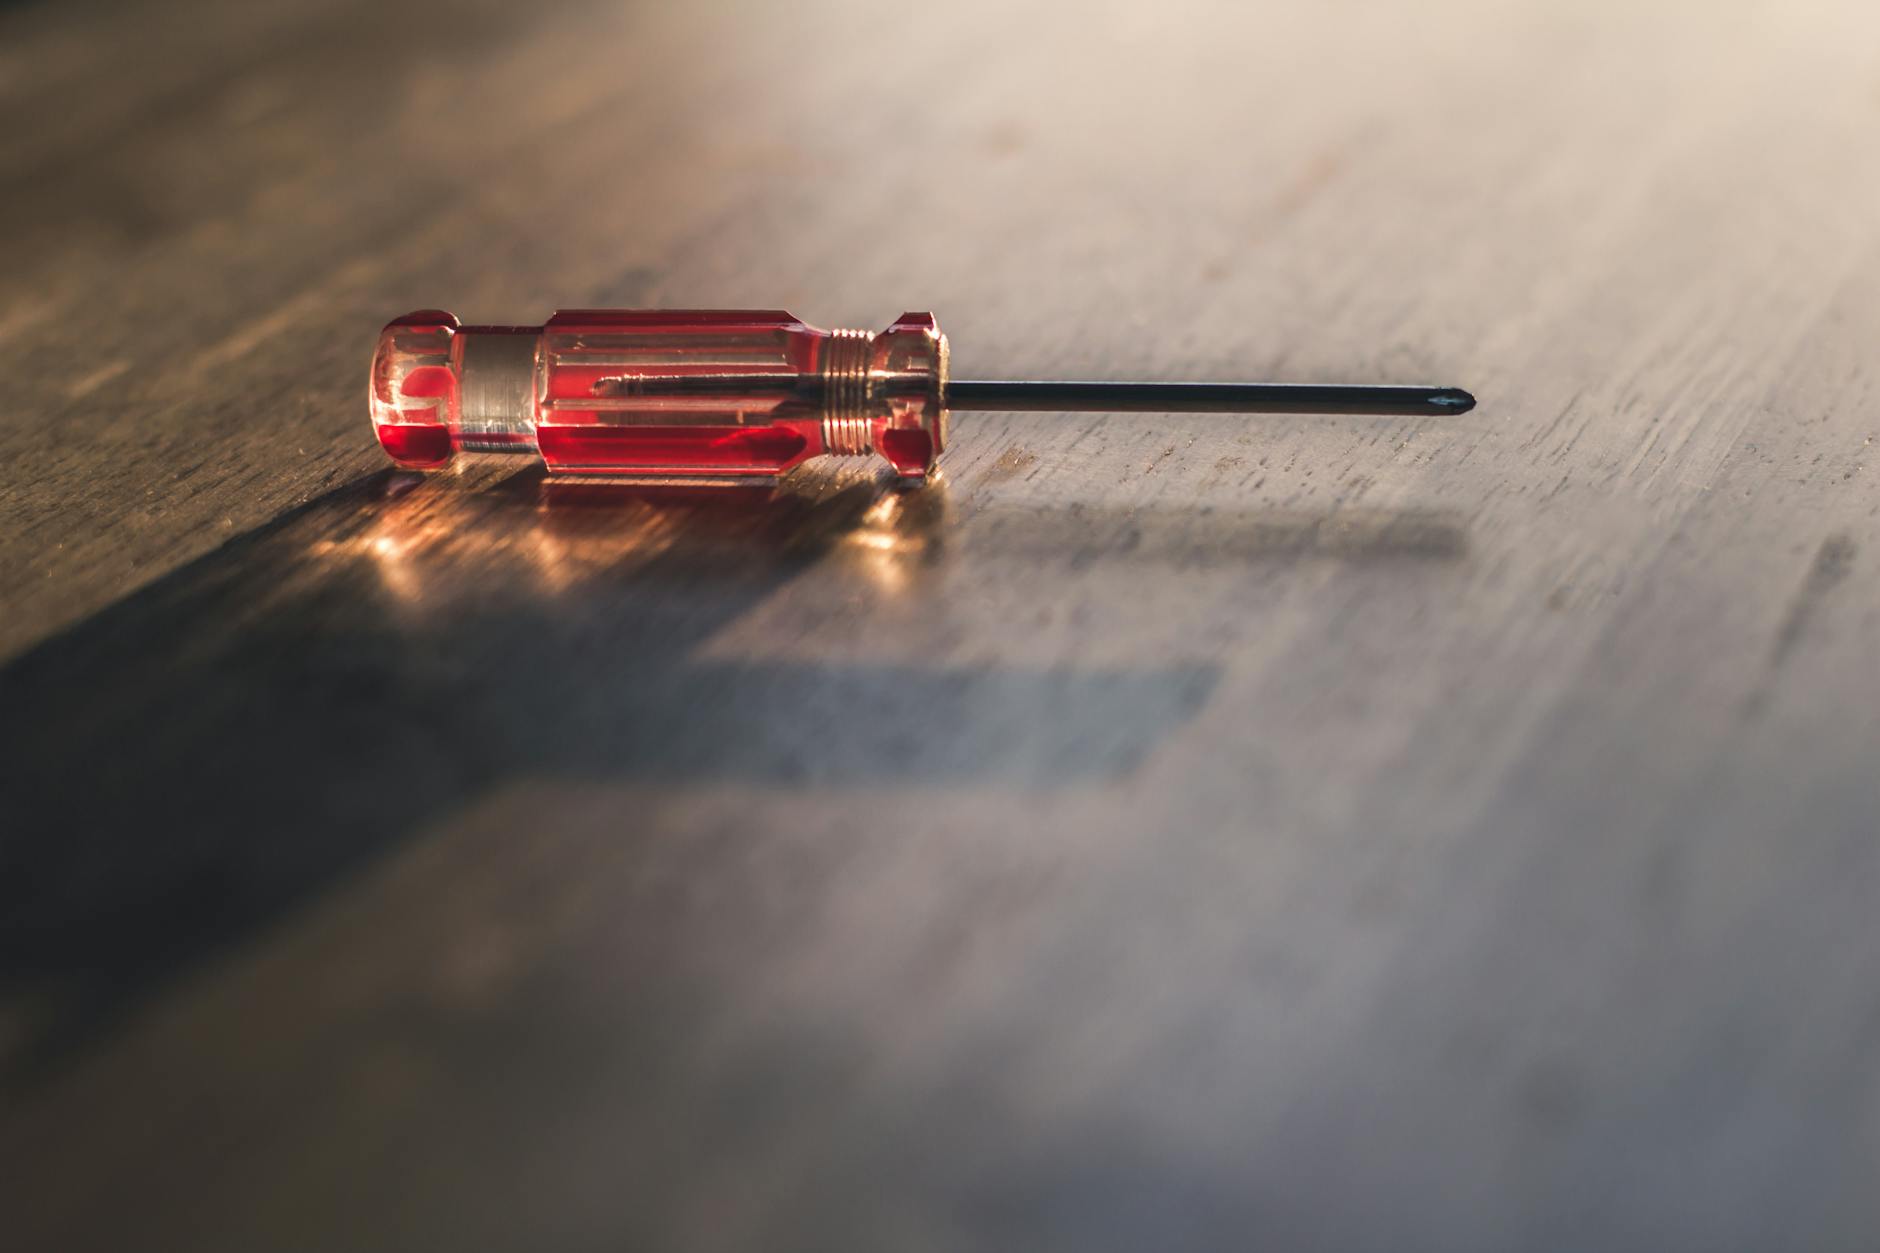
Tools of The Trade
Before we start our adventure, we need to gather our tools! You’ll need tiny screwdrivers and other cool gadgets to open up your Joy-Cons and peek inside to see what’s going on!
Finding Spare Parts
Sometimes, the insides of your Joy-Cons might need to be replaced. We’ll help you figure out what parts you need and where you can find them so you can get your Joy-Con back in tip-top shape!
Understanding Your Quest: How Joy-Cons Work
Let’s learn about Joy-Cons! It’s like getting to know your favorite game character before playing.
The Mysteries Inside
We’ll peek inside the Joy-Cons and explain how these little game buddies let you play and have fun!
Preparing for the Mission: Safety First!
Safety is a big deal, even for heroes! We’ll make sure you know how to keep everything safe before you start fixing.
Just like taking a rest before a big level, turning your Switch off is important before fixing things. This ensures that you won’t accidentally press buttons while working on your Joy-Con and helps prevent any damage to your console.
Workspace Setup
We’ll tidy up a space to work, so none of those tiny screws run away from us! Find a clean, flat surface to lay out all your tools and parts. Make sure you have good lighting so you can see everything clearly. Keeping everything organized will make the repair process much smoother and less stressful.
Embarking on the Repair Adventure: Step-by-Step Guide
Time to start the quest! I’ll guide you through each step, like following a treasure map to hidden goodies.
Opening the Joy-Con
Unscrew and open the Joy-Con like unlocking a chest to find the treasures (pieces) inside!
Fixing the Joystick
If our joystick is acting wonky, we’ll fix or replace it and get it back under control!
Putting it All Together
Once we’ve fixed everything, we’ll put the Joy-Con back together, like finishing a fun building block project.
Testing Your Success: Does It Work?
After fixing up your Joy-Con, it’s time to put it to the test! Just like checking if all your potions work before fighting a big boss in a game, we need to make sure our repair job did the trick. Let’s see if your Joy-Con is ready to tackle any gaming challenge!
Checking the Controls
Now that we’ve fixed up the Joy-Con, let’s give it a spin! Grab your favorite game, pop in your Switch, and try out all the buttons and joysticks. Move your character around, jump, and use all the functions to see if everything is working smoothly. It’s like trying out a new game level to see if you’ve mastered all the skills!
If everything feels good and your character moves just like you want, congratulations! You’ve successfully repaired your Joy-Con and you’re ready to dive back into gaming without any issues. But if you notice any problems or glitches, don’t worry! You can always go back and retrace your steps to figure out what needs fixing. It’s all part of the fun in becoming a repair wizard!
Conclusion: The End of Your Repair Journey
Great job, young repair wizard! You have successfully completed your repairing adventure and learned valuable skills along the way. Let’s take a moment to recap everything we’ve covered and celebrate your newfound repair prowess!
Throughout this guide, you’ve discovered how to fix your Nintendo Switch Joy-Cons like a pro. From understanding how Joy-Cons work to safely embarking on the repair adventure, you’ve tackled each step with determination and skill.
By gathering the necessary tools and spare parts, you’ve equipped yourself for any repair challenge that comes your way. You’ve also gained insight into the inner workings of your Joy-Cons, empowering you to troubleshoot and fix any issues that may arise.
Remember, safety always comes first, and you’ve learned the importance of powering down your Switch and setting up a clean workspace before diving into repairs. Your attention to detail and careful approach have ensured successful outcomes at every turn.
As you follow the step-by-step guide and open up your Joy-Cons to address joystick issues, you’ve honed your problem-solving skills and put your repair knowledge into action. By testing your repaired Joy-Cons and checking the controls, you’ve confirmed that your efforts have paid off.
So, pat yourself on the back, brave repair wizard! You’ve shown resilience, patience, and a willingness to learn throughout this repair journey. Your newfound expertise in Nintendo Switch Joy-Con repair is a testament to your dedication and can-do attitude.
Now, armed with your repair wizard skills, you can confidently tackle any future repair challenges that come your way. Keep exploring, keep learning, and keep shining bright as a master of Nintendo Switch Joy-Con repair!
Happy gaming, and may your Joy-Cons always bring you endless joy and adventure!


 PlayStation Repair
 Xbox Repair
 Nintendo Repair
 Virtual reality (VR) Repair
 Accessories Repair