From here you can book your game console, controller repair with us
Game Console & Controller Repairs
Any PS5 Console, PS5 Controller
Any PS4 Console, PS4 Controller
Any Xbox Series Console, Xbox Series Controller
Any Xbox One Console, Xbox One Controller
Any Nintendo Switch Console, Joy Con Controller
Gaming has become a favorite pastime for many people around the world. Whether you’re exploring mysterious lands, battling fierce enemies, or solving challenging puzzles, gaming brings excitement and adventure right to your fingertips. One popular gaming console that has captured the hearts of players everywhere is the Nintendo Switch OLED. With its vibrant display and versatile gameplay options, the Nintendo Switch OLED offers a unique gaming experience that appeals to players of all ages.
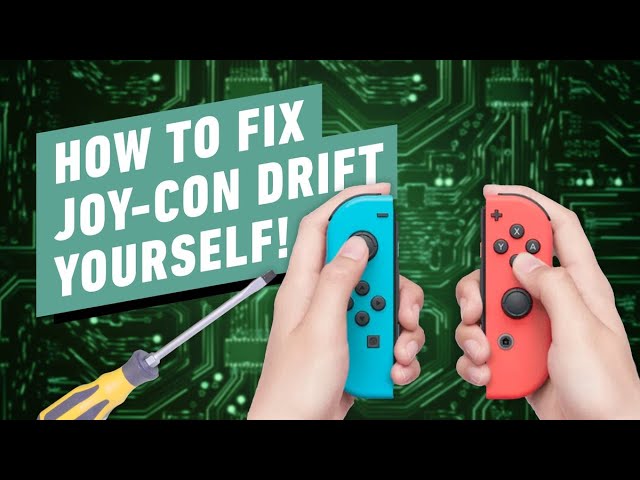
However, as much fun as gaming can be, there can be frustrating issues that arise, such as Joy-Con drift. If you’ve experienced Joy-Con drift while playing on your Nintendo Switch, you know how annoying it can be to have your character move on its own or not respond correctly to your commands. But fear not! In this guide, we will explore what Joy-Con drift is and how you can fix it yourself, so you can get back to enjoying your favorite games without any interruptions.
Understanding Joy-Con Drift
Have you ever been playing your favorite game on your Nintendo Switch and noticed something strange happening? Sometimes, your character might start moving on its own, even when you’re not touching the controller. This frustrating issue is called Joy-Con drift, and it can really get in the way of your gaming fun.
What is Joy-Con Drift?
Joy-Con drift is a common problem that Nintendo Switch players face. It occurs when the joystick on your controller starts registering movement even when you’re not touching it. This can make your game character move around without your control, making it difficult to play smoothly.
Why Does It Happen?
Joy-Con drift can happen for a few different reasons. One common cause is dust and dirt that can get inside the controller and interfere with the joystick’s movement sensors. Over time, this buildup can lead to the drift issue. Sometimes, wear and tear on the controller can also contribute to the problem.
Do Alternatives Have the Same Issue?
While some alternative controllers may offer a temporary solution to Joy-Con drift, they can also experience similar issues over time. It’s important to take good care of all your gaming controllers to prevent drift problems from happening.
Preparation for Fixing Your Joy-Con
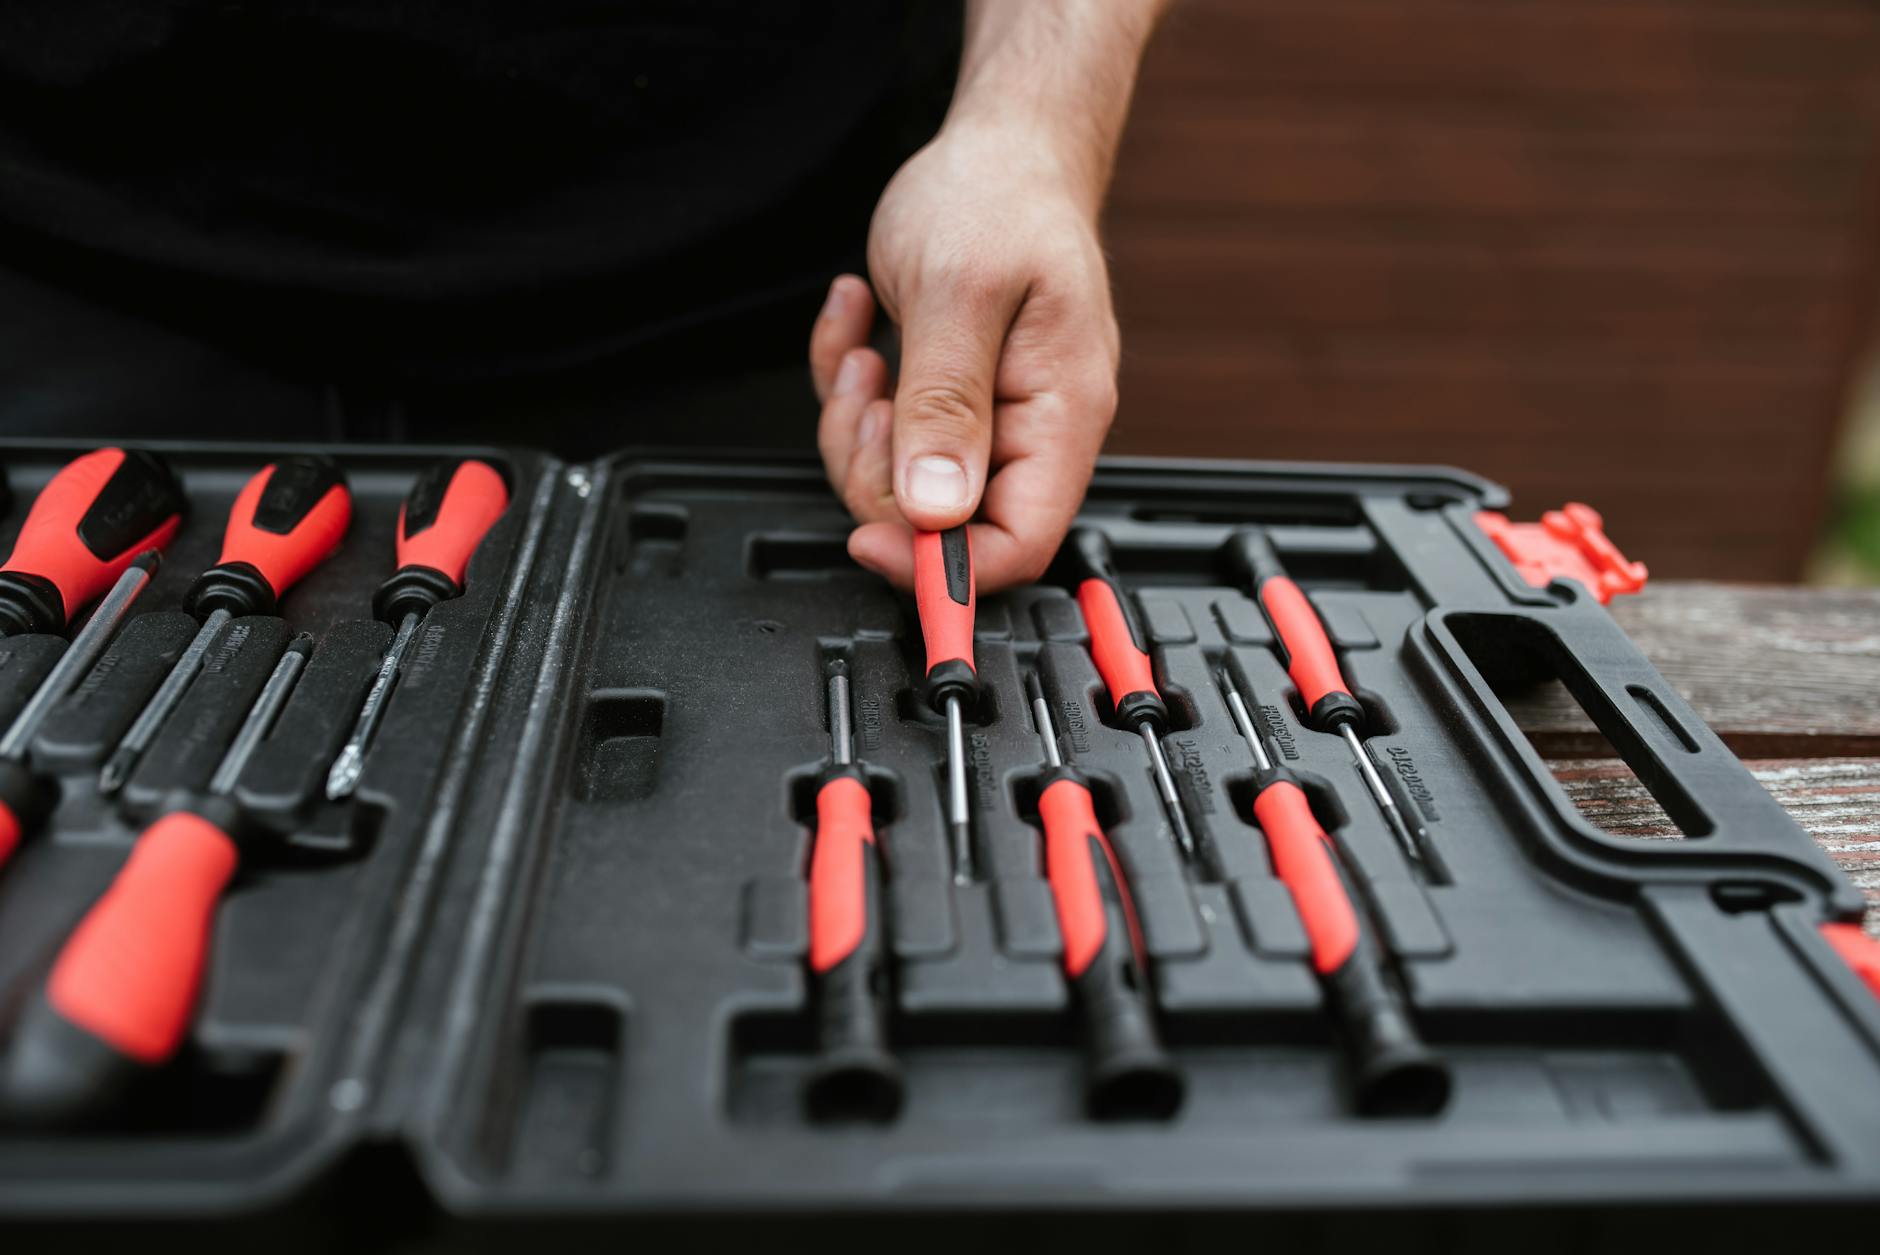
Before you start fixing the Joy-Con drift on your used Nintendo Switch, make sure you have all the necessary tools. You will need a small screwdriver, a pair of tweezers, a microfiber cloth, and a can of compressed air. These tools will help you open up the Joy-Con and clean it properly.
When dealing with electronic devices like the Nintendo Switch, safety should always be your top priority. Make sure to turn off your Switch before attempting any repairs. Also, it’s a good idea to work on a clean and flat surface to avoid losing small parts. If you’re unsure about anything, don’t hesitate to ask an adult for help or guidance.
Step-by-Step Guide to Fix Joy-Con Drift
Are you tired of dealing with Joy-Con drift while playing your favorite Nintendo Switch games? Don’t worry, we’ve got you covered! Follow these simple steps to fix the drift issue by yourself and get back to enjoying a smooth gaming experience.
Calibrating the Joy-Con
First things first, let’s try calibrating the Joy-Con to see if that fixes the drift problem. Go to your Nintendo Switch system settings and navigate to the controllers menu. Look for the option to calibrate the Joy-Con and follow the on-screen instructions to complete the process. This simple step might just do the trick!
Cleaning the Joy-Con
If calibrating didn’t solve the issue, it’s time to give your Joy-Con a good cleaning. Using a soft, dry cloth, gently wipe the thumbsticks and buttons to remove any dust or debris that could be causing the drift. Be careful not to use any liquids or harsh chemicals that could damage the controller.
Disassembling and Adjusting the Thumb Stick
If cleaning didn’t work, you may need to take the Joy-Con apart to access the thumb stick for adjustment. This step requires caution and precision, so make sure to follow a detailed guide or tutorial on disassembling the Joy-Con. Once you have access to the thumb stick mechanism, carefully adjust it to see if that resolves the drifting issue.
Being Cautious with Repairs
When it comes to fixing a refurbished Nintendo Switch Joy-Con, it’s essential to understand the potential risks involved. Opening up electronic devices can be tricky, especially if you’re not familiar with the inner workings of the controller. One wrong move could damage the Joy-Con further and potentially render it useless. So, before diving into repairs, make sure you’re prepared and have done adequate research to minimize the risks involved.
Another crucial aspect to consider when attempting to fix a refurbished Nintendo Switch Joy-Con is the impact on the warranty. Most refurbished products come with a limited warranty that covers certain types of damages or malfunctions. However, if you attempt to repair the Joy-Con yourself and inadvertently cause more harm, you may void the warranty altogether. This means that any future issues with the controller may not be covered by the manufacturer, resulting in additional costs for repairs or replacements. It’s always wise to weigh the potential savings from DIY repairs against the risk of losing warranty coverage.
When to Seek Professional Help or Consider a Replacement
If you’ve tried fixing the Joy-Con drift issue yourself but it still persists, it might be time to seek help from professionals. Repair services specializing in gaming consoles like the Nintendo Switch can diagnose and fix the problem effectively. They have the expertise and the necessary tools to disassemble and repair Joy-Cons without causing any further damage. While it may come at a cost, sending your Joy-Con to professionals can ensure a proper and long-lasting fix.
Buying a Joy-Con Alternative
If fixing the Joy-Con seems too daunting or if the drift problem is irreparable, you can consider purchasing an alternative controller. There are various third-party Joy-Con alternatives available in the market that offer similar functionality and performance. Just make sure to do your research and read reviews to find a reliable and well-reviewed controller that will enhance your gaming experience on the Nintendo Switch.
Conclusion: Mastering Your Joy-Con Issues
In this blog post, we’ve explored the world of Nintendo Switch gaming and delved into the frustrating issue of Joy-Con drift. Understanding what Joy-Con drift is and why it happens is the first step in taking control of your gaming experience. Whether you have a Nintendo Switch OLED, a used console, or a refurbished device, knowing how to address Joy-Con drift can save you from gameplay frustrations.
Key Takeaways:
It’s essential to be prepared with the necessary tools and knowledge before attempting to fix your Joy-Con. Safety should always come first when dealing with electronic devices, so make sure to take precautions and follow instructions carefully. Cleaning, calibrating, and adjusting the thumb stick are key steps in resolving the drift issue.
Empower Yourself:
By learning how to handle Joy-Con drift on your own, you’re taking control of your gaming experience and mastering potential issues that may arise. Remember, knowing when to seek professional help or consider a replacement is also crucial in maintaining your gaming setup.
With the right tools, knowledge, and caution, you can conquer Joy-Con drift and get back to enjoying your favorite games without interruptions.


 PlayStation Repair
 Xbox Repair
 Nintendo Repair
 Virtual reality (VR) Repair
 Accessories Repair