From here you can book your game console, controller repair with us
Game Console & Controller Repairs
Any PS5 Console, PS5 Controller
Any PS4 Console, PS4 Controller
Any Xbox Series Console, Xbox Series Controller
Any Xbox One Console, Xbox One Controller
Any Nintendo Switch Console, Joy Con Controller
Have you ever been playing your favorite game on your Nintendo Switch, only to have your character start moving on its own? Or maybe your on-screen cursor moves without you even touching the controller. If this sounds familiar, you might be experiencing a common issue known as Joy-Con drift. In this guide, we will dive into what Joy-Con drift is, why it’s a problem for Nintendo Switch players, and how you can fix it.
What is Joy-Con Drift?
Joy-Con drift is a problem that occurs when the joysticks on your Nintendo Switch controllers start registering movement even when you’re not touching them. This can cause your character to move without your input, leading to frustration and difficulty while playing games. It’s a common issue that many Nintendo Switch players have faced, and understanding how to address it can help improve your gaming experience.
Common Signs of Joy-Con Drift
One of the most obvious signs of Joy-Con drift is when your character or cursor moves on its own without any input from you. You may also notice that your controller seems to be drifting in a specific direction even when you’re not touching it. These signs can be frustrating and impact your ability to play games smoothly, making it essential to address the issue as soon as possible.
Before You Start the Repair
Before diving into repairing your Nintendo Switch Joy-Con, there are a few important things to consider. Proper preparation and awareness of potential risks can make the repair process smoother and more successful.
Gathering the Right Tools
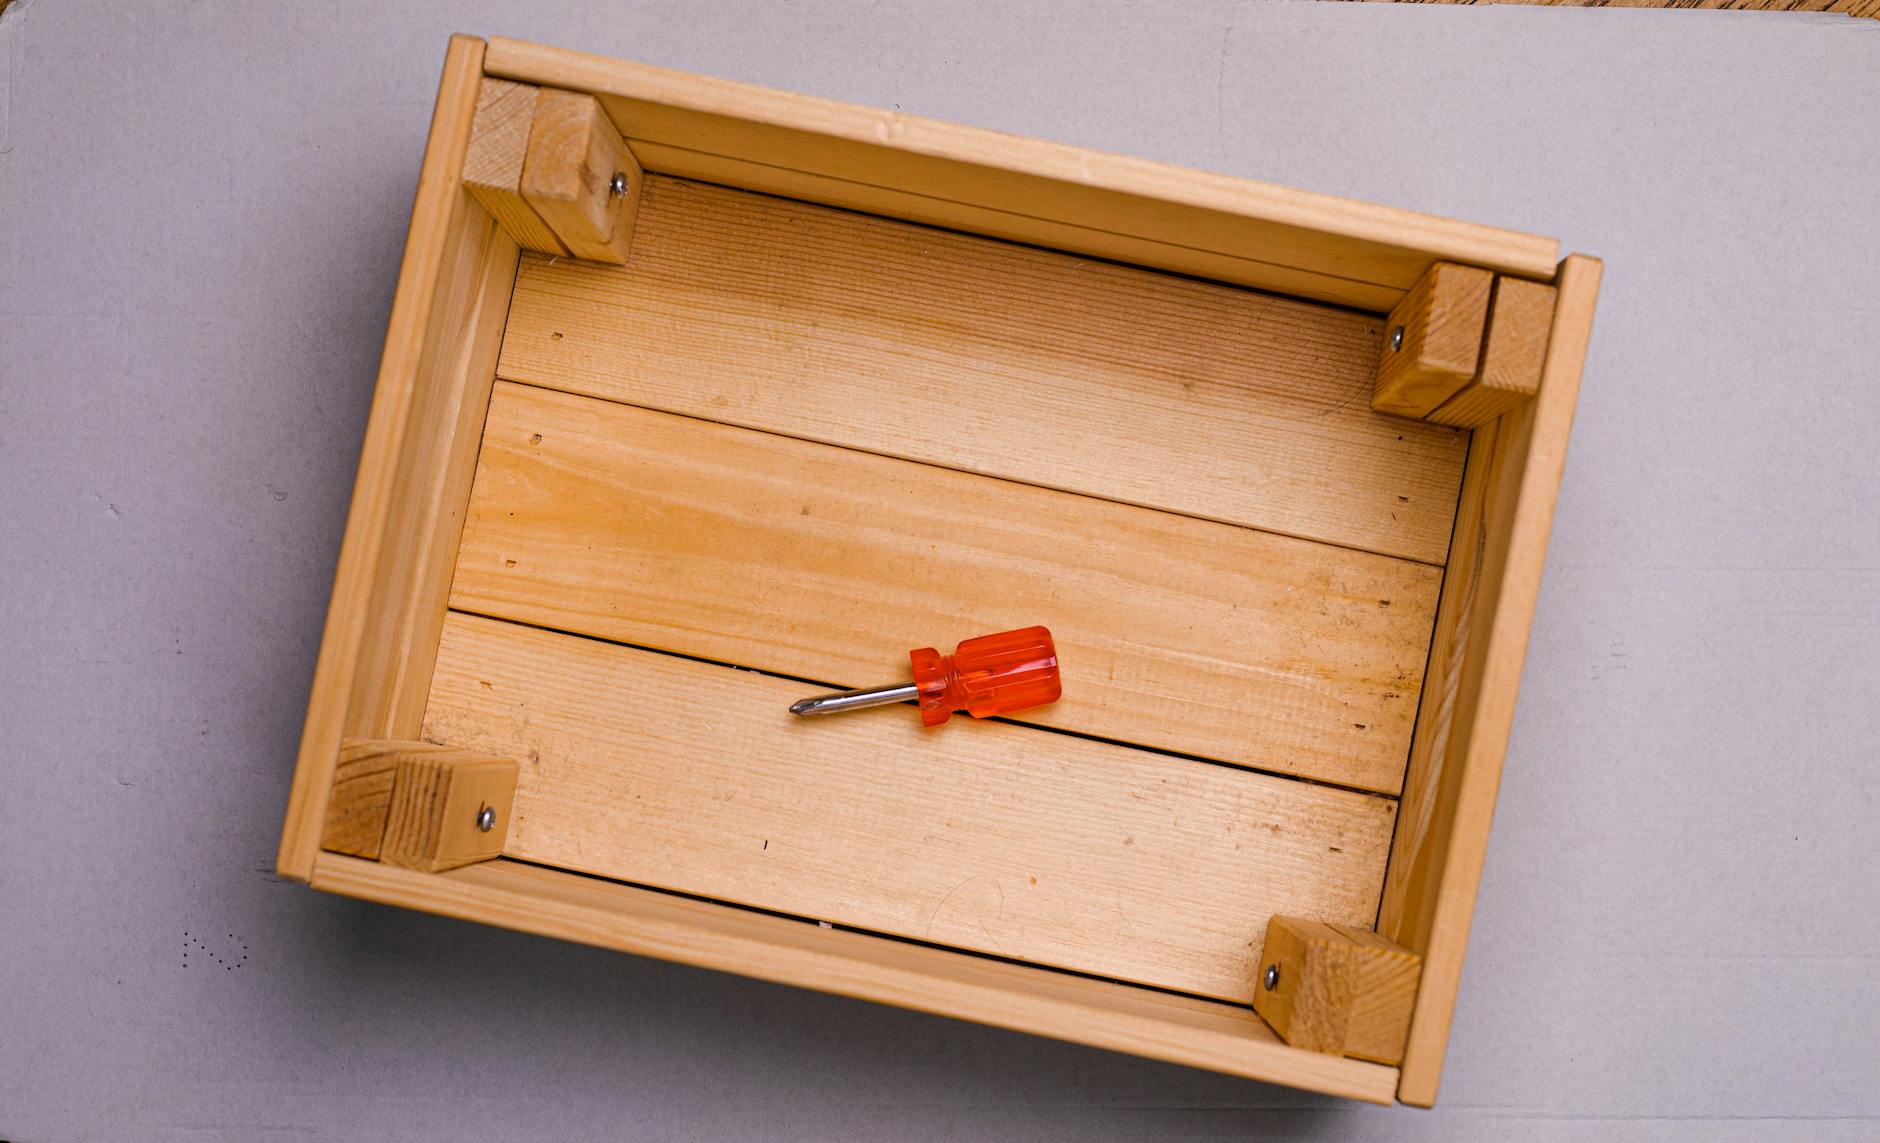
First and foremost, make sure you have all the necessary tools for the repair. You will typically need a small Phillips head screwdriver, a set of precision screwdrivers, a pair of tweezers, and possibly a plastic opening tool. These tools can help you safely open up the Joy-Con and access the internal components that may need repair or replacement.
Understanding the Risks
It’s crucial to understand that attempting to repair your Nintendo Switch Joy-Con on your own comes with risks. Opening up the controller and working with delicate components can potentially cause further damage if not done correctly. If you are unsure about your repair skills or the extent of the issue, it may be best to seek professional help to avoid causing more harm to your Joy-Con.
Step: Calibrating Your Joy-Con
When your Nintendo Switch Joy-Con starts to act up and drift during gameplay, the first step you can take to try and fix it is calibration. Calibrating your Joy-Con can help resolve minor drift issues and get you back to playing your favorite games without frustration. Follow these simple steps to calibrate your Joy-Con and hopefully eliminate the pesky drift problem.
The calibration menu on your Nintendo Switch is where you can fine-tune the settings of your Joy-Con controllers. To access this menu, start by navigating to the System Settings on your Switch. Look for the Controllers and Sensors option, where you will find the Calibrate Control Sticks selection. Click on this to enter the calibration menu for your Joy-Con.
How to Calibrate
Once you are in the calibration menu, follow the on-screen instructions to calibrate your Joy-Con. You will be prompted to center the control stick and then move it in different directions to ensure the calibration is accurate. Make sure to follow these instructions carefully and precisely to effectively recalibrate your Joy-Con.
After completing the calibration process, test out your Joy-Con in gameplay to see if the drift issue has been resolved. If the problem persists, you may need to explore further repair options such as cleaning or joystick replacement. But starting with calibration is a simple and easy first step to try and fix the Joy-Con drift on your Nintendo Switch.
Step 2: Cleaning the Joy-Con
Before diving into cleaning your Joy-Con, it’s essential to set up a clean and organized workspace. Find a flat surface with ample lighting where you can spread out your tools and work without any distractions. Make sure to have a soft cloth or microfiber towel handy to avoid scratching the surface of your Joy-Con.
Cleaning Techniques
When it comes to cleaning your Joy-Con, gentle is the key. Start by using a can of compressed air to blow away any dust or debris that may be causing the drift. Be sure to hold the can upright to prevent any liquid from coming out, as this can damage the Joy-Con.
Next, dip a cotton swab in isopropyl alcohol (commonly known as rubbing alcohol) and gently clean around the joystick and other exposed areas. Avoid using excess liquid to prevent any damage to the electronics inside the Joy-Con. Allow the alcohol to evaporate completely before reassembling your controller.
For stubborn dirt or grime, you can lightly dampen a microfiber cloth with isopropyl alcohol and wipe down the entire exterior of the Joy-Con. Remember to always be gentle and avoid using abrasive cleaners or excessive force.
Once you’ve cleaned the Joy-Con thoroughly, let it dry completely before putting it back together. This cleaning process may help alleviate the drifting issue, but if the problem persists, you may need to consider further repairs or replacement.
Repairing or Replacing the Joystick
If after calibrating and cleaning your Joy-Con the drift issue persists, it may be time to consider replacing the joystick. Signs that a replacement is necessary include persistent drifting, unresponsive controls, or physical damage to the joystick itself. Remember, replacing the joystick requires a bit more skill and precision, so if you’re unsure, it might be best to seek professional help.
Replacing the joystick on your Joy-Con can be a more complex task, but with careful attention to detail, it can be done. Here is a basic outline of the steps involved:
1. Remove the screws on the back of the Joy-Con using a small screwdriver.
2. Carefully separate the back panel from the front housing of the Joy-Con.
3. Locate the joystick module inside the Joy-Con and unplug the ribbon cable connected to it.
4. Gently remove the old joystick module from the housing and replace it with a new one.
5. Reconnect the ribbon cable and reassemble the Joy-Con by putting the back panel back in place and securing the screws.
Remember to take your time and be patient during the replacement process to avoid causing any additional damage to your Joy-Con. If you’re unsure about any step, it’s always best to seek professional assistance to ensure the job is done correctly.
Seeking Professional Help
When it comes to fixing your Nintendo Switch Joy-Con, sometimes it’s best to leave it to the professionals. If you’re not comfortable with DIY repairs or if calibration and cleaning didn’t solve the drift issue, it’s time to seek out a repair shop. But how do you find a trusted place to get your Joy-Con fixed?
What to Expect at the Repair Shop
Once you’ve found a repair shop that you trust, it’s important to know what to expect during the repair process. The professionals at the repair shop will likely evaluate the extent of the drift issue and provide you with a quote for the repair. Before handing over your Joy-Con, make sure to ask questions about the repair process, the estimated time it will take, and any warranties or guarantees they offer.
Conclusion: Enjoying Your Fixed Joy-Con
Now that you have successfully fixed your Joy-Con drift issues, it’s time to reap the rewards of your hard work and enjoy gaming on your Nintendo Switch once again! With your controllers working smoothly, you can dive back into your favorite games without any frustrating interruptions.
Remember, taking care of your Joy-Con controllers is essential to ensure they function properly for a long time. Regularly cleaning and maintaining them can help prevent drift issues from arising again in the future. By following the steps outlined in this guide, you have equipped yourself with the knowledge and skills to address Joy-Con drift whenever it occurs.
So, grab your newly fixed Joy-Con controllers, power up your Nintendo Switch, and get ready to immerse yourself in hours of uninterrupted gaming fun! Whether you’re exploring vast worlds, competing in intense battles, or racing against friends, your fixed Joy-Con will be there to enhance your gaming experience.


 PlayStation Repair
 Xbox Repair
 Nintendo Repair
 Virtual reality (VR) Repair
 Accessories Repair