From here you can book your game console, controller repair with us
Game Console & Controller Repairs
Any PS5 Console, PS5 Controller
Any PS4 Console, PS4 Controller
Any Xbox Series Console, Xbox Series Controller
Any Xbox One Console, Xbox One Controller
Any Nintendo Switch Console, Joy Con Controller
Have you ever been playing your favorite game on the Nintendo Switch when suddenly your character starts moving on its own? That’s what we call Joy Con Drift. Joy Con Drift is when the joystick on your controller starts acting wonky, causing unwanted movements in your game. It can be super annoying and make your gaming experience less enjoyable. That’s why it’s essential to fix Joy Con Drift as soon as you notice it.
Signs You’re Experiencing Joy Con Drift
If you’re not sure if your Nintendo Switch Joy Con is experiencing drift issues, there are a few signs you can look out for to help identify the problem.
Weird Movements in Games
Have you noticed that your character in a game is moving without you touching the joystick? Or maybe the cursor on the screen seems to have a mind of its own? These strange movements could be a sign of Joy Con drift.
Unresponsive Joystick
Another indicator of Joy Con drift is when the joystick on your controller becomes unresponsive. You may find that your character doesn’t move in the direction you’re pushing, or the joystick gets stuck and doesn’t move smoothly.
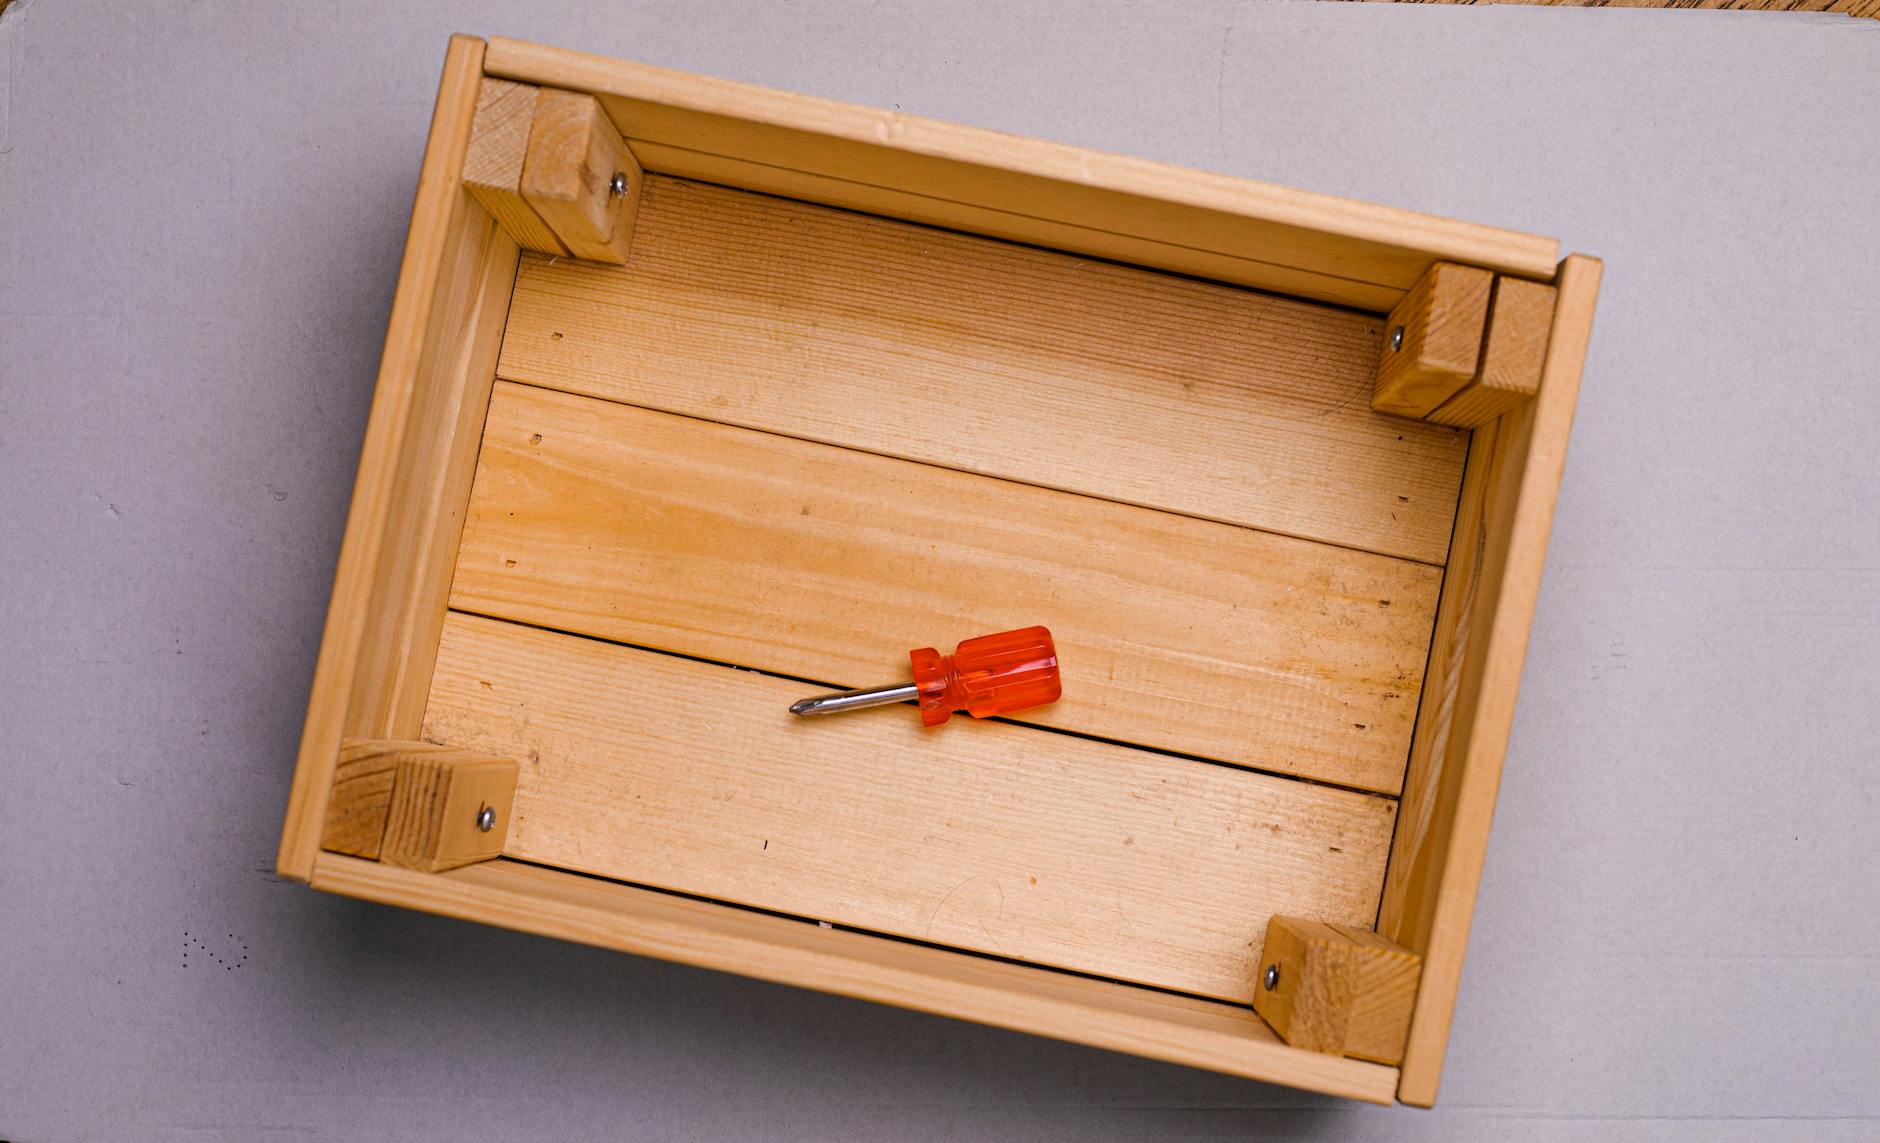
Gathering the Right Tools for the Job
Before starting your Joy Con repair, you’ll need the right tools to get the job done. Make sure you have a small Phillips head screwdriver to remove the screws holding the Joy Con together. Tweezers are also handy for handling small parts with precision. These tools will help you open up the Joy Con safely and without causing damage.
If you find that your joystick is beyond repair, don’t worry! You can order replacement joystick parts online. Look for genuine parts that are compatible with your Nintendo Switch model. Once you have the replacement part, you can follow the repair guide to swap out the old joystick for the new one. Make sure to double-check that you have the correct replacement part before starting the repair.
Pre-Repair Preparations
Before you start fixing your Joy Con, it’s important to power off your Nintendo Switch. This ensures that you won’t encounter any electrical problems while working on the repair. Simply hold down the power button on the Switch until you see the power options on the screen, then select “Power Off.” Your Switch is now safe to work on.
Workspace Setup
Creating a suitable workspace is essential for a successful repair job. Find a clear, well-lit area where you can comfortably work on your Joy Con. Make sure you have enough space to keep all your tools and replacement parts organized. Good lighting will help you see the small components clearly, making the repair process much easier.
Step-by-Step Repair Guide
To start fixing your Joy Con drift issue, you first need to carefully open up the Joy Con case. Make sure you have the right tools, like a small screwdriver, to remove the screws without damaging the case. Take your time and be gentle so you don’t break anything inside.
Once you have the Joy Con open, you can now focus on fixing or replacing the joystick causing the drift problem. Check for any dirt or debris around the joystick that might be causing the issue. If cleaning doesn’t work, you may need to replace the joystick with a new one. Follow the instructions that come with the replacement part carefully.
Closing the Joy Con
After you’ve fixed or replaced the joystick, it’s time to safely close up the Joy Con. Make sure all the components are back in their place and the screws are tightened properly. Be gentle when closing the case to avoid any damage. Once everything is secured, your Joy Con should be ready to go.
Testing Your Repaired Joy Con
After completing the repair process on your Joy Con, it’s important to test it out to ensure that the issue of drifting has been successfully resolved. Follow these simple steps to make sure your Joy Con is back to normal.
Syncing the Joy Con
The first step is to reconnect your repaired Joy Con to your Nintendo Switch. To do this, simply slide the Joy Con onto the sides of your Switch until you hear a click. You should see the Joy Con icon appear on the screen, indicating that it’s connected.
Trying It Out
Now that your repaired Joy Con is synced with your Switch, it’s time to test it out in a game. Choose a game that requires precise movements or control, like Mario Kart or Super Mario Odyssey. Move the joystick in all directions to see if the drifting issue has been resolved.
When to Seek Professional Help
If you’ve followed all the steps in this guide, but your Joy Con drift issue persists, it might be time to seek professional help. Don’t worry; sometimes these repairs can be a bit tricky, and it’s okay to ask for assistance. You can also try reaching out to online communities or forums for additional troubleshooting tips.
Image courtesy of www.kontrolfreek.com via Google Images
Locating a Repair Service
When DIY solutions don’t cut it, and you’re still dealing with Joy Con drift, it’s smart to find a reliable repair service. Start by checking with your local electronics or gaming stores to see if they offer repair services for Nintendo Switch consoles. If you can’t find one nearby, you can search online for authorized Nintendo repair centers that can help fix your Joy Con.
Conclusion: Enjoy Your Fixed Joy Con!
Now that you’ve successfully repaired your Joy Con and fixed that pesky drift issue, it’s time to get back to enjoying your Nintendo Switch to the fullest!
Resume Gaming Fun!
Say goodbye to those unwanted character movements and unresponsive joystick actions. With your newly repaired Joy Con, you can dive back into your favorite games without any distractions.
Share Your Success Story!
Don’t forget to share your repair journey with your friends who might be facing the same issue. You can be the hero who helped them save their gaming experience!
Take Care of Your Joy Con!
Remember to handle your Joy Con with care to prevent any future issues. Keep it clean, avoid spills, and store it properly when not in use.
Enjoy the seamless gameplay experience you deserve with your fixed Joy Con! Happy gaming!


 PlayStation Repair
 Xbox Repair
 Nintendo Repair
 Virtual reality (VR) Repair
 Accessories Repair