From here you can book your game console, controller repair with us
Game Console & Controller Repairs
Any PS5 Console, PS5 Controller
Any PS4 Console, PS4 Controller
Any Xbox Series Console, Xbox Series Controller
Any Xbox One Console, Xbox One Controller
Any Nintendo Switch Console, Joy Con Controller
Hey there, young gamer! Have you ever been playing your favorite game on the Nintendo Switch and noticed something strange happening? Maybe your game character started moving all on its own, even when you weren’t pressing any buttons. Well, if that sounds familiar, you might be experiencing something called Joy Con drift.
What is Joy Con Drift?
Joy Con drift is when the joystick on your Nintendo Switch controller doesn’t respond correctly. It’s like trying to run in a race, but your sneakers keep going the wrong way without you wanting them to. It can be really frustrating when you’re trying to have a great time playing games with your friends or exploring exciting worlds.
Understanding the Problem: What Causes Joy Con Drift?
When playing your favorite games on the Nintendo Switch, have you ever experienced your character moving around on its own without you even touching the joystick? This frustrating issue is called Joy Con drift, and it can really put a damper on your gaming experience. But what causes this annoying problem in the first place? Let’s dive in and find out!
Wear and Tear
Imagine your Nintendo Switch Joy Con joystick as a pair of sneakers you wear every day. Over time, with all the jumping, running, and playing, your sneakers start to wear out. The same goes for the joystick. With constant use and movement, the inner mechanisms can wear down, causing it to not respond properly. It’s like having a well-loved toy that starts to lose its shine and needs a bit of fixing to work like new again.
Understanding what causes Joy Con drift is the first step towards fixing the issue and getting back to enjoying your gaming adventures without any interruptions. So, now that you know why it happens, let’s move on to how you can repair it and get your Joy Con back in top shape!
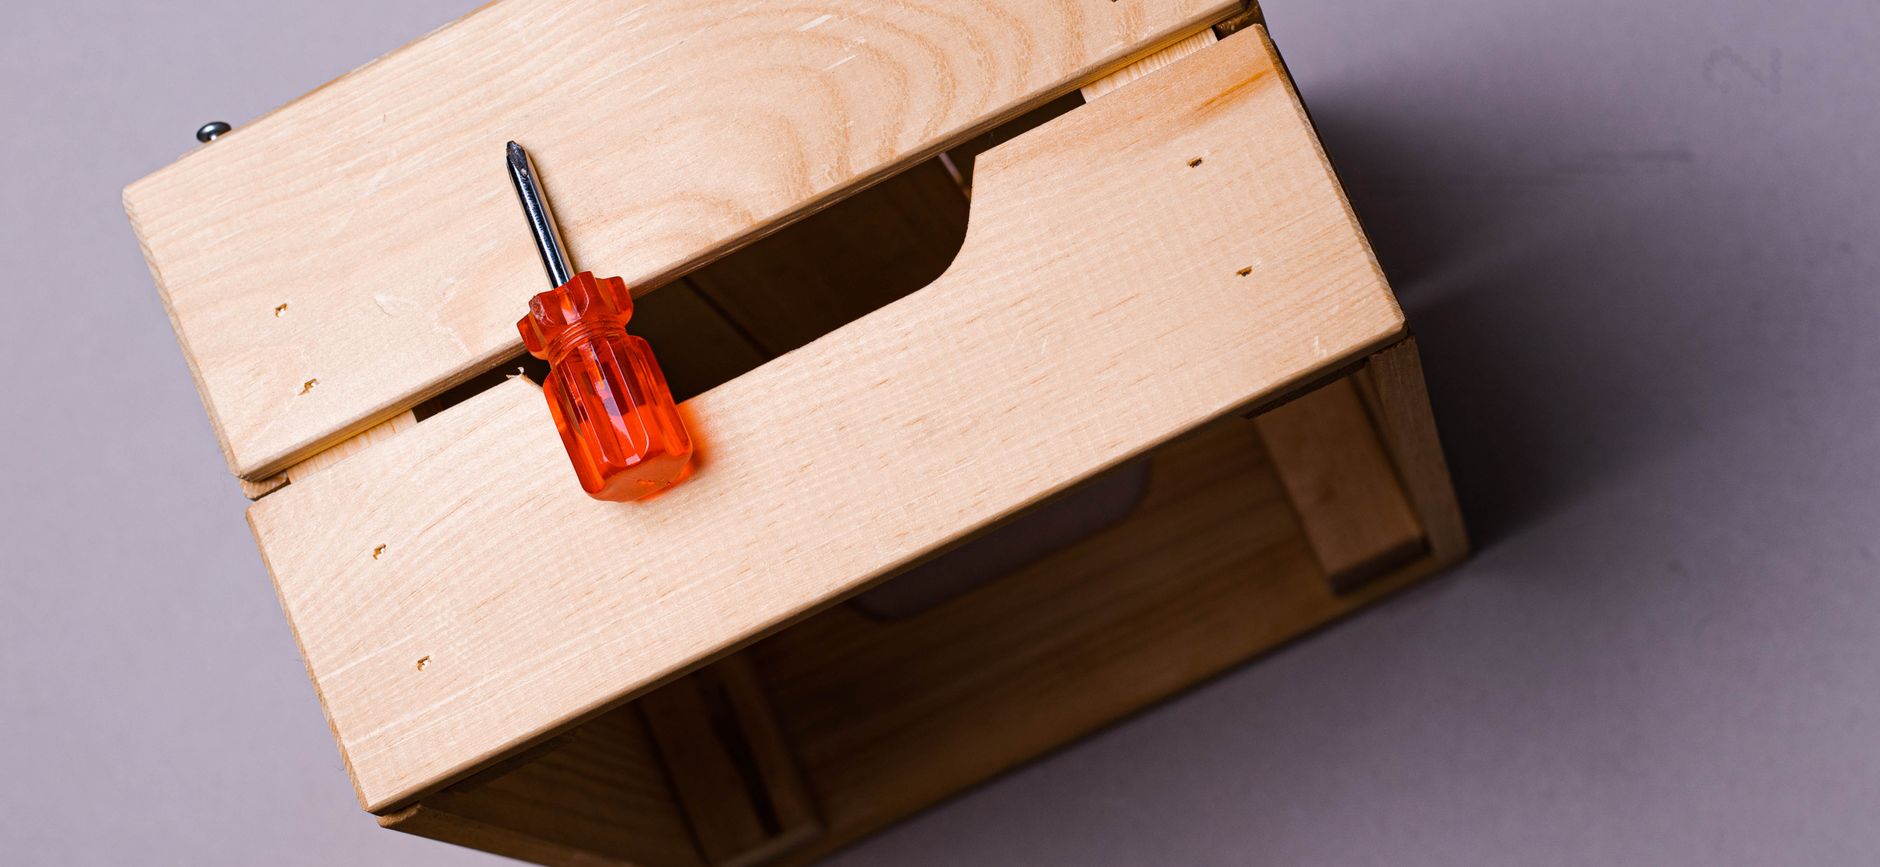
Getting Ready: Tools You’ll Need
Before you embark on the exciting mission of fixing your Joy Con, make sure you have all the tools you need to become a superhero handyman! Just like a superhero grabs their gadgets before saving the day, you’ll need a few magical items to bring your Joy Con back to life.
1. Screwdriver Set: This trusty tool will help you open up the Joy Con and access the insides where the magic happens.
2. Tweezers: Perfect for delicate maneuvers, like carefully removing the old joystick from its place.
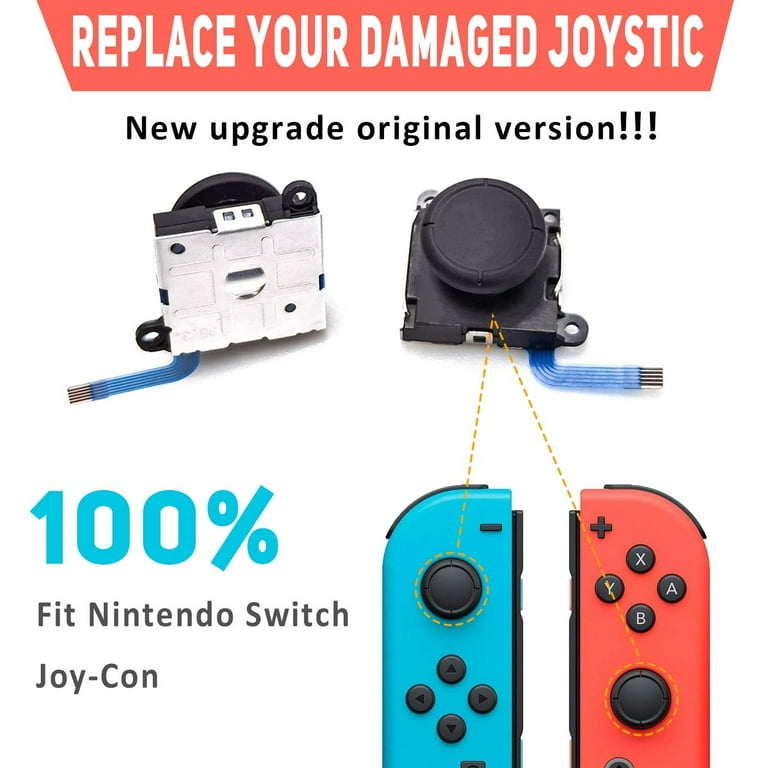
3. New Joystick Replacement: Your key to victory! This is the new legend that will breathe new life into your Joy Con.
4. Cleaning Cloth: A quick wipe-down might be needed to ensure everything is sparkling clean and ready for action.
With these tools at your disposal, you’re all set to tackle the challenge of Joy Con drift and emerge victorious!
Step-by-Step Guide: Replacing the Joystick
Now that we’ve learned about why Joy Con drift happens and the tools required for the repair, let’s dive into the step-by-step process of replacing the joystick. Think of it as embarking on a treasure hunt where the ultimate prize is having a fully functional Joy Con for uninterrupted gaming sessions!
Step 1: Open the Treasure Chest
Just like opening a treasure chest in a video game, gently pry open the Joy Con using a screwdriver. This is the beginning of your repair adventure, so make sure to handle the parts with care as you unveil the insides of your gadget.
Step 2: The Heart of the Joy Con
Identify the old, worn-out joystick inside the Joy Con. Think of it as the heart of the gadget that needs to be replaced. Carefully remove the old joystick, paying attention to how it is connected to the Joy Con to avoid any damage to other components.
Step 3: Placing the New Legend
Now, it’s time to bring new life to your Joy Con by inserting the fresh joystick. Align the new part correctly and secure it in place, just like fitting a missing piece in a puzzle. This step is crucial in restoring your Joy Con to its former glory.
Step 4: Sealing the Victory
As you put all the parts back together, ensure everything is in its place. Seal the Joy Con like a hero sealing a defeated villain in a comic book. Tighten the screws and assemble the gadget back to its original state. Your adventure is nearly complete!
Testing Your Success: Does It Work?
Now that you’ve followed the steps and replaced the joystick in your Joy Con, it’s time for the moment of truth. Just like when you finish building a new Lego car and want to see if it zips smoothly across the floor, you’ll need to test out your repaired Joy Con.
Image courtesy of www.walmart.com · In stock via Google Images
Press the buttons, move the joystick around, and see if your game characters respond the way they should. If everything is working smoothly, then congratulations! You’ve successfully fixed your Nintendo Switch and can get back to enjoying your favorite games without any annoying Joy Con drift.
Pat on the Back: Celebrating Your New Skills
Hey there, budding tech wizard! You’ve made it through the entire guide on fixing the Joy Con drift issue in your Nintendo Switch. Congratulations are in order for taking on this repair adventure! You’ve gained some valuable skills that can not only help you with your own devices but also make you the hero among your friends and family who may encounter similar problems.
Becoming a Repair Wizard
Give yourself a big pat on the back for successfully completing this DIY repair task. You’ve learned how to troubleshoot and fix a common issue with your gaming device, which is no small feat! From identifying the problem to using the right tools and following step-by-step instructions, you’ve shown that you have what it takes to tackle tech challenges.
Now that you’ve added a new skill to your toolbox, don’t hesitate to put it to good use. If you notice the same issue in other Joy Cons or even different gadgets, you can step in as the expert problem-solver. Your newfound knowledge empowers you to help out others and spread the joy of hassle-free gaming experiences.
Wrapping Up: Key Takeaways
Your Adventure Log
As we wrap up our journey through fixing Joy Con drift, remember these key points:
Understanding what Joy Con drift is and how it can affect your gaming experience.
Identifying the causes of Joy Con drift, particularly wear and tear on the joystick.
Gathering your superhero toolkit for the repair mission.
Following the step-by-step guide to replacing the joystick, like following a treasure map.
Testing the repaired Joy Con to ensure it’s back to working order.
Celebrating your new skills as a repair wizard and being empowered to help others.


 PlayStation Repair
 Xbox Repair
 Nintendo Repair
 Virtual reality (VR) Repair
 Accessories Repair