From here you can book your game console, controller repair with us
Game Console & Controller Repairs
Any PS5 Console, PS5 Controller
Any PS4 Console, PS4 Controller
Any Xbox Series Console, Xbox Series Controller
Any Xbox One Console, Xbox One Controller
Any Nintendo Switch Console, Joy Con Controller
Introduction: Getting to Know Your Nintendo Switch
We’ll kick off with a quick introduction about the Nintendo Switch and why it’s such a cool gadget. But, even cool things break sometimes, and that’s okay! We’ll get into what you might need to do if your Joy-Con needs a fix.
The Nintendo Switch is a magical device that lets you play all your favorite games on the go or at home on the big screen. It’s like having a mini arcade in your hands! But just like any superhero, sometimes it needs a little help to keep saving the day.
Imagine your Joy-Con is like the trusty sidekick to your Nintendo Switch. It helps you jump, run, and defeat the bad guys in your games. But when your sidekick starts acting up, it might be time to become the hero and fix it!
Don’t worry; we’ll guide you through the process step-by-step, so you can get back to gaming in no time. Let’s dive into the world of Nintendo Switch Joy-Con repair together!
Recognizing the Problem: What’s Wrong with My Joy-Con?
Hey there, little gamer! Today, we’re going to talk about how to figure out what’s going on with your Joy-Con. Sometimes those tiny controllers can act a little wonky, but don’t worry, we’ll help you get to the bottom of it.
Common Symptoms
So, how can you tell if your Joy-Con needs a little TLC? Well, if it’s drifting off on its own while you’re playing, or if it’s not responding to your button presses like it should, those are some signs that it might be time for a repair.
Troubleshooting Tips
Before we jump right into fixing things, let’s try a few tricks to see if we can get your Joy-Con back on track without cracking it open. Sometimes a simple reset or cleaning can do the trick, so let’s give it a shot.
Gathering Your Tools: What You’ll Need
If we do need to fix your Nintendo Switch Joy-Con, you’ll need to gather a few tools to help you become a Joy-Con repair hero! These tools are like your trusty sidekicks in your quest to bring your Joy-Con back to life.
Image courtesy of ca.finance.yahoo.com via Google Images
List of Tools
Here’s a simple list of things that you’ll want to have handy before you start your repair mission:
1. Tiny screwdriver: You’ll need this to open up the Joy-Con and access the internal components. Make sure it’s the right size so you don’t damage any screws.
2. Tri-wing screwdriver: Some Joy-Cons have special tri-wing screws that require this specific tool. Make sure to check which type of screws your Joy-Con has before starting.
3. Plastic opening tools: These are essential for prying open the Joy-Con without scratching or damaging the casing. They help you gently separate the different parts of the Joy-Con.
4. Replacement parts: Depending on what’s wrong with your Joy-Con, you may need to have replacement parts on hand. This could include a new joystick, buttons, or other components that may need to be swapped out.
5. Precision tweezers: These are handy for handling small components and delicate wires inside the Joy-Con. They allow you to make precise adjustments and repairs without damaging anything.
6. Adhesive tape: In case you need to secure any loose components or cables inside the Joy-Con, having some adhesive tape on hand can help keep everything in place during the repair process.
By having these tools ready, you’ll be well-equipped to tackle whatever repair your Nintendo Switch Joy-Con may need. So, gather your tools, get ready for some tinkering, and let’s bring your Joy-Con back to full gaming glory!
Step-By-Step Guide to Joy-Con Repair
Are you ready to become a Joy-Con repair hero? Let’s dive into the step-by-step process of fixing your Nintendo Switch controller. Follow along carefully, and soon you’ll be back to gaming in no time!
Start your Buy, Sell, Repair Game Console. To find your closest store
Leave your mobile phone number and we will call you back
Opening Up Your Joy-Con
First things first, we need to open up your Joy-Con to see what’s causing the issue. But don’t worry, it’s not as scary as it sounds! Grab your tiny screwdriver and gently remove the screws on the back of the Joy-Con. Be sure to keep track of the screws so you can put them back later.
Fixing the Issue
Now that we have the Joy-Con opened up, let’s take a look inside. You might find that a piece has come loose or is not in the right place. Carefully inspect the components and see if anything needs to be fixed or adjusted. It could be as simple as popping something back into place or replacing a damaged part with a new one.
Closing it Back Up
After you’ve made the necessary repairs, it’s time to put everything back together. Place the components back in their proper positions and carefully close up the Joy-Con. Make sure to secure all the screws back in place to ensure everything stays where it should be.
And just like that, you’ve successfully repaired your Joy-Con! Good job, you’re a true repair expert!
Testing Your Repairs
You did it! You followed all the steps and fixed your Joy-Con. But before you start playing, let’s make sure everything is working perfectly. This is the final check to ensure your Joy-Con is ready to get back in action.
How to Test
Now that your Joy-Con is all put back together, it’s time to test it out. Here are a few simple tricks to check if your repairs did the trick:
Issue
Solution
Joy-Con drift
Calibrate Joy-Con or replace the analog stick
Connection issues
Clean the contacts or replace the antenna
Button not responding
Check for debris or replace the button
Charging problems
Replace the battery or charging port
Connect your Joy-Con to your Nintendo Switch and see if it syncs up correctly.
Try out all the buttons and joysticks to make sure they are responding like they should.
Check for any drifting issues by moving the joysticks around and see if your character moves smoothly.
If everything seems to be working fine, you’re all set! Time to get back to your favorite games.
When to Seek Professional Help
Sometimes, even after trying our best, the Joy-Con might still be acting up. When that happens, it’s okay to ask for help from someone who knows how to fix it like a pro. Here’s when you might need to seek professional help nearby.
Signs You Need a Pro
If you’ve tried all the tricks and your Joy-Con still isn’t working right, it might be time to get help. Signs that you need a professional include if the Joy-Con is still drifting, not responding, or if buttons are sticking even after cleaning. When things just don’t seem to get better, it’s best to let an expert take a look.
Finding Repair Shops
Now, finding a place where they fix Joy-Cons might seem like a big task, but it’s not that hard! Ask your parents for help looking up places nearby that specialize in repairing Nintendo Switch consoles. You can also check online for reviews of different repair shops to see which one might be the best fit for your beloved Joy-Con.
Preventing Future Problems
Now that your Joy-Con is all fixed up and ready to play, let’s talk about how we can prevent it from acting up again in the future. By taking good care of your Joy-Con, you can keep it happy and working properly for a long time.
First off, make sure you handle your Joy-Con gently. Try not to drop it or toss it around, as rough handling can cause damage to the internal components. Treat it like a delicate treasure!
It’s also a good idea to keep your Joy-Con clean. Dust and grime can build up over time, which might affect its performance. You can use a soft, dry cloth to gently wipe down the surface of your Joy-Con regularly to keep it looking and working like new.
Lastly, when you’re not using your Joy-Con, consider storing it in a safe place. Avoid leaving it lying around where it can get stepped on or knocked off a table. Keeping it in a protective case when not in use can also help prevent accidental damage.
Conclusion: Mastering Joy-Con Repairs
Throughout this guide, we’ve covered everything you need to know about fixing your Nintendo Switch Joy-Con. You’ve learned how to recognize the signs that your Joy-Con needs repair, gather the necessary tools, follow a step-by-step repair process, test your repairs, and even know when it’s time to seek professional help. Congratulations, you are well on your way to becoming a Joy-Con repair expert!
Remember, practice makes perfect, so don’t worry if your first repair isn’t flawless. The more you work on your Joy-Con, the better you’ll get at it. Just be patient, follow the steps carefully, and soon you’ll be able to fix any issue that comes your way.
By taking good care of your Joy-Con, following the tips in this guide, and being mindful of how you handle it, you can prevent future problems from occurring. Treat your Joy-Con with care, keep it clean, and avoid dropping it to ensure it stays in top-notch condition.
With your newfound knowledge and skills, you can now tackle Joy-Con repairs like a pro. So go ahead, grab your tools, and get ready to save the day by fixing any issues that may come your way. Happy gaming!
FAQs: Questions You Might Have
This last section will answer some questions you, or your parents, might have about fixing Joy-Cons. Don’t worry; we’ll keep the answers simple and helpful.
Can I fix the Joy-Con by myself?
If you’re feeling brave and have a grown-up to help you, you can try fixing your Joy-Con by yourself! Just be careful and follow the instructions step-by-step. If it feels too tricky, it’s okay to ask for help.
What should I do if my Joy-Con can’t be fixed?
If you’ve tried everything and your Joy-Con still isn’t working, it might be time to get some help from a professional. They have superpowers when it comes to fixing things, and they can save the day!
Is it safe to open my Joy-Con?
Opening up your Joy-Con can be safe if you’re careful and follow the right steps. If you’re unsure or uncomfortable doing it on your own, it’s best to ask an adult for help. Safety first!

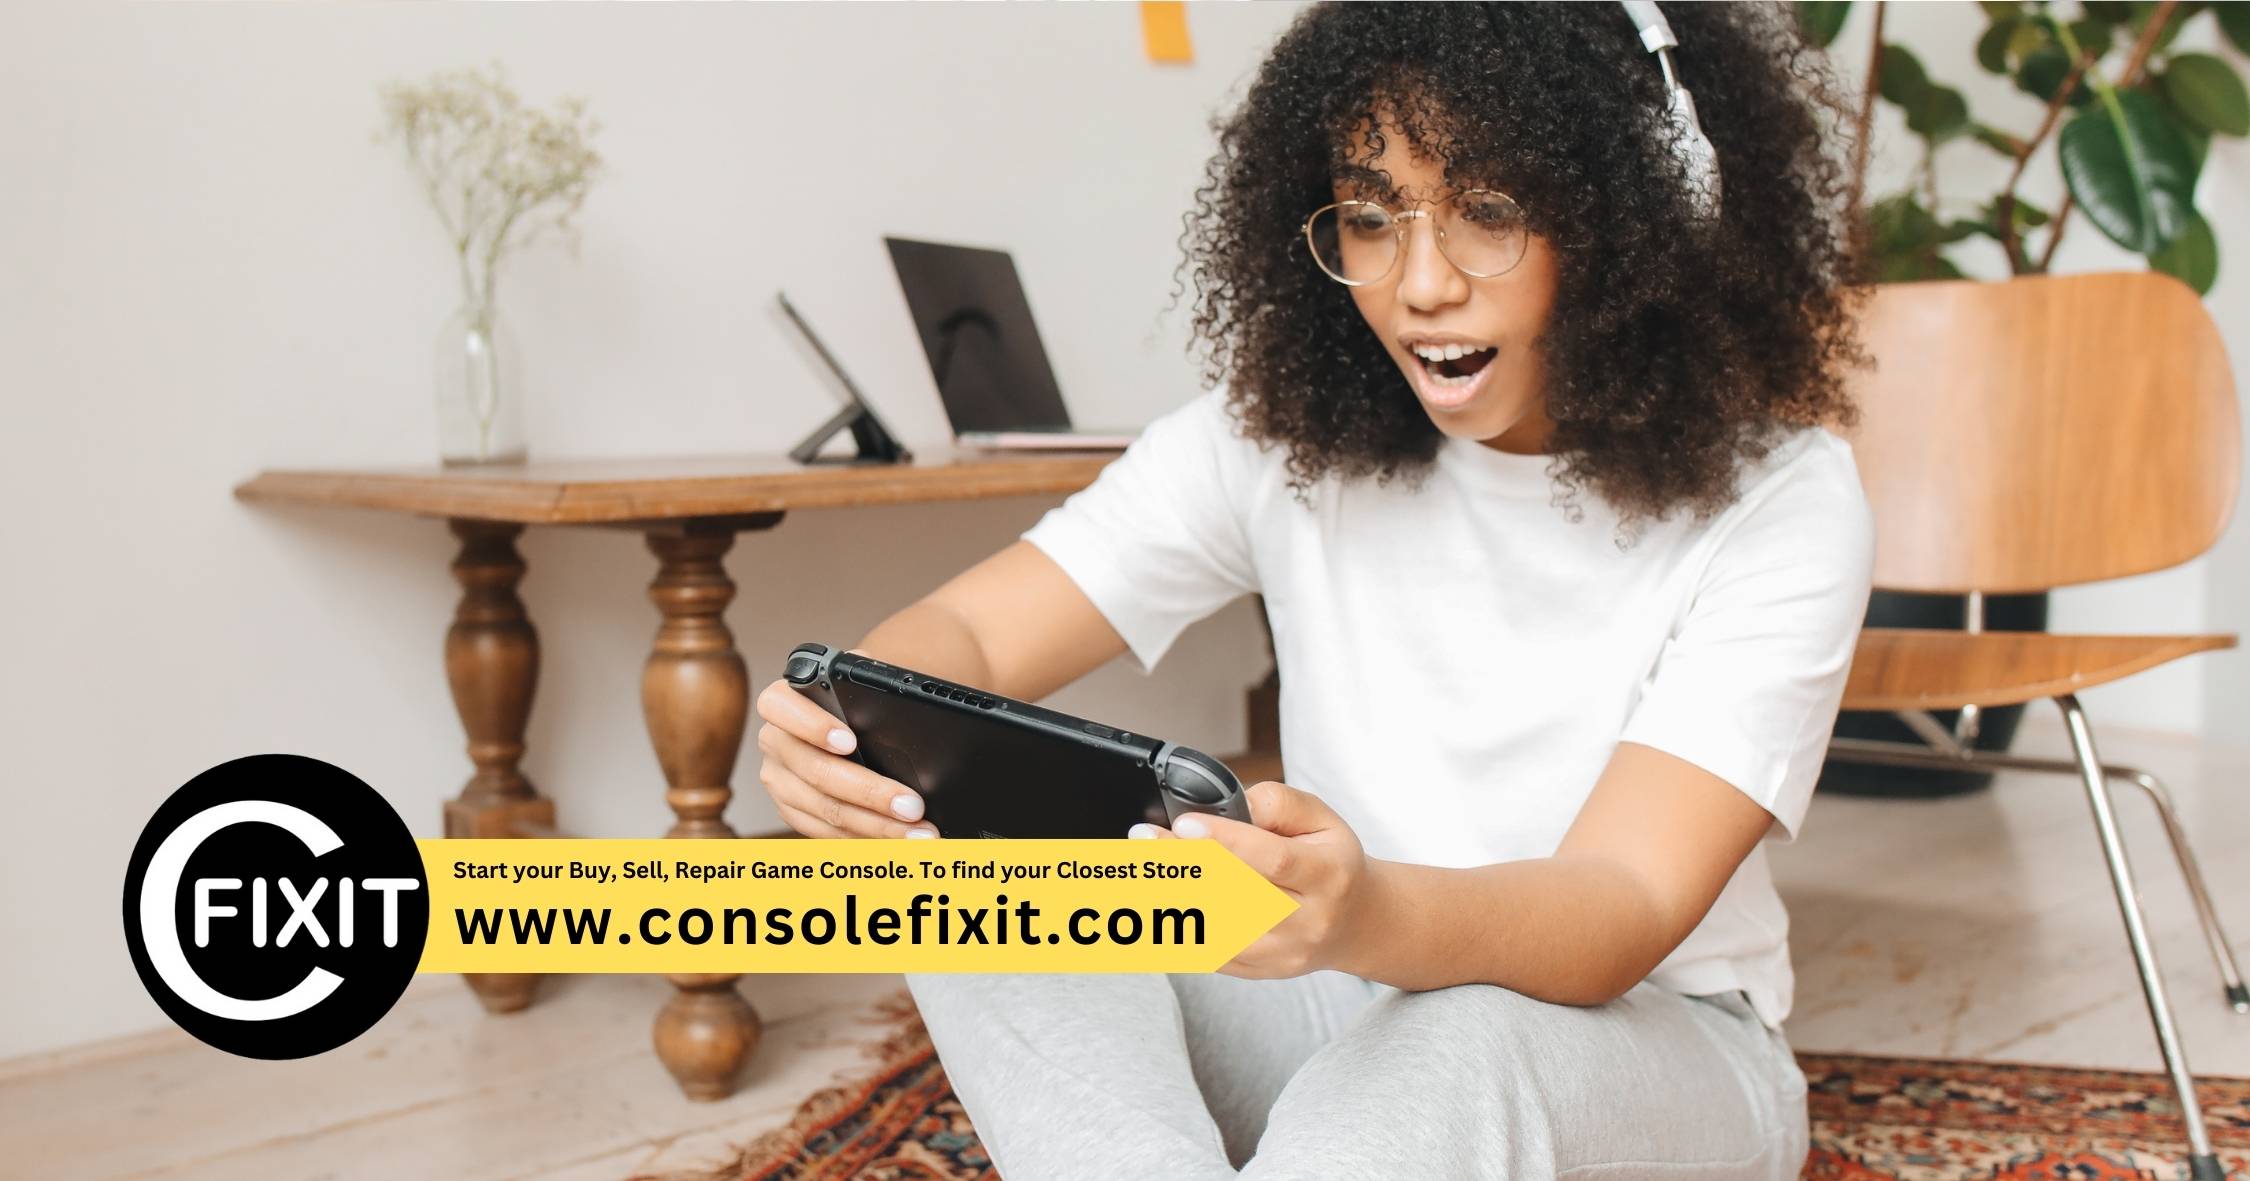
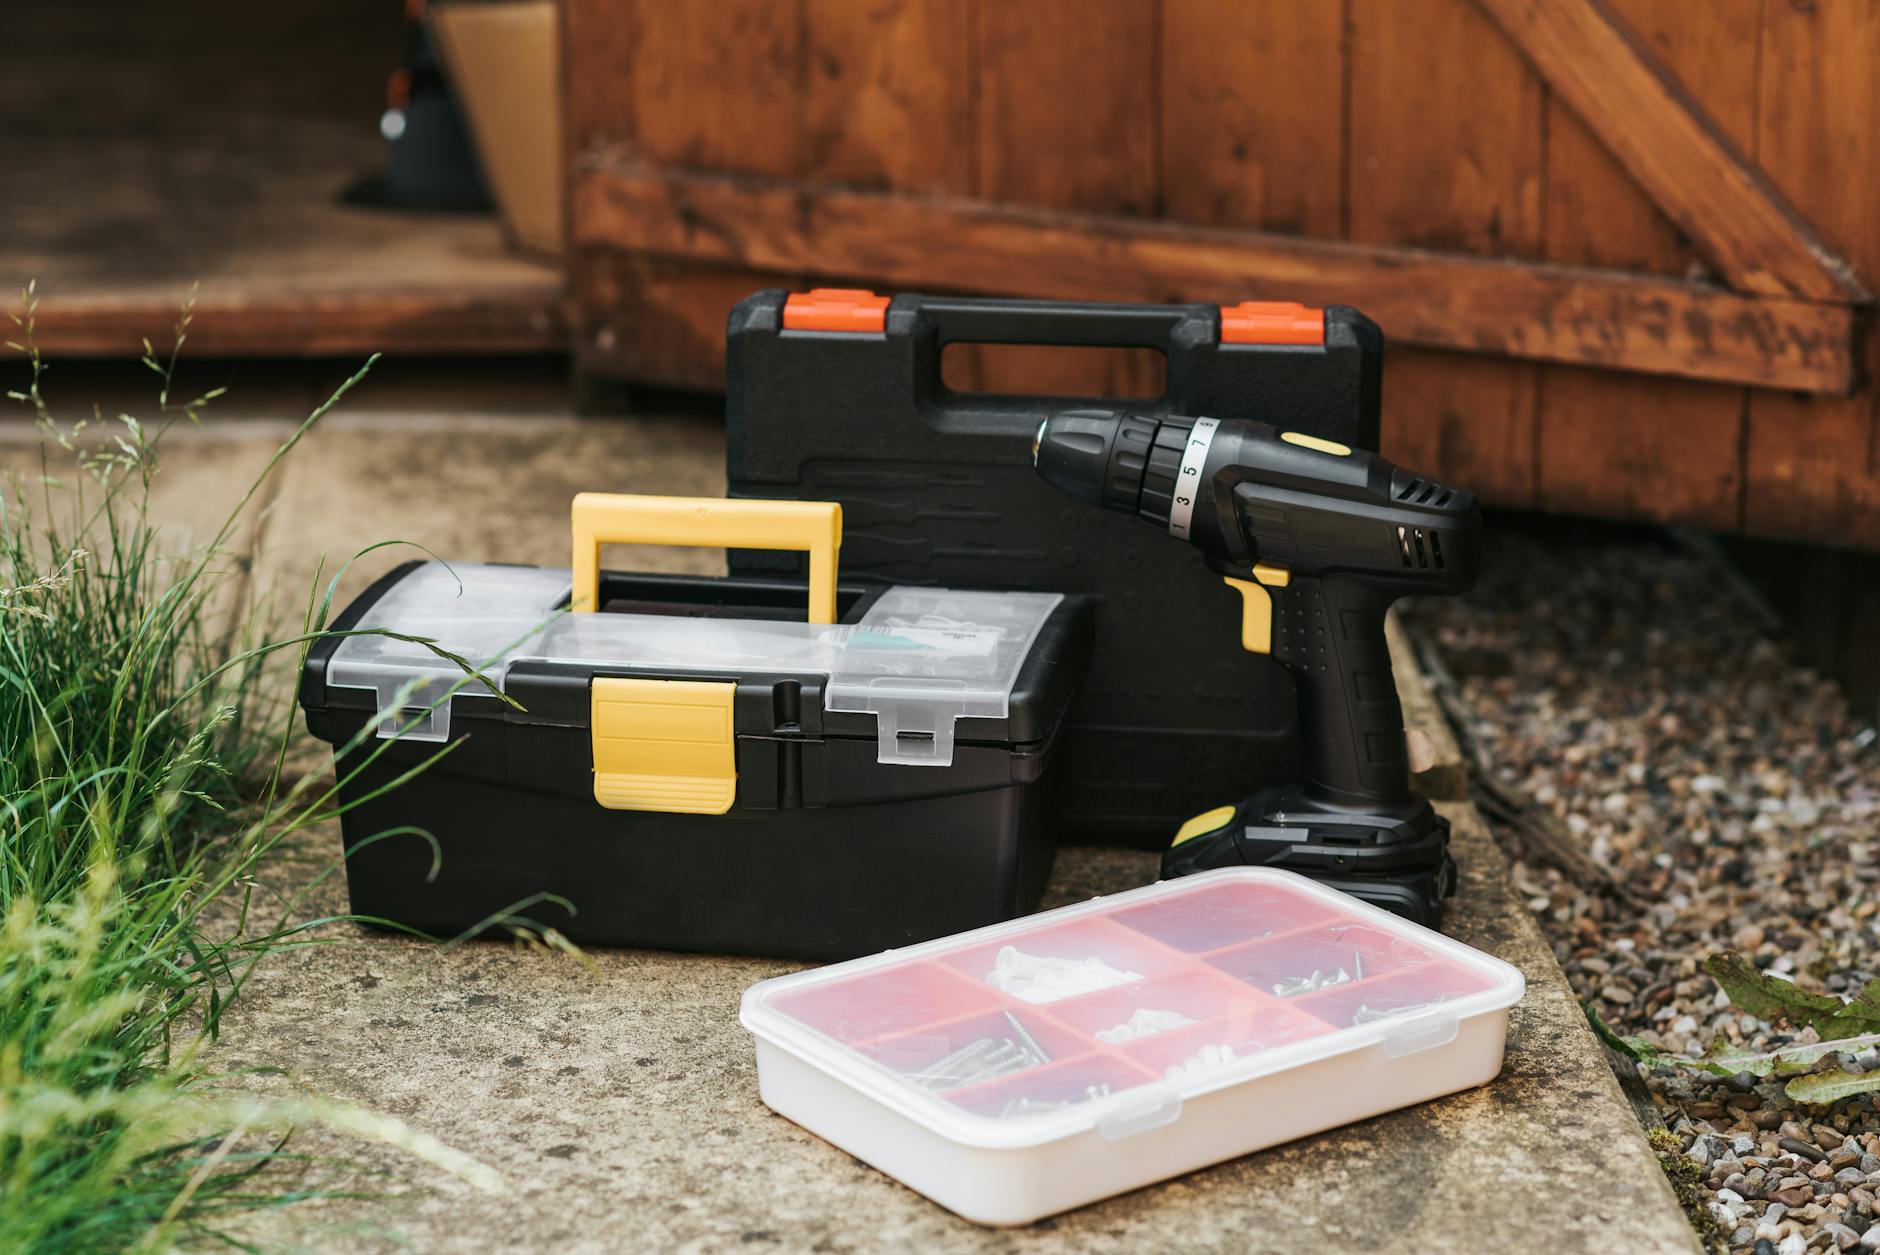 Image courtesy of Anete Lusina via
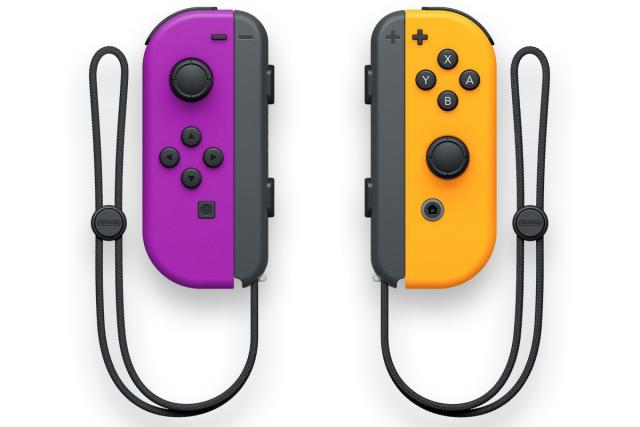


 PlayStation Repair
 Xbox Repair
 Nintendo Repair
 Virtual reality (VR) Repair
 Accessories Repair