From here you can book your game console, controller repair with us
Game Console & Controller Repairs
Any PS5 Console, PS5 Controller
Any PS4 Console, PS4 Controller
Any Xbox Series Console, Xbox Series Controller
Any Xbox One Console, Xbox One Controller
Any Nintendo Switch Console, Joy Con Controller
Welcome to the world of DIY Nintendo Switch repairs! Are your Joy-Cons acting up? Do you want to learn how to fix them all by yourself? You’re in the right place! Say goodbye to the hassle of finding a repair shop and get ready to take matters into your own hands. Let’s make your gaming experience better together!
In this guide, we’ll show you how to tackle common issues with your Joy-Cons, giving you the power to keep playing without interruptions. From diagnosing the problem to gathering the right tools and taking care of your Joy-Cons, we’ve got you covered every step of the way. Let’s dive in and get those Joy-Cons back in tip-top shape!
Understanding the Problem: What’s Wrong with Your Joy-Cons?
When you’re playing your favorite games on the Nintendo Switch, you want your Joy-Cons to work perfectly. But sometimes, they might start acting up. Let’s take a look at common issues that can happen with your Joy-Cons and how to decide if they need to be fixed or replaced.
Common Symptoms
One sign that something might be wrong with your Joy-Cons is drifting. This means that when you’re not touching the joystick, it moves on its own. Another common issue is connection problems, where your Joy-Cons don’t respond as quickly as they should. If you notice these symptoms, it’s time to give your Joy-Cons some attention.
To Fix or Replace?
Now, you might be wondering if you should try to fix your Joy-Cons or if it’s better to get new ones. It all depends on the extent of the problem. If your Joy-Cons have minor issues like drifting, you can probably repair them. But if the problems are too severe or if you’ve tried fixing them without success, it might be time to consider getting a replacement.
Gathering Your Tools: What Will You Need?
Before you start fixing your Joy-Cons, you need to gather the right tools. Let’s talk about what you’ll need to make your repair job a success.
Must-Have Tools
First and foremost, you’ll need a small Phillips-head screwdriver. This tool will help you unscrew the screws holding your Joy-Con together. Make sure it’s the right size so you won’t damage the screws.
Next, grab a pair of tweezers. These will come in handy when handling small components inside the Joy-Con. Tweezers will help you remove and place tiny parts with precision.
Additionally, having a set of plastic prying tools can be useful. These tools will help you safely pry open the Joy-Con without scratching or damaging the outer casing.
Lastly, it’s a good idea to have some rubbing alcohol and a microfiber cloth on hand. You can use these to clean the internal components of the Joy-Con before putting it back together.
Step-By-Step Guide: Let’s Repair the Switch Joy-Cons!
Is your Nintendo Switch Joy-Con giving you trouble? Don’t worry, we’ve got you covered with a step-by-step guide to help you diagnose and fix common issues with your Joy-Cons. Let’s get started!
Start your Buy, Sell, Repair Game Console. To find your closest store
Leave your mobile phone number and we will call you back
Diagnosing Your Joy-Con
The first step in repairing your Joy-Con is to figure out what’s wrong with it. Here’s how you can diagnose the problem:
Check for any drifting issues where the joystick moves on its own.
Test the connection to see if the Joy-Con is syncing properly with the Switch.
Inspect the buttons and triggers to ensure they are functioning correctly.
Once you’ve identified the issue, you can move on to repairing it.
Repairing the Problem
Now that you know what’s wrong with your Joy-Con, it’s time to fix it. Follow these simple steps to get your Joy-Con back in working order:
Start by carefully opening the Joy-Con using a small screwdriver.
Check the internal components for any visible damage or debris.
Clean any dust or dirt that may be causing the issue.
Reassemble the Joy-Con and test it to see if the problem has been resolved.
If the issue persists, you may need to consider replacing the Joy-Con. But with a little patience and the right tools, you’ll be able to fix most common problems with your Nintendo Switch Joy-Cons all by yourself!
Testing Your Repairs
So, you’ve followed all the steps and successfully repaired your Nintendo Switch Joy-Cons. But before you start gaming, it’s crucial to test your repairs to ensure everything is working perfectly!
Function Check
First, make sure to test all the functions of your Joy-Cons. Check if the buttons are all responsive and not sticking. Ensure that the joysticks move smoothly and do not have any drift issues. You can test the motion controls, vibration feedback, and connectivity to the Switch console.
Once you’ve gone through each function, try playing a game that requires various movements and button inputs. This will help you assess if the repairs have effectively addressed the initial issues you were experiencing.
If you notice any lingering problems during the testing phase, don’t worry! You can always go back and recheck your repair steps or seek further assistance if needed.
Taking Care of Your Joy-Cons
Now that you’ve successfully fixed your Joy-Cons, it’s essential to take care of them to prevent future issues. Here are some simple tips to help you maintain your Joy-Cons and keep them in good condition.
Step
Description
1
Identify Joy-Con drift issue.
2
Try recalibrating the Joy-Con.
3
Clean the Joy-Con joystick with compressed air or alcohol.
4
Replace the joystick module if cleaning does not work.
5
Consider replacing the entire Joy-Con if issues persist.
Regular Cleaning
Regularly cleaning your Joy-Cons is crucial to prevent dirt and debris from building up and causing issues. To clean your Joy-Cons, gently wipe them down with a soft cloth dampened with a little bit of water or rubbing alcohol. Make sure to pay attention to the joysticks and buttons, as these areas can easily collect dust and grime.
Proper Usage
Using your Joy-Cons correctly can also help prolong their lifespan. Avoid applying excessive force to the joysticks or buttons, as this can cause them to wear out faster. Additionally, be careful when attaching and detaching the Joy-Cons from your Switch to prevent any damage to the connection mechanisms.
Finding Help: When to Seek a Professional
While fixing your Joy-Cons on your own can be a fun and rewarding experience, there may come a time when you encounter a problem that requires the expertise of a professional. Knowing when to seek help is crucial to ensure that your Nintendo Switch stays in top-notch condition. Here are some signs that it’s time to stop the DIY approach and find a professional for Switch repairs.
If you’ve tried everything in your power to fix your Joy-Cons and they still aren’t working properly, it might be time to consider taking them to a repair shop. Look for a service provider that specializes in Nintendo Switch repairs to ensure that your device is in good hands. You can search online for “switch repair near me” to find local options or ask for recommendations from friends or family who have had similar issues.
Wrapping Up: Enjoy Your Good-as-New Joy-Cons!
Now that you’ve successfully diagnosed, repaired, and taken care of your Joy-Cons, it’s time to sit back, relax, and enjoy your gaming experience with confidence. Your hard work has paid off, and your Joy-Cons are as good as new!
By following the steps outlined in this guide, you have not only saved time and money but also gained valuable skills in repairing your own electronics. Remember, with a little patience and the right tools, you can tackle any issues that come your way.
So, grab your newly fixed Joy-Cons, get back to playing your favorite games on the Nintendo Switch, and revel in the satisfaction of knowing you did it all by yourself. Enjoy the seamless gaming experience without any worries about faulty controllers!
Frequently Asked Questions (FAQs)
Can I Fix My Joy-Cons on My Own?
Yes, you can fix your Joy-Cons on your own! With the right tools and a little guidance, you can easily tackle common issues like drifting or connection problems.
Do I Need Special Tools to Repair My Joy-Cons?
While you don’t need any super fancy tools, having a small Phillips-head screwdriver and a pair of tweezers handy can make the repair process much smoother.
How Do I Know If I Should Fix or Replace My Joy-Cons?
If your Joy-Cons are experiencing minor issues like drifting, it’s usually worth trying to repair them. However, if the problem is more serious or recurring, it might be time to consider getting a replacement.
What Should I Do If I Can’t Fix My Joy-Cons?
If you run into any difficulties while trying to fix your Joy-Cons, don’t worry! You can always reach out to a professional repair service for assistance. They can help diagnose and fix any issues you may be facing with your Nintendo Switch.

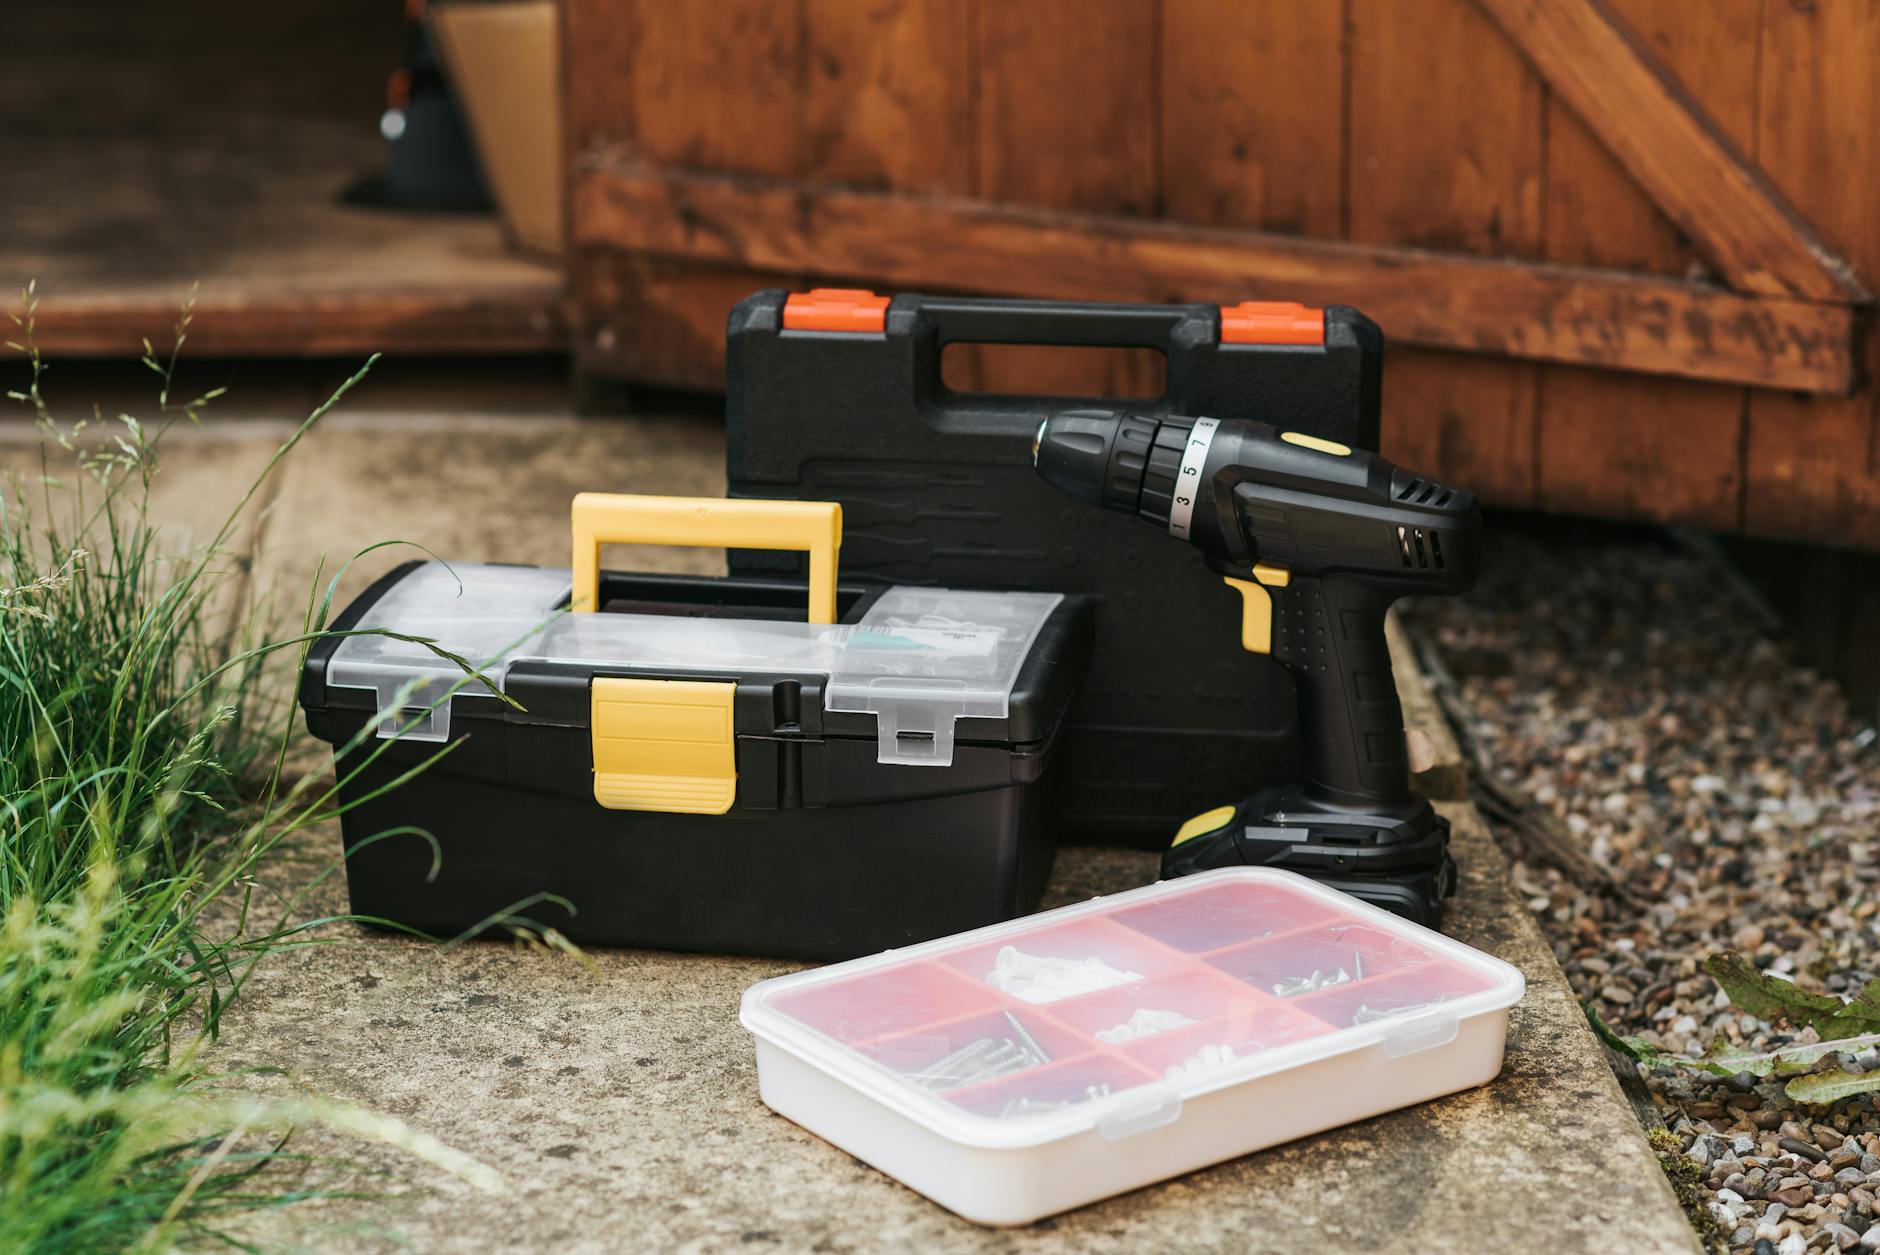 Image courtesy of Anete Lusina via
  Image courtesy of www.reddit.com via


 PlayStation Repair
 Xbox Repair
 Nintendo Repair
 Virtual reality (VR) Repair
 Accessories Repair