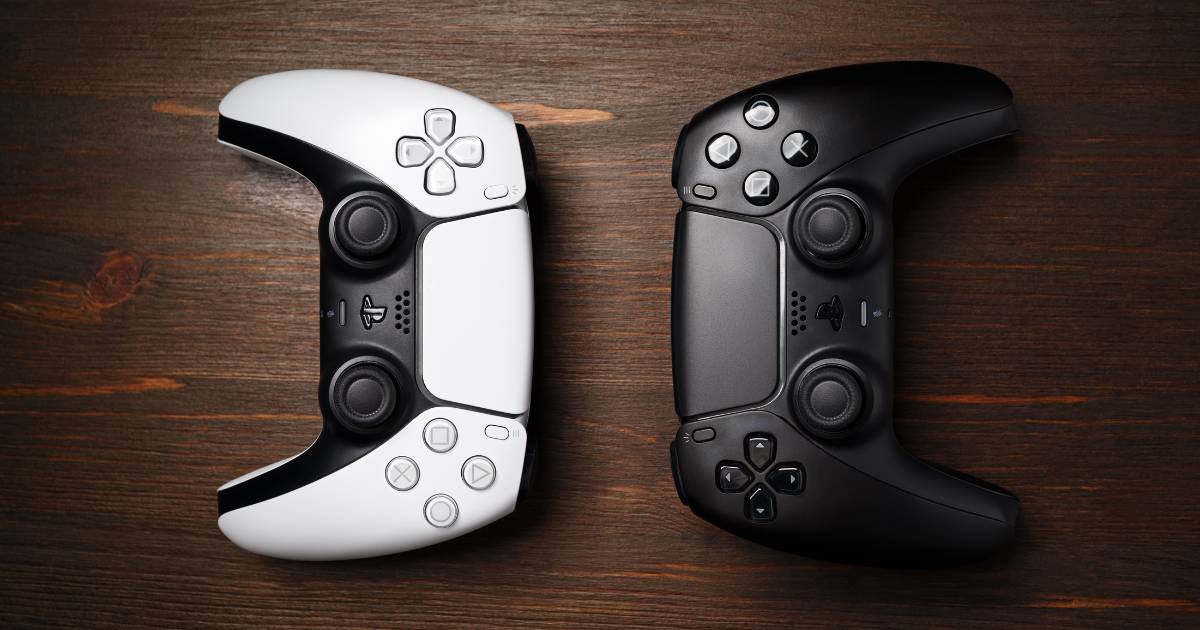
Introduction:Playing video games can be the ultimate stress buster for many people. And if you are an avid gamer, then you know the importance of a well-functioning controller, especially the triggers. The PlayStation 4 Dualshock 4 controller is one of the most popular controllers used by gamers globally. However, over time, the triggers can start to malfunction, which can hamper your gaming experience. In this blog, we will discuss the PS4 Dualshock 4 trigger reassembly process, its importance, and the steps involved.
Importance of Knowing How to Reassemble the Trigger:
Knowing how to reassemble the PS4 Dualshock 4 trigger is essential for gamers who want to keep their controllers in top-notch condition. Disassembling and reassembling the trigger can help fix issues like sticking, delayed response, or unresponsive triggers. Moreover, repairing the trigger yourself can save you a lot of money and time that you would otherwise spend on getting it fixed by a professional.
Brief Overview of the Steps Involved in the Process:
The PS4 Dualshock 4 trigger reassembly process involves disassembling and reassembling the trigger. The disassembly process includes removing the trigger from the controller and separating the trigger’s components. Once the trigger’s components are separated, you can clean them and then reassemble the trigger by putting the components back in the right order. Finally, testing the trigger is crucial to ensure that it is working correctly.
Tools Required:
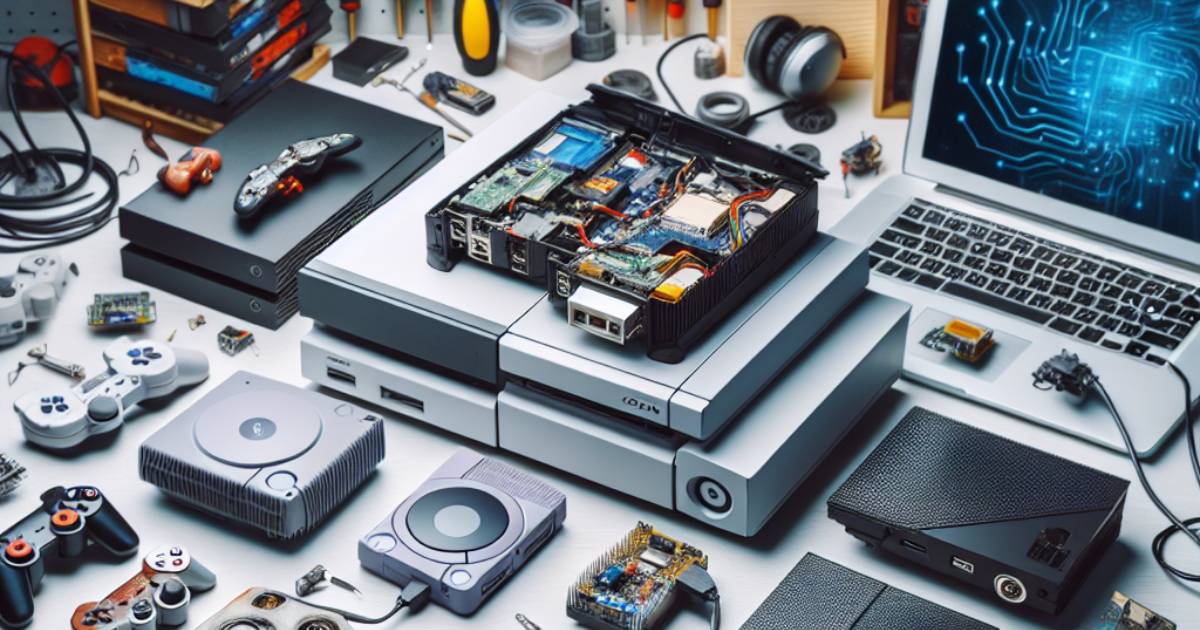
Before you start the reassembly process, you need a few tools. These tools include a small Phillips head screwdriver, a pair of tweezers, a spudger, a clean workspace, and a container to keep the screws and components safe.
Disassembling the PS4 Dualshock 4 Trigger:
The first step in the process is to disassemble the trigger. In this step, you need to remove the trigger from the controller and separate its components. To do this, you need to remove the screws that hold the trigger in place using a small Phillips head screwdriver. Then, gently pull the trigger out of the controller. Once the trigger is out, separate the components carefully. Use a spudger to remove the trigger’s spring and clean the components using a dry cloth.
Reassembling the PS4 Dualshock 4 Trigger:
After cleaning the components, the next step is to reassemble the trigger. Start by placing the spring back into the trigger’s housing. Then, insert the trigger’s button into the housing and attach the trigger’s rubber piece. Once the rubber piece is attached, put the trigger’s housing back into place and screw it back in using the screws you removed earlier.
Testing the PS4 Dualshock 4 Trigger:
Once you have reassembled the trigger, it’s time to test it. Connect the controller to the PS4 and check if the trigger is working correctly. If the trigger is still not working, try cleaning it again or check if you have missed any component while reassembling it.
Conclusion:
The PS4 Dualshock 4 trigger reassembly process is simple and can be done easily if you have the right tools and follow the steps mentioned above. Knowing how to reassemble the trigger can save you a lot of money and time, and ensure that your controller is functioning correctly. However, if you are not confident enough to do it yourself, it’s always better to seek professional help.
Sure, here is a structured blog outline for the content on PS4 Dualshock 4 trigger reassembly:I. Introduction
A. Explanation of PS4 Dualshock 4 trigger reassembly
B. Importance of knowing how to reassemble the trigger
C. Brief overview of the steps involved in the process
II. Tools Required
A. List of all the tools required for reassembly
B. Description of each tool and its purpose
III. Disassembling the PS4 Dualshock 4 Trigger
A. Step by step guide to disassemble the trigger
B. Tips and tricks to make the process easier
To find your closest store
IV. Reassembling the PS4 Dualshock 4 Trigger
A. Step by step guide to reassemble the trigger
B. Tips and tricks to make the process easier
V. Testing the PS4 Dualshock 4 Trigger
A. Explanation of how to test the trigger once it has been reassembled
B. Common problems that may occur and how to fix them
VI. Conclusion
A. Recap of the importance of knowing how to reassemble the PS4 Dualshock 4 trigger
B. Final thoughts and recommendations.
Are you having trouble with your PS4 Dualshock 4 trigger? If so, you’re in luck! In this blog, we’ll walk you through the process of reassembling your PS4 Dualshock 4 trigger step by step. Knowing how to reassemble your PS4 Dualshock 4 trigger can save you time and money by avoiding the need for costly repairs or replacements. I. Introduction
A. Explanation of PS4 Dualshock 4 trigger reassembly
The PS4 Dualshock 4 trigger is an essential component of the PS4 controller. Over time, the trigger can become damaged or worn, which may affect its functionality. Reassembling the trigger can help to restore its functionality.
B. Importance of knowing how to reassemble the trigger
Reassembling the trigger can save you time and money by avoiding the need for costly repairs or replacements. Additionally, it can be a fun and rewarding DIY project.

C. Brief overview of the steps involved in the process
The process of reassembling the PS4 Dualshock 4 trigger involves disassembling the trigger, identifying the components, and reassembling the trigger with new parts or with the same parts if they were not damaged.
II. Tools Required
A. List of all the tools required for reassembly
To reassemble the PS4 Dualshock 4 trigger, you will need a set of precision screwdrivers, a spudger, and a replacement trigger if necessary.
B. Description of each tool and its purpose
The precision screwdrivers are used to remove the screws from the controller, while the spudger is used to pry apart the controller's plastic clips without damaging them. Replacement triggers, if necessary, can be purchased online or at your local electronics store.
III. Disassembling the PS4 Dualshock 4 Trigger
A. Step by step guide to disassemble the trigger
To disassemble the PS4 Dualshock 4 trigger, first, remove the battery cover and battery from the controller. Then, locate the screws that hold the controller together and remove them using the precision screwdrivers. Once the screws are removed, gently pry the controller apart using the spudger, being careful not to damage the plastic clips.
B. Tips and tricks to make the process easier
When disassembling the trigger, take care not to lose any of the small parts. It can be helpful to work on a clean, flat surface with good lighting.
IV. Reassembling the PS4 Dualshock 4 Trigger
A. Step by step guide to reassemble the trigger
To reassemble the PS4 Dualshock 4 trigger, first, identify the components and their proper orientation. Then, carefully reassemble the trigger, making sure all the parts fit together snugly. Finally, reattach the trigger to the controller and screw the controller back together.
B. Tips and tricks to make the process easier
When reassembling the trigger, take your time and be patient. It can be helpful to refer to online tutorials or videos for guidance.
V. Testing the PS4 Dualshock 4 Trigger
A. Explanation of how to test the trigger once it has been reassembled
Once the trigger has been reassembled, test it by pressing it to ensure it moves smoothly and registers properly. If the trigger is still not functioning correctly, it may be necessary to replace it.
B. Common problems that may occur and how to fix them
If the trigger is still not functioning properly after reassembly, it may be due to a damaged or worn component. In this case, it will be necessary to replace the damaged part.
VI. Conclusion
A. Recap of the importance of knowing how to reassemble the PS4 Dualshock 4 trigger
Reassembling the PS4 Dualshock 4 trigger can save you time and money by avoiding the need for costly repairs or replacements. Additionally, it can be a fun and rewarding DIY project.

Your Repair , Our Concern- Leave your mobile phone number and we will call you back . Consolefixit are experts at fixing game consoles. If your Xbox, PlayStation, or Nintendo is broken and needs repairing, give us a call for a free quote today.

 PlayStation Repair
 Xbox Repair
 Nintendo Repair
 Virtual reality (VR) Repair
 Accessories Repair

