From here you can book your game console, controller repair with us
Game Console & Controller Repairs
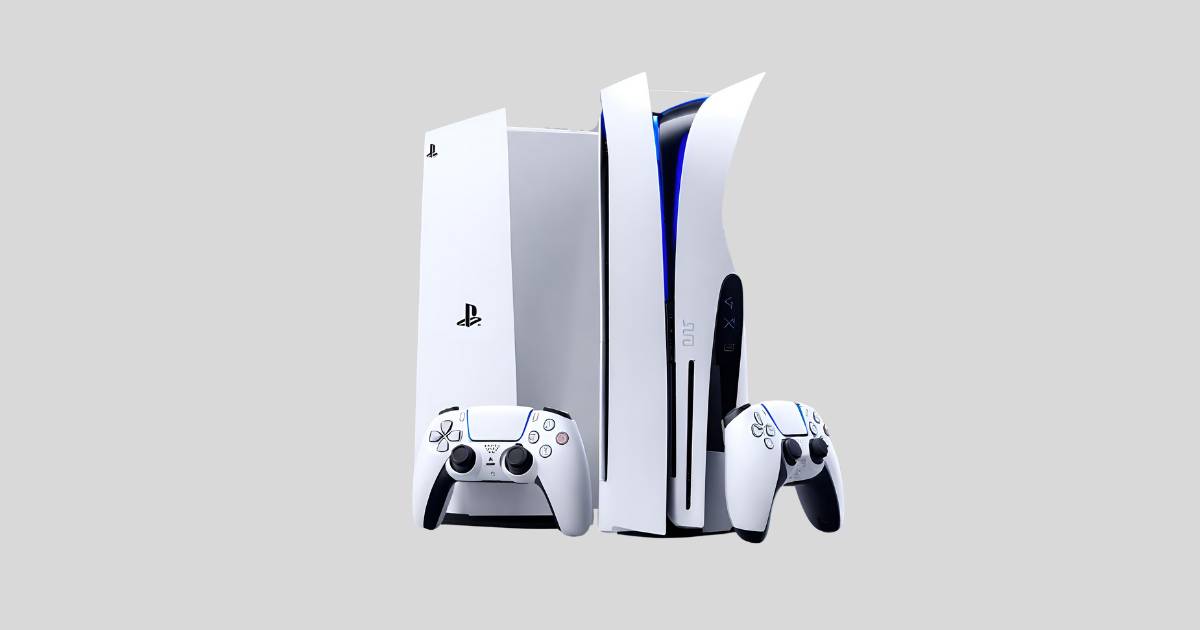
Any PS5 Console, PS5 Controller
Any PS4 Console, PS4 Controller
Any Xbox Series Console, Xbox Series Controller
Any Xbox One Console, Xbox One Controller
Any Nintendo Switch Console, Joy Con Controller
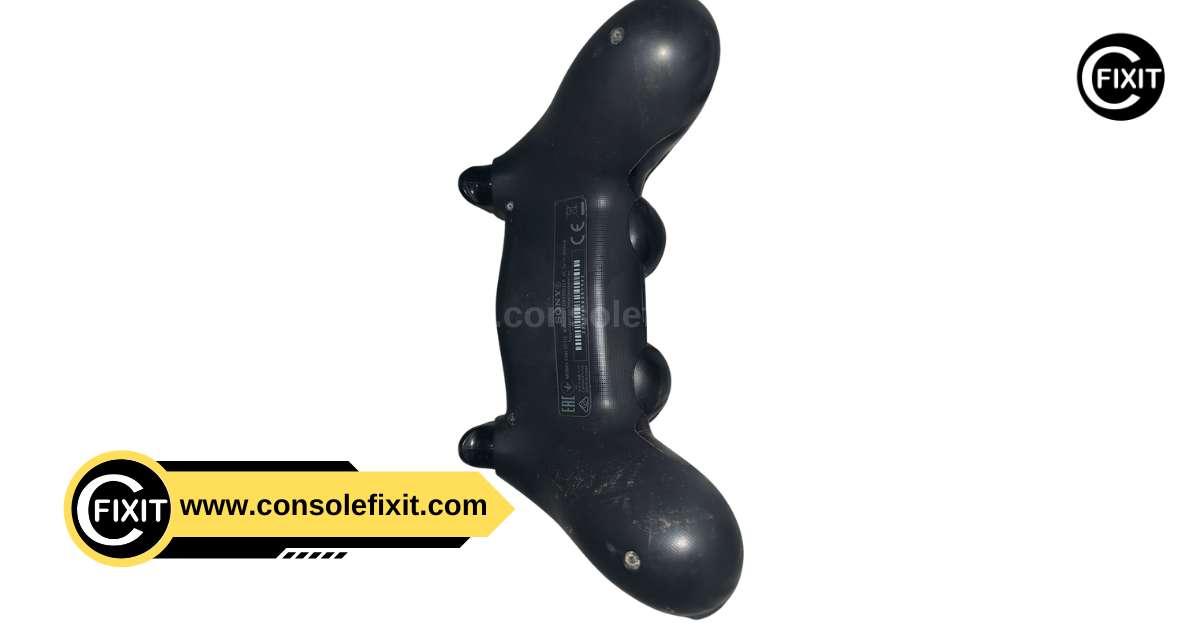
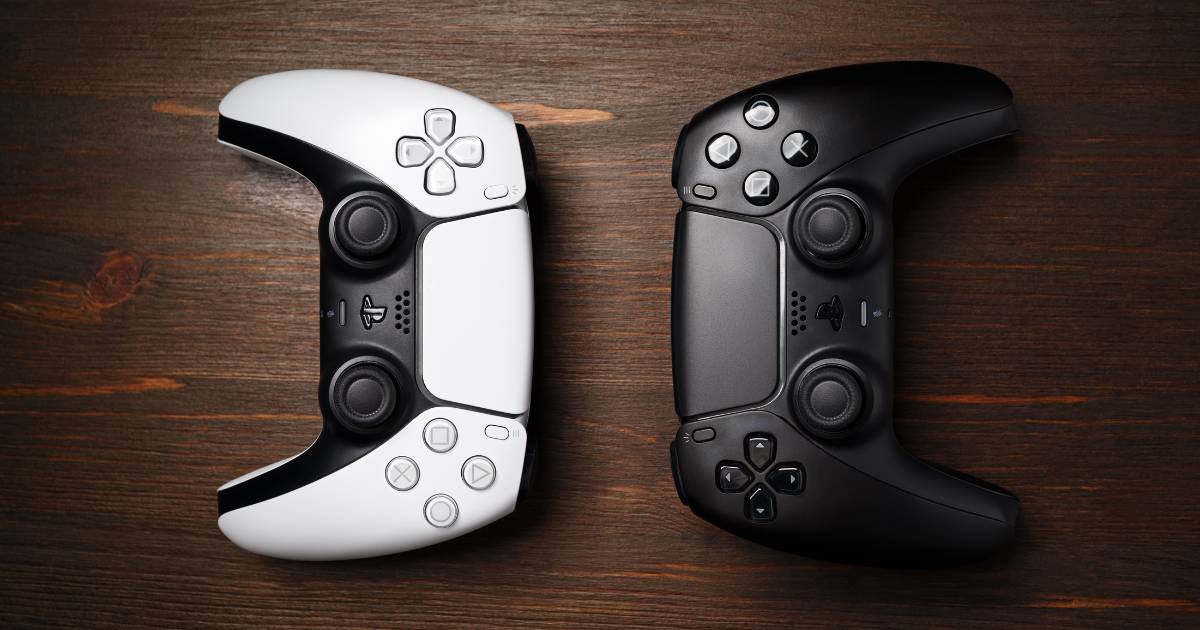
Introduction: DualShock 4 button circuits are essential for many games. But, as you know, when it comes to gaming, there’s always something better out there. That’s where a wireless controller come in. A wireless controller allows you to play your favorite games without having to worry about the hassle of wired cords. Plus, they’re a lot of fun! So what are you waiting for? Replace your dualshock 4 button circuit membrane on a PS4 today!
What is a DualShock 4 Button Circuit Membrane.
A DualShock 4 button circuit membrane is a piece of components within the controller that helps protect the buttons from corrosion and wear. By replacing the circuit membrane, you can extend the life of your controllers and improve their performance.
Replacing a DualShock 4 button circuit membrane can help you:
– Improve buttons’ lifespan
– Keep your controllers clean and free from corrosion
– Extend the life of your controllers
To find your closest store
Leave your mobile phone number and we will call you back
How to Replace a DualShock 4 Button Circuit Membrane on a PS4.
To remove the button circuit, first remove the screws that hold the switch on the PCB. Then, use a pliers to pry off the switch. Be sure to retain all of the wires and connector before replacing the button circuit.
How to Install the Button Circuit.
Install the new button circuit by following these steps:
1) Remove two screws from behind the PCB where it meets the case.
2) Lob one end of a wire (#14 on schematics) over one screw and then twist it clockwise until it pops out (“twisted”). This wire should now be attached to one of your connection points on the PCB (the “ Wrong End” shown in yellow in schematics).
3) Take another Wire (#9 on schematics) and twist it clockwise until it pops out (“twisted”). This wire should now be attached to both of your connection points on the PCB (the “ Right End” shown in green in schematics).
4) reattach screws to PCB and reconnect wires as shown in schematics.
How to Replace a DualShock 4 Button Circuit Membrane on a PS4.
When it comes to replacing a DualShock 4 button circuit membrane, there are a few things you need to consider. First, you’ll want to choose the right button circuit membrane for your PS4. Second, you need to install the button circuit. Finally, be sure to test the button circuit before installation so that everything is working properly.
In order to choose the right button circuit membrane for your PS4, you’ll first need to determine which buttons will be affected by the replacement. Once you know which buttons will be affected, it becomes easier to select the correct membrane for each one. Next, you’ll need to purchase a suitable button Circuit Membrane. The best option for this task is likely to be an online store like Amazon or Walmart. Once you have these items in hand, it’s time to install the button circuit on your PS4.
After installation is complete, make sure all components are working as intended and ensure that all buttons are functioning as they should. If any issues remain, please contact customer service for assistance.
Conclusion
Replacing a DualShock 4 Button Circuit Membrane can help improve your gaming experience. By understanding the different steps involved and following the instructions correctly, you shouldn’t have any trouble replacing your button circuit membrane on a PS4.


 PlayStation Repair
 Xbox Repair
 Nintendo Repair
 Virtual reality (VR) Repair
 Accessories Repair